
Halloween Spider Biscuits Recipe
- 175g Softened block butter
- 200g Light brown sugar
- 2 Eggs
- 1 tsp Vanilla extract
- 400g Plain flour
- 1 tsp Baking powder
- 24 Chocolate Rolos
- 48 Edible eyes
- Black icing
- Preheat the oven to 190⁰c, Fan 170⁰c, Gas 5, 375⁰F.
- Prepare two/three baking trays with parchment paper.
- In a large bowl, cream the softened butter and light brown sugar together well to make a moussy mixture.
- Add the eggs individually and mix between each one.
- Add the vanilla extract and mix until combined.
- Sieve the plain flour and baking powder into the mixture then combine. The dough will be slightly wet and sticky but this how it’s meant to be.
- Use your hands to scoop together balls of dough, weigh them at 36g per biscuit ball.
- Once you have weighed all the biscuits into balls, put them in the fridge for a minimum of 2-3 hours. This will allow your cookies to keep their height when baking.
- Once the biscuits have been refrigerated, place them on the lined baking trays, making sure to give them space as they will spread out.
- Push down on the top of each biscuit ball about 0.5cm to create a slight flat surface for decorating later.
- Bake them for 10-14 minutes or until they have slightly golden edges, they should still look quite pale.
- Leave on baking trays for at least 10 minutes so they firm up a little, transfer them to a wire rack and allow them to cool fully.
- First get your Rolos, edible eyes and black icing. Put a tiny amount of icing on the back of one eye to stick to the Rolo. Repeat this for the second eye.
- Then put a small amount of black icing on the bottom of each Rolo and stick in place on the top of the biscuit creating the body of the spider. Repeat this for all the biscuits.
- To make the legs, pipe from the Rolo three evenly spaced legs on each side with a small flick at the end, facing the back of the spider. Again repeat this for all biscuits.
- Allow the icing to to harden before enjoying your spooky Halloween biscuits.
- If you don’t want to make the full 24 biscuits just half the recipe to make 12 delicious Halloween spider biscuits.
- Disposable gloves are recommended when weighing out the biscuits as the dough is quite sticky and will create less mess.
- Want to make your biscuits perfect circular? You will need a large circular cookie cutter that is bigger than the cooked biscuit. Gently place the the cutter over the hot biscuit (Careful the tray will be hot) and in a circular motion move the cutter so it gently knocks into the sides creating a perfectly round biscuit.
- The biscuit dough balls will last up to 1 month in a freezer, if you don’t want to make them all at once.
Did you make this recipe?
Tag @gleni.co.uk on Instagram and hashtag #gleni
Let's Discuss...
About Us

Always remember - Life's Easier With Treats! Read more...
If you wish to create a free account register below.
RegisterWith an account you can favourite, comment, shop with ease and lots more.
Latest Posts
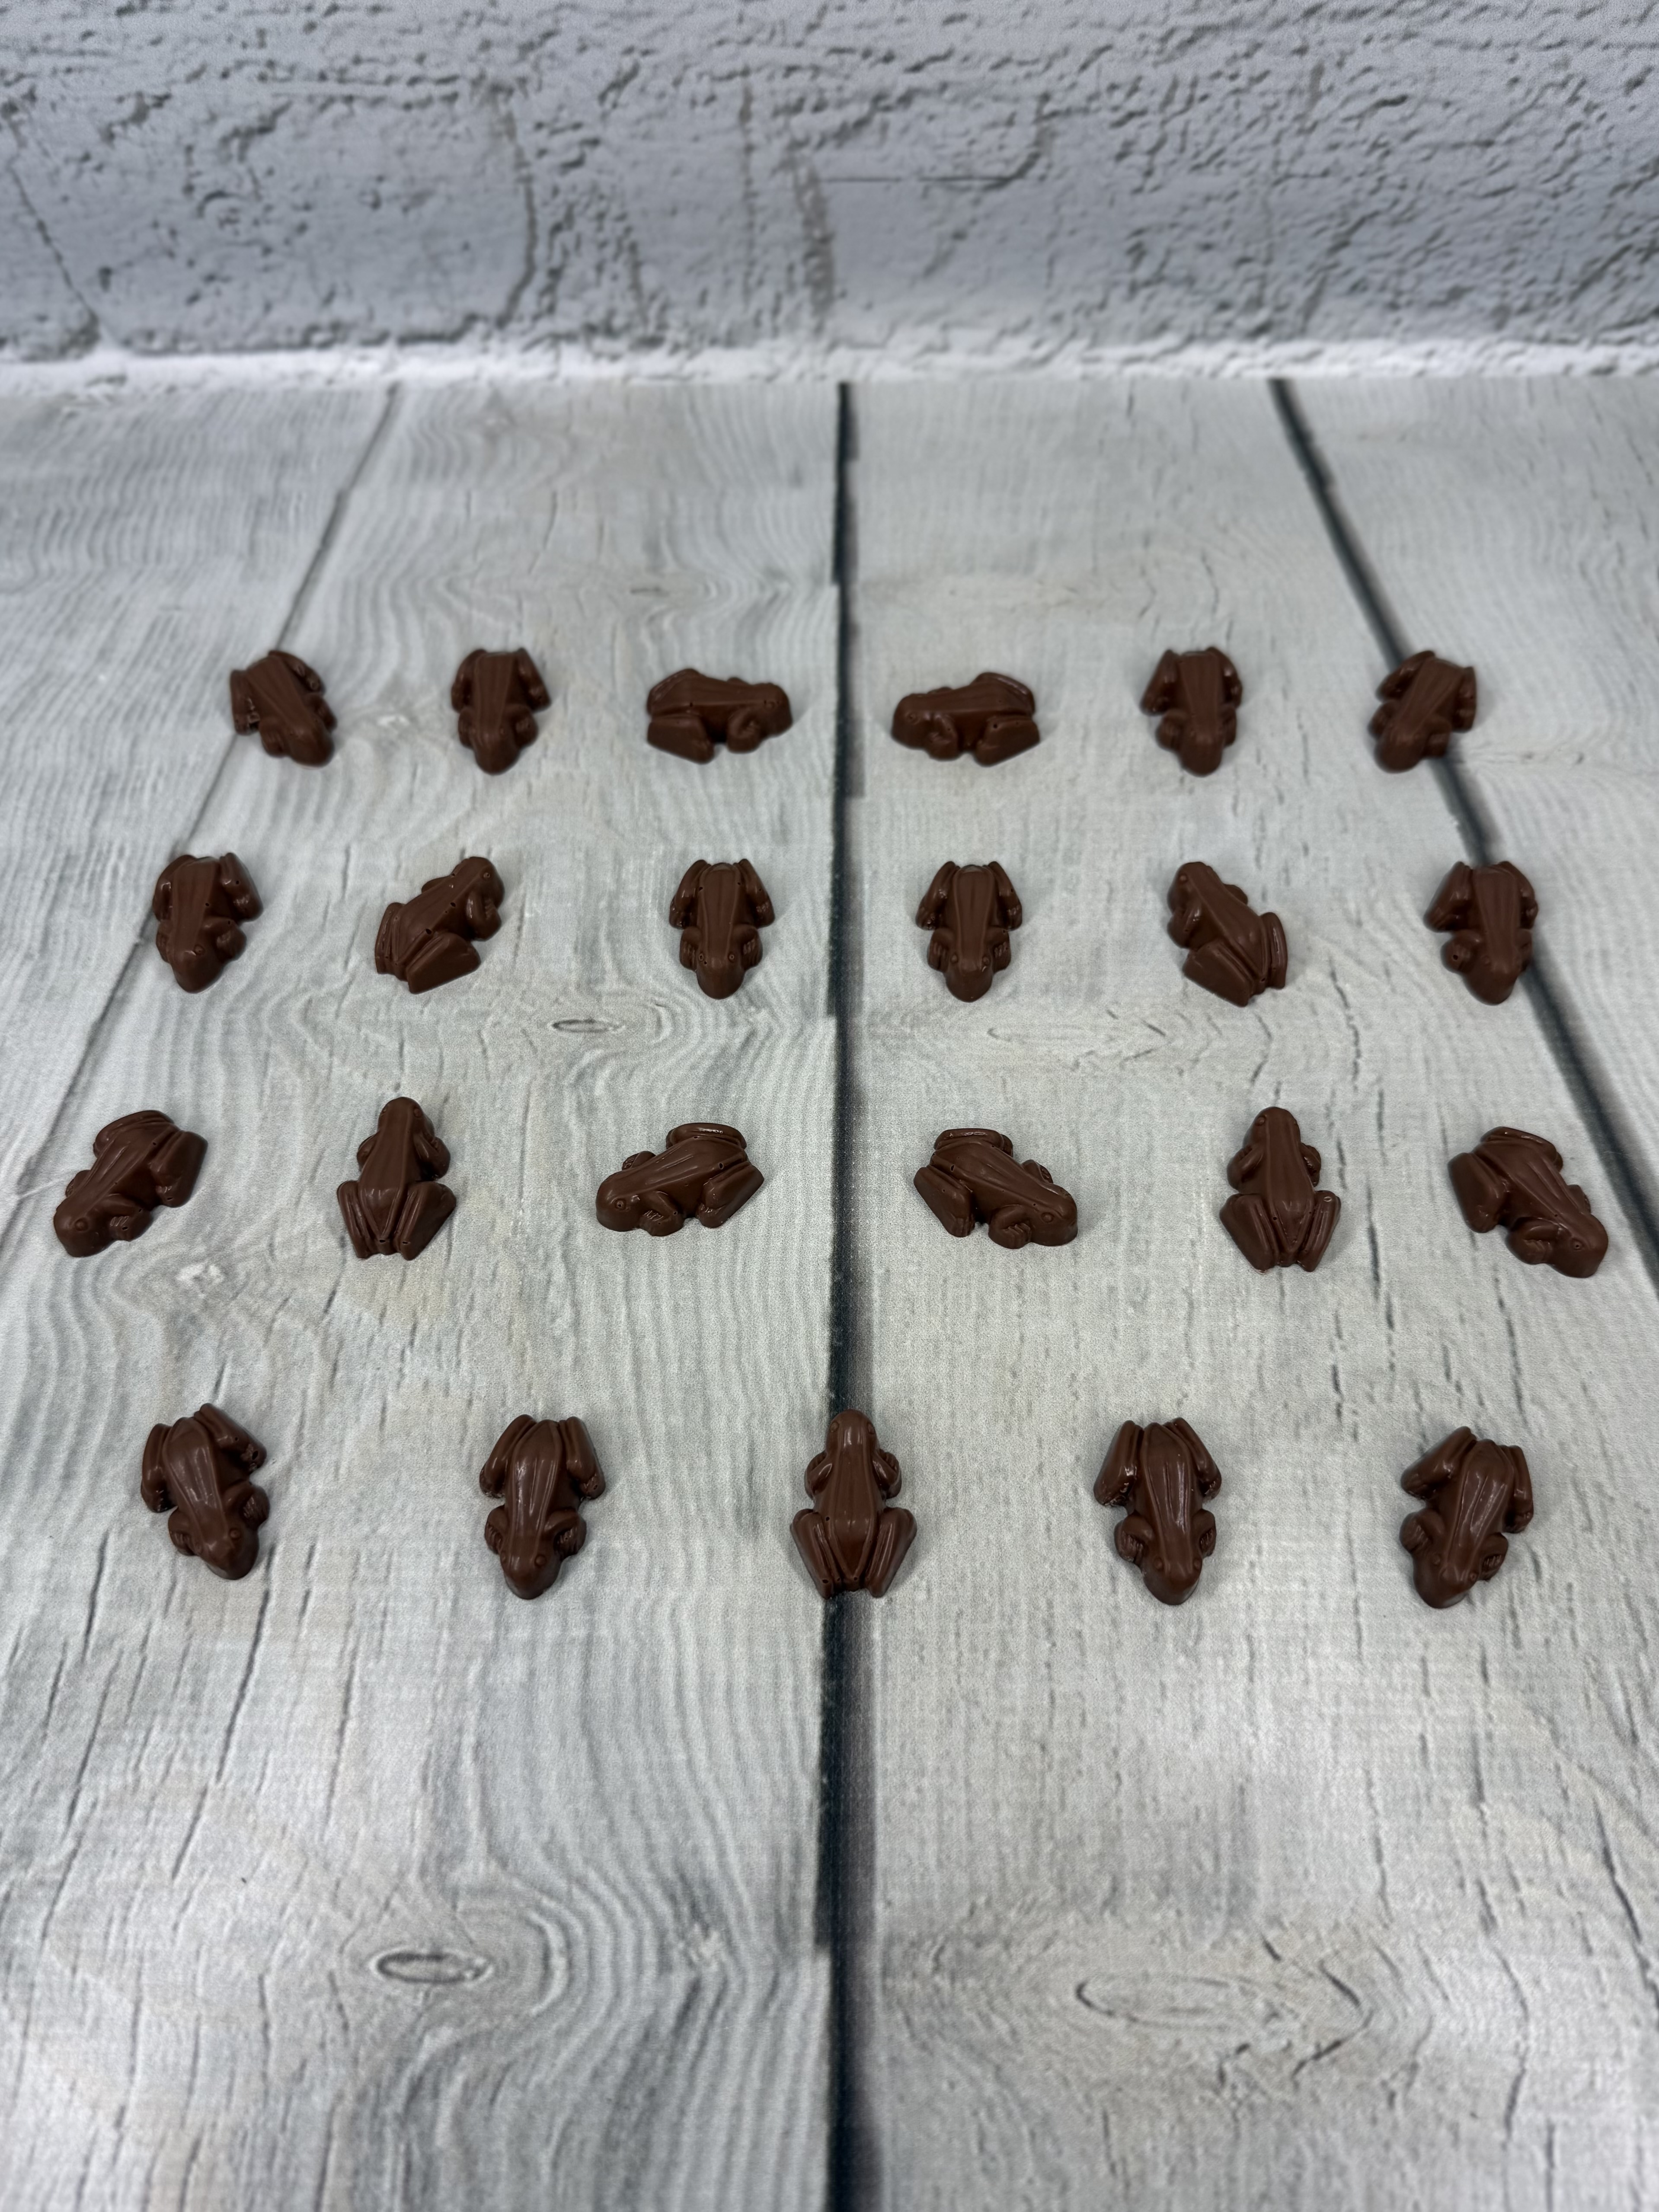
Chocolate Frogs

Chocolate Frogs
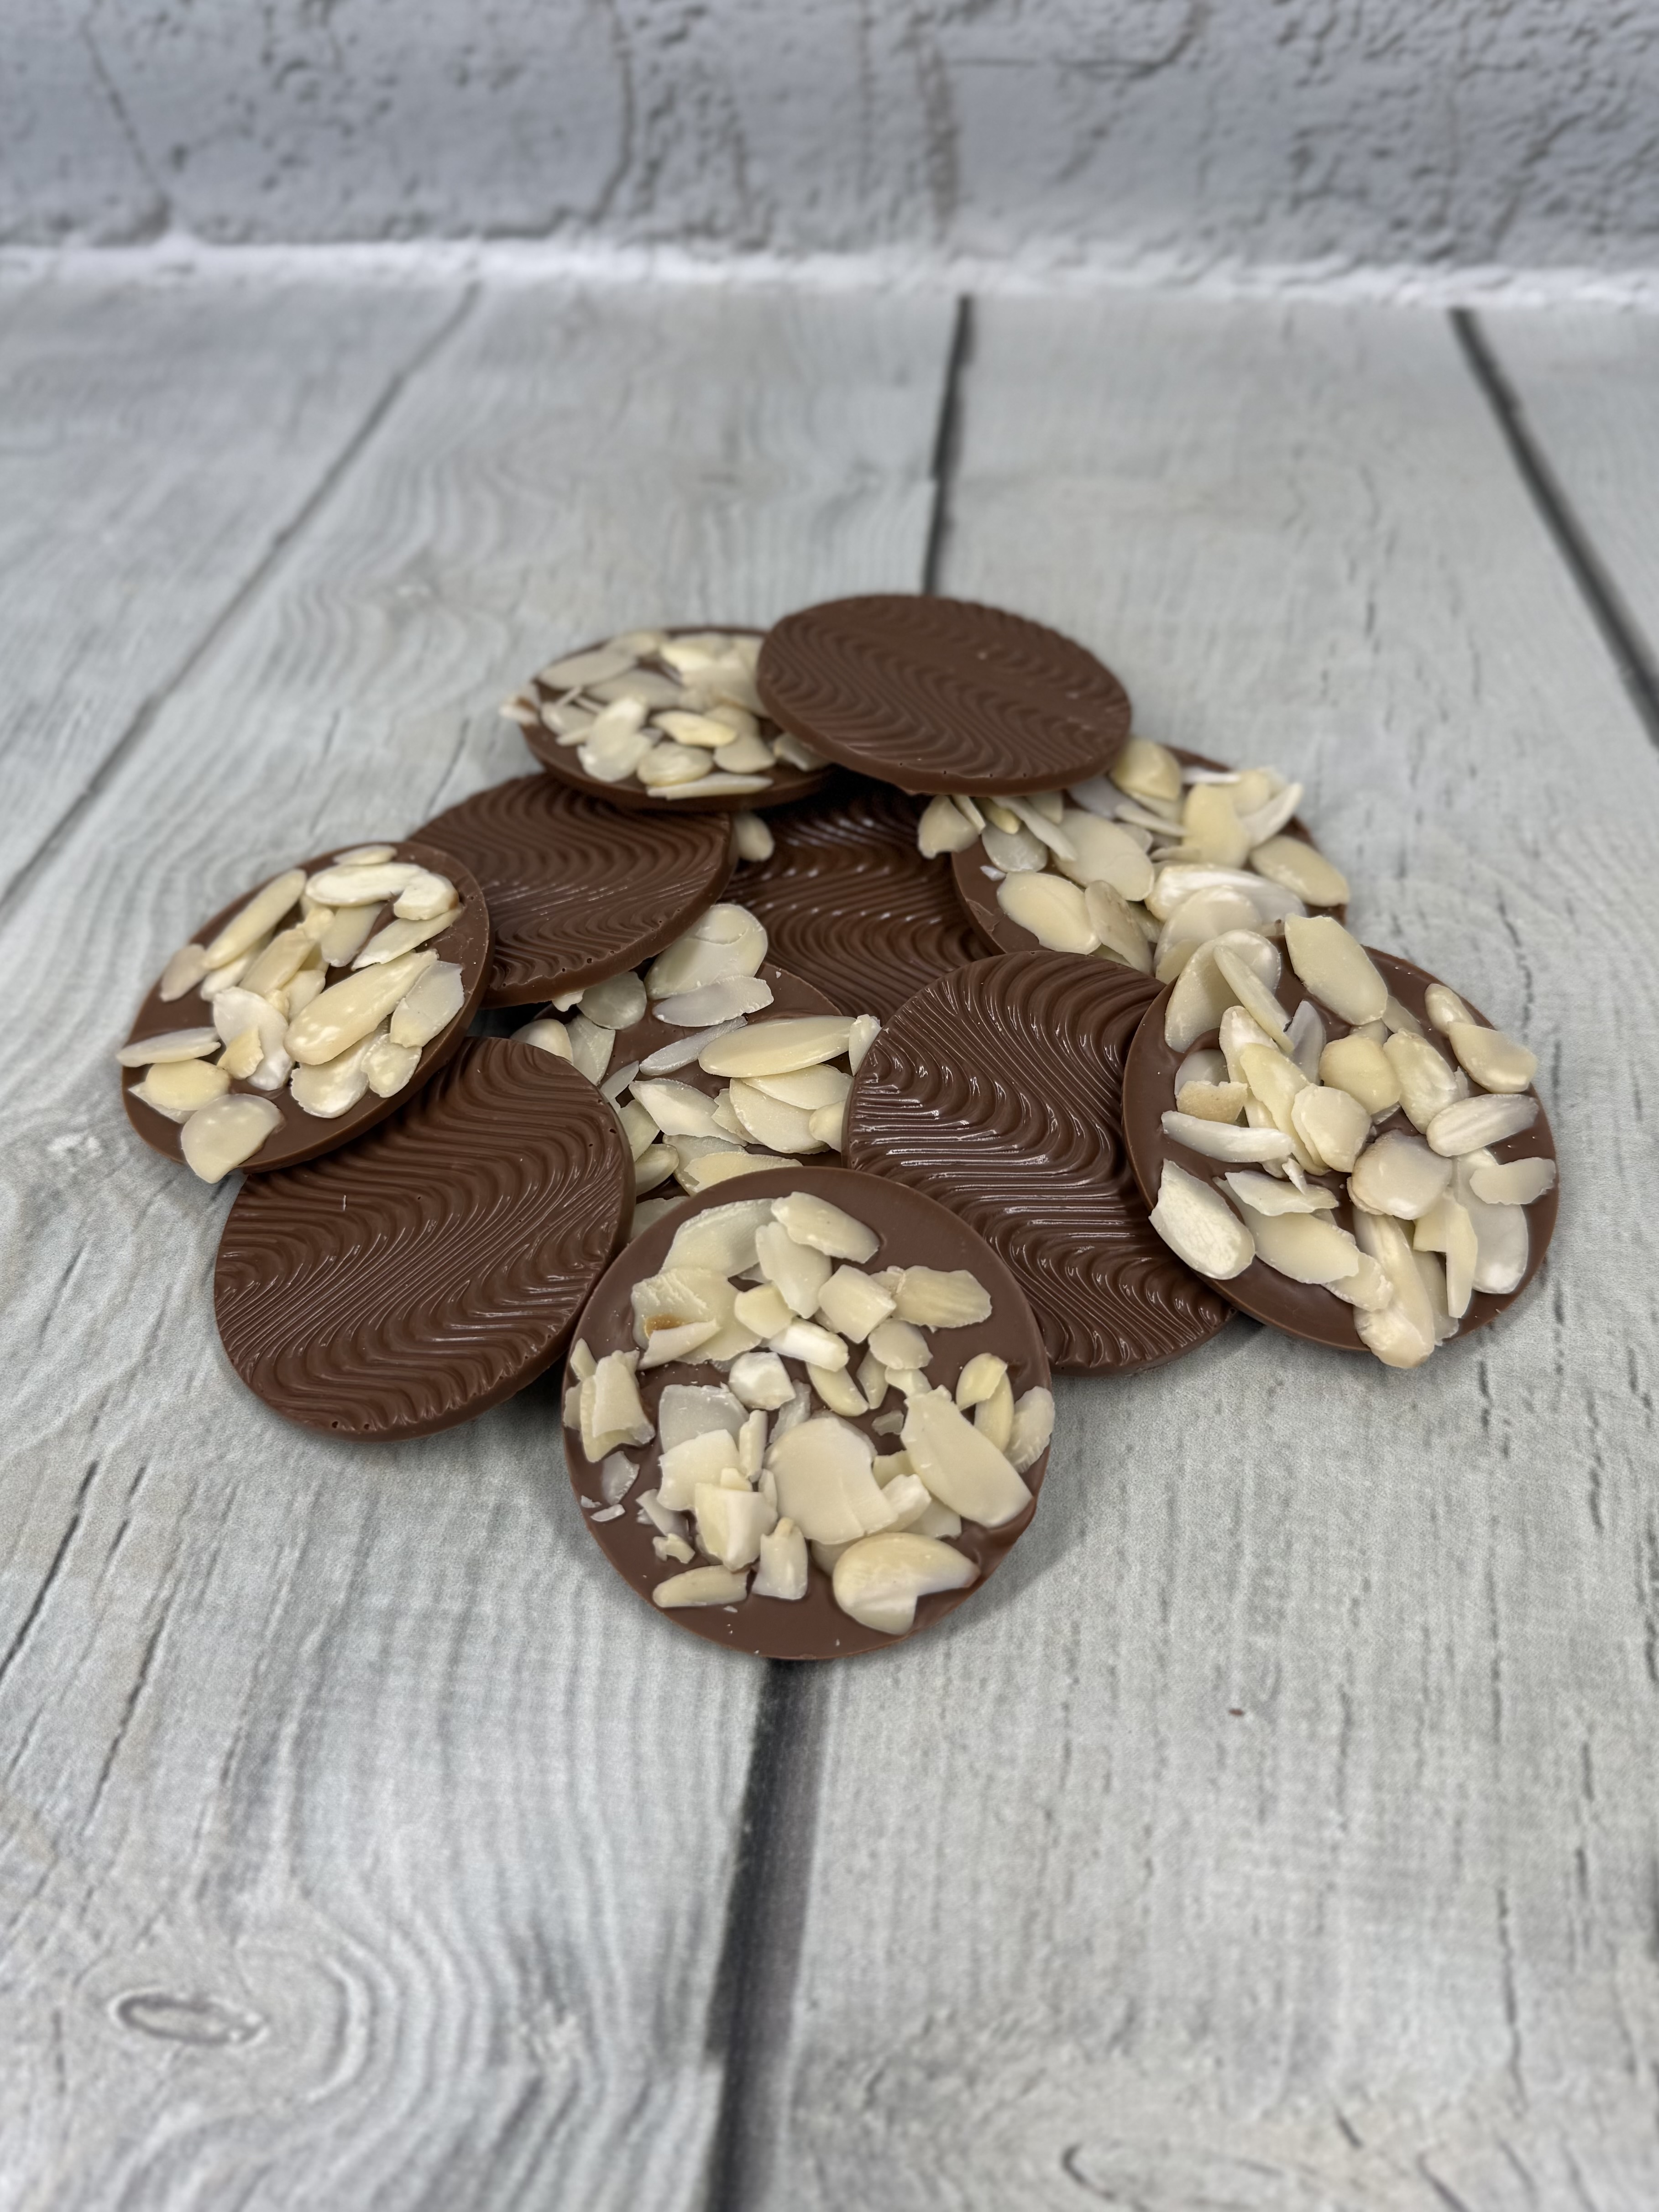
Almond & Milk Chocolate Florentines

Almond & Milk Chocolate Florentines

Gleni Update 01/26

Gleni Update 01/26
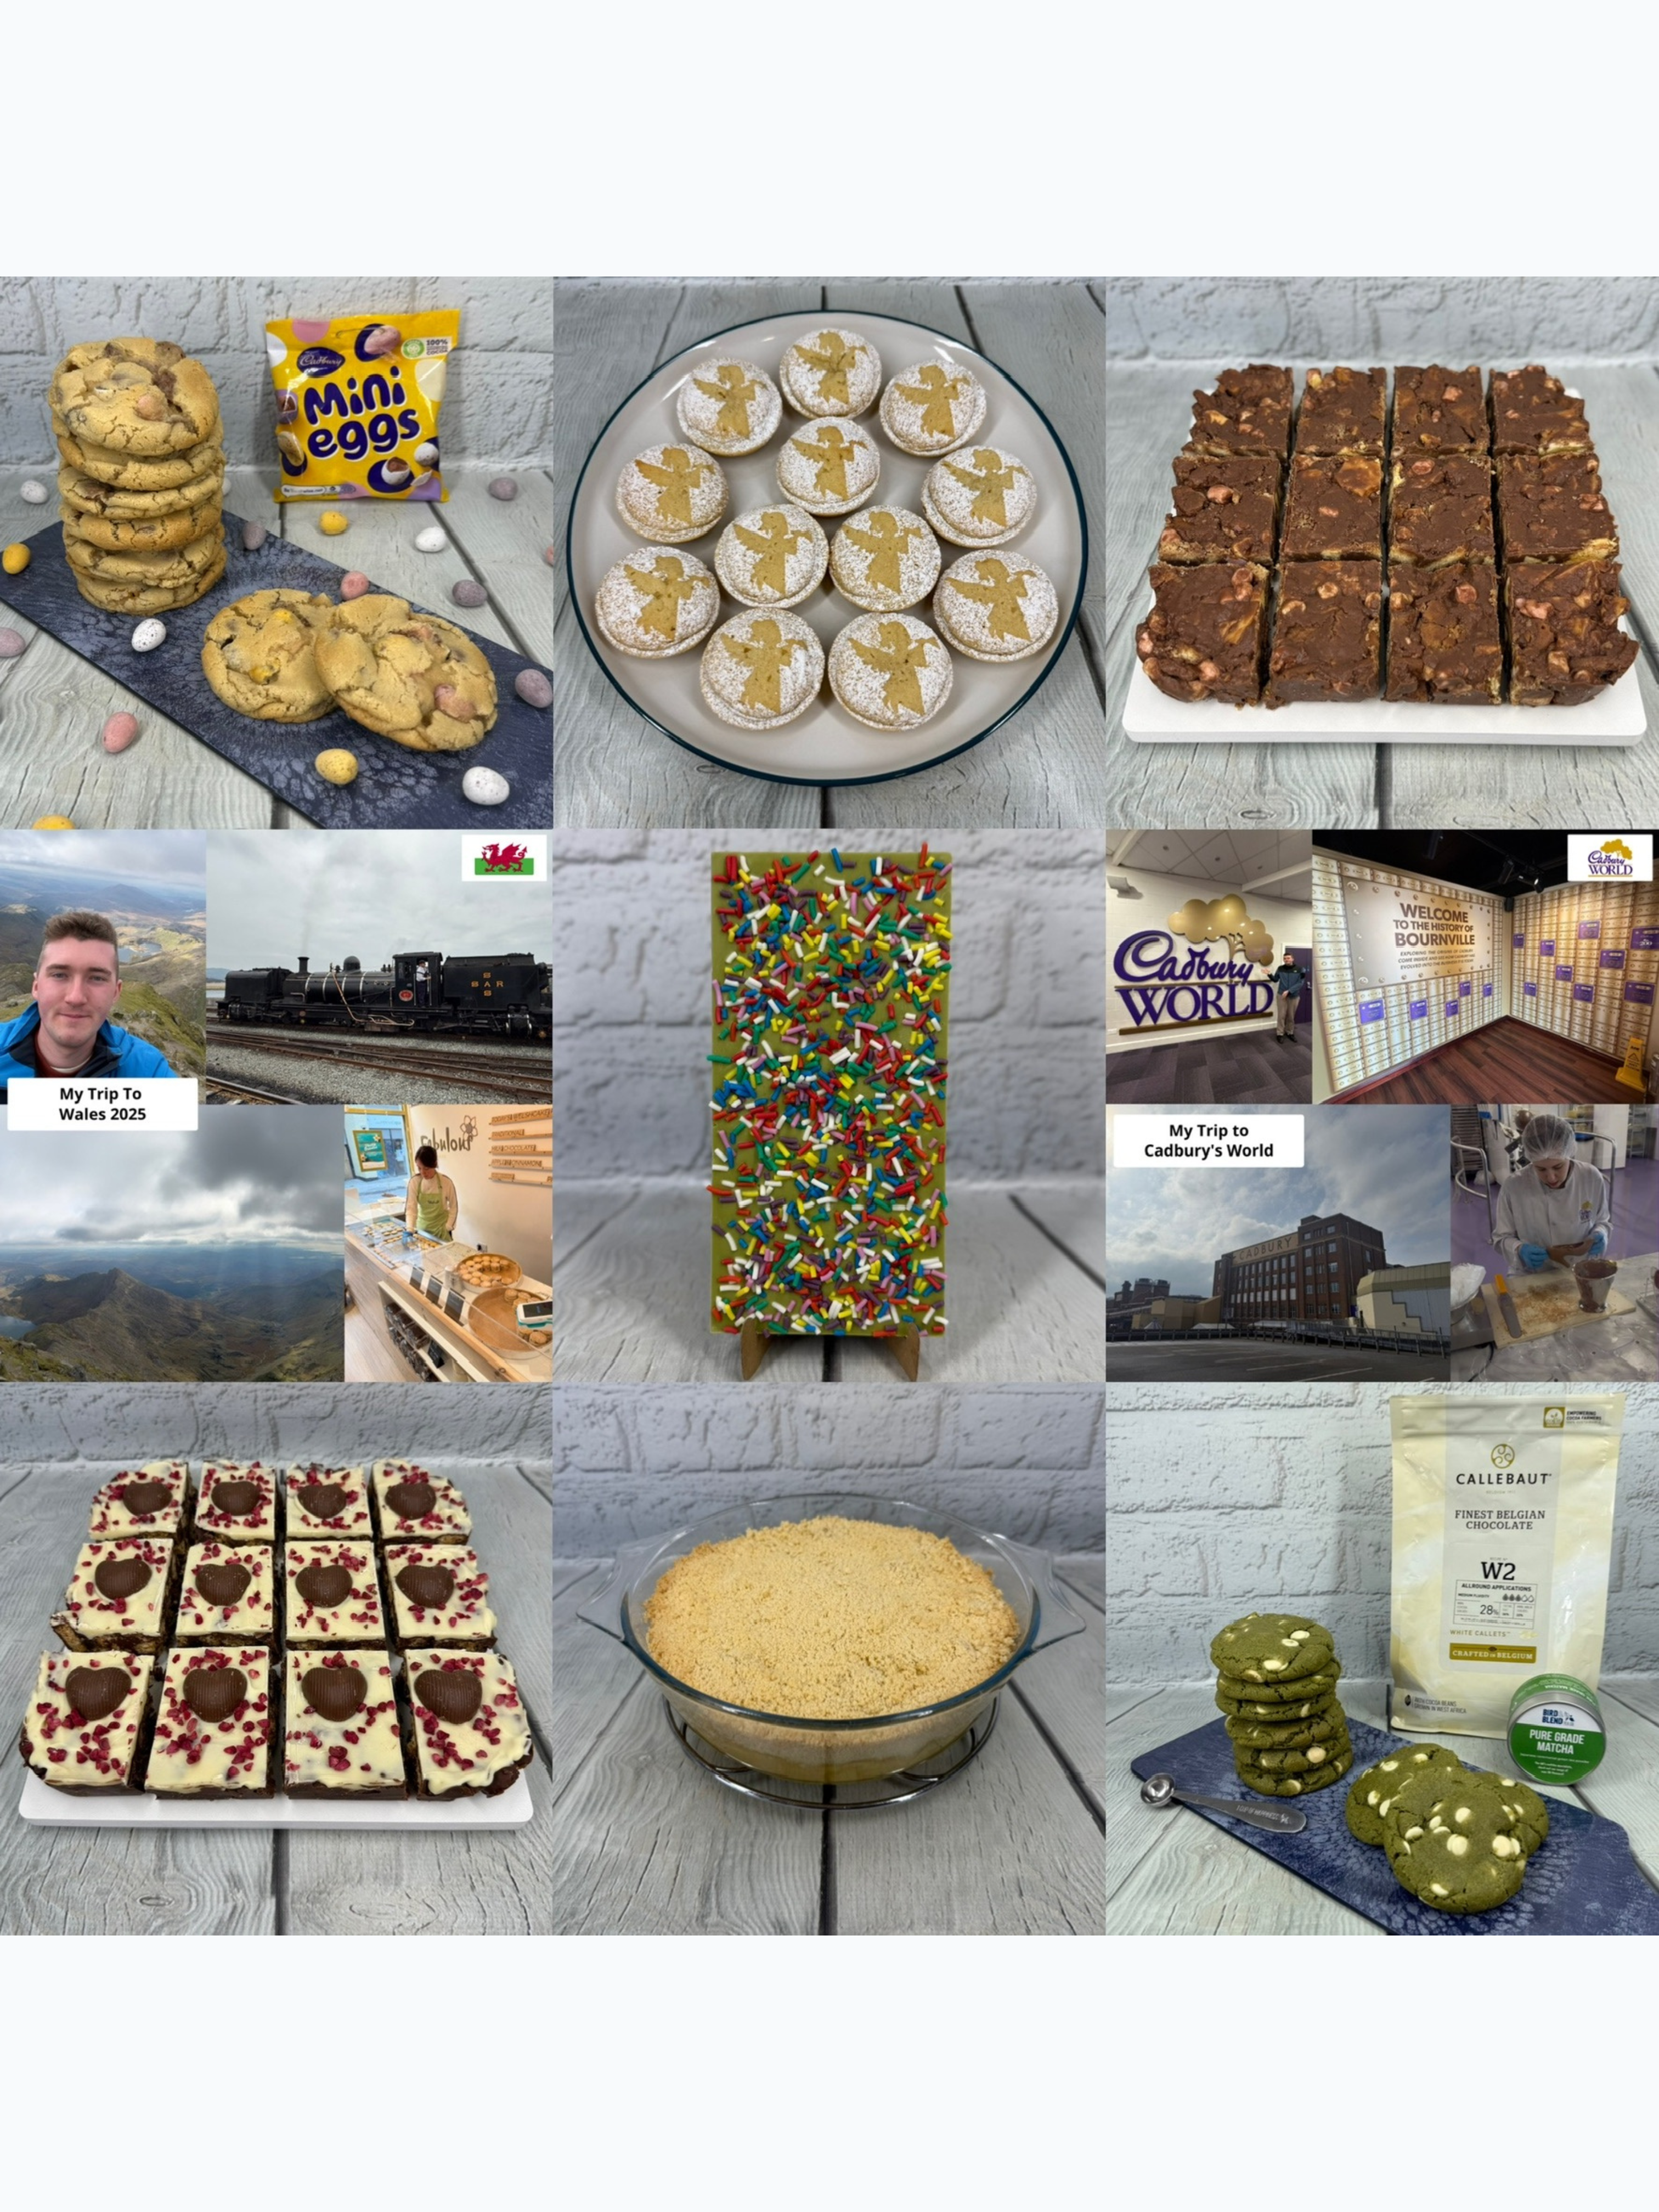
My Top 9 Favourite Gleni Moments Of 2025!

My Top 9 Favourite Gleni Moments Of 2025!
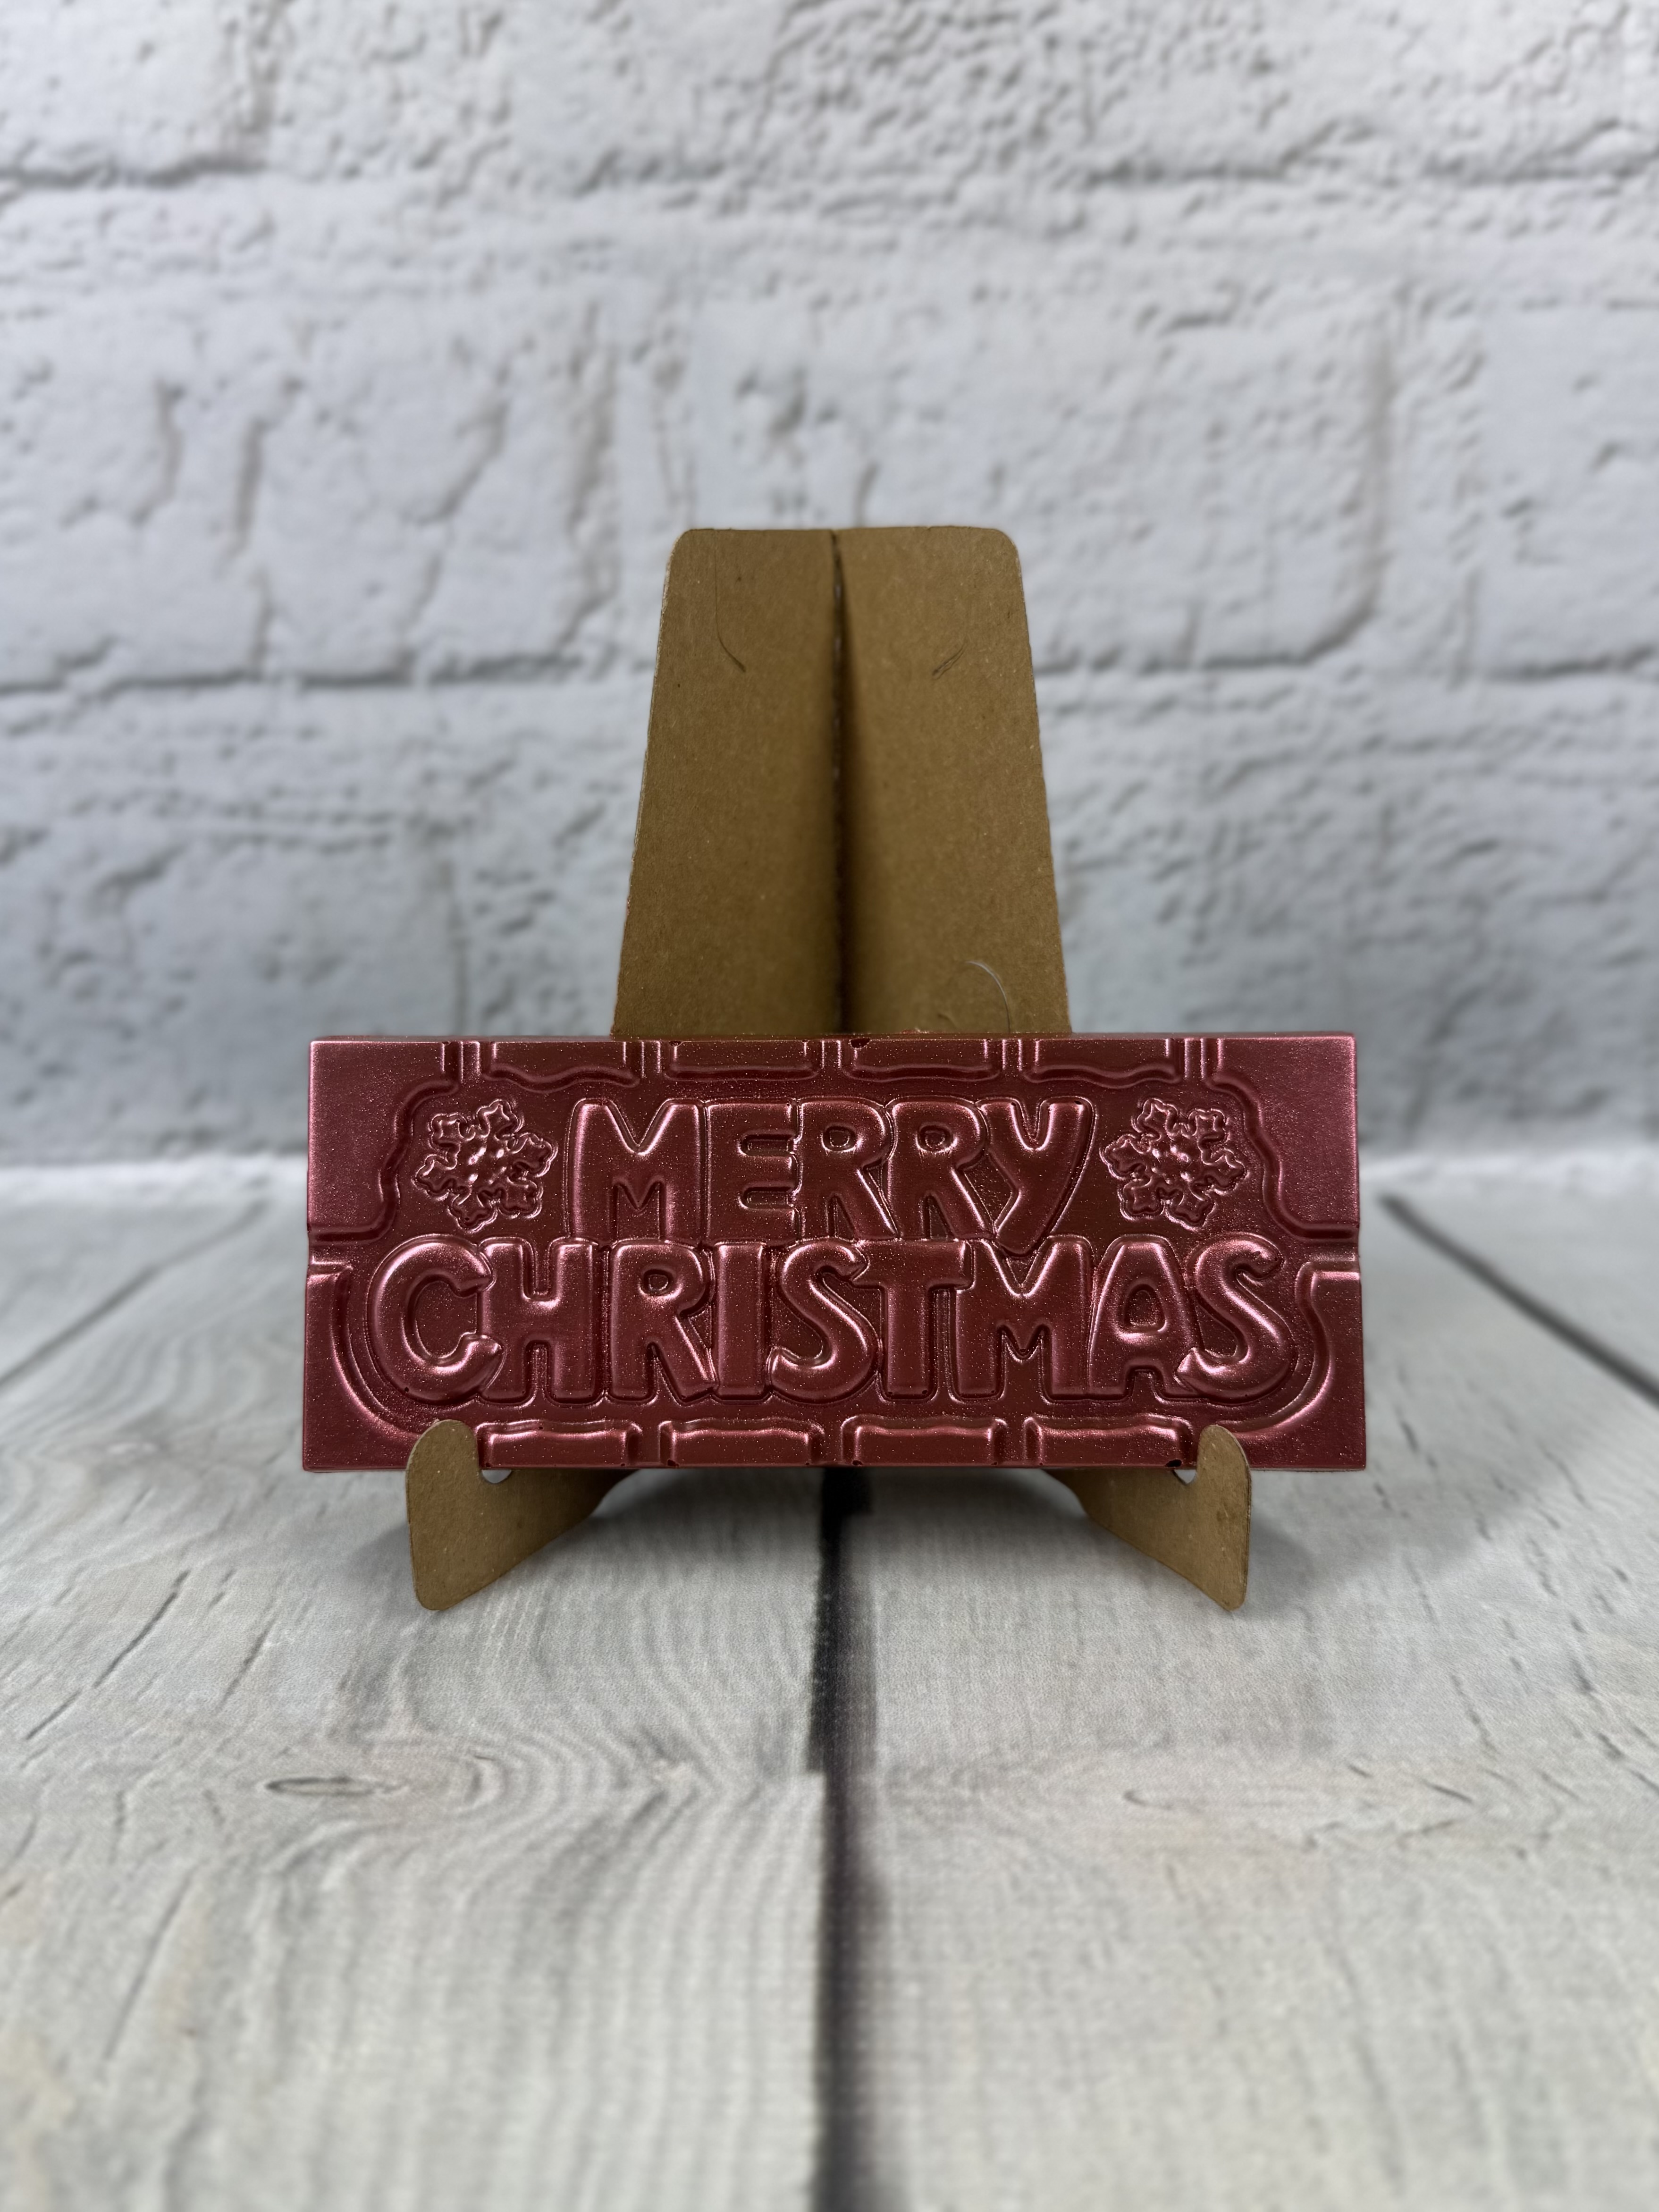
Milk Chocolate Mini Bar "Merry Christmas" (Scarlett Red)

Milk Chocolate Mini Bar "Merry Christmas" (Scarlett Red)
Hashtags
#happyhalloween #halloween #spiderbiscuits #spider #rolo #icing #vanillabiscuits #vanilla #biscuits #glenichocolatier #glenibakes #gleni
Latest Videos
Milk Chocolate Orange Bar

Milk Chocolate Orange Bar
Chocolate Machine

Chocolate Machine

2025 Season Comes To An End!

2025 Season Comes To An End!
Christmas Angel Mince Pies

Christmas Angel Mince Pies
Milk Chocolate Mini Bar "Merry Christmas" (Scarlett Red)

Milk Chocolate Mini Bar "Merry Christmas" (Scarlett Red)


Look amazing!
Will defo be giving the recipe ago
Thanks for your comment, Rhys! Look forward to seeing how you get on making your very own Halloween Spider Biscuits. Happy baking!