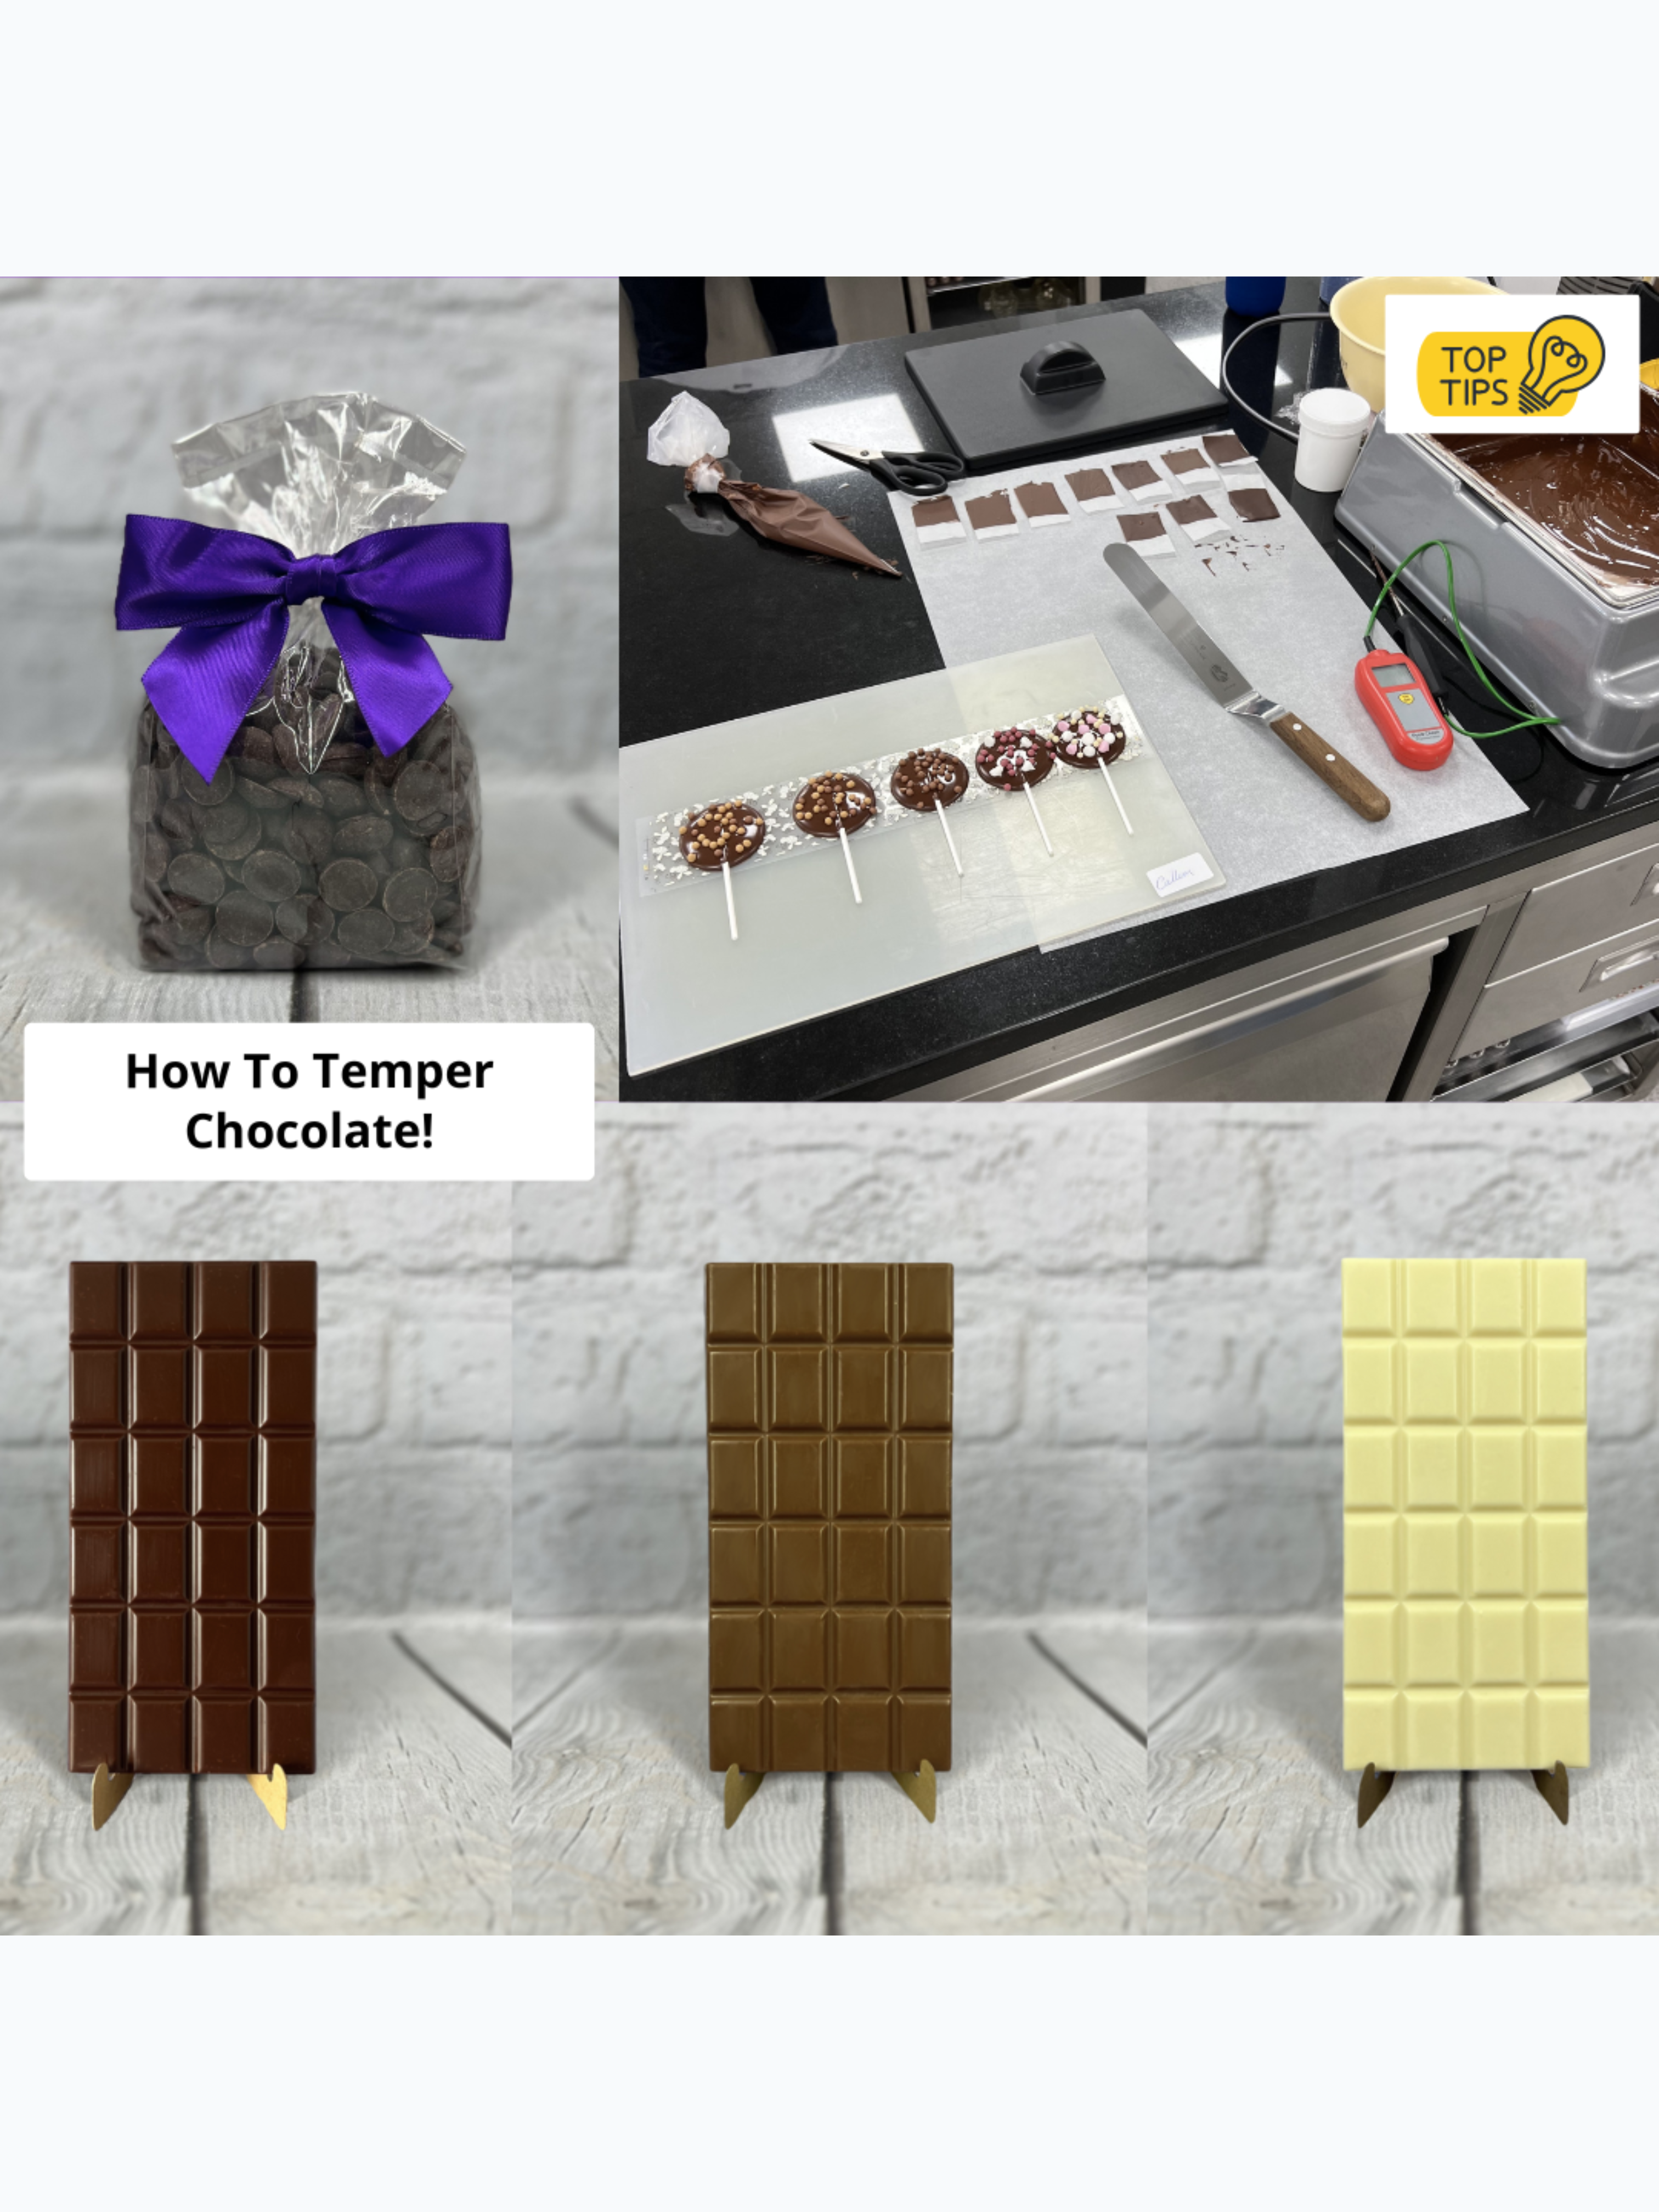
Step by step guide on 'How To Temper Chocolate!'
Chocolate Introduction:
Mastering chocolate starts with tempering, get it right and you’ll have glossy, perfectly set chocolate every time.
Chocolate Tempering Temperatures:
(Using Callebaut chocolate - Still good for most brands of chocolate.)
Dark Chocolate (811)
31 - 32°C
Milk Chocolate (823)
29 - 30°C
Ruby Chocolate (RB1)
29.5 - 30.5°C
Gold Chocolate (GOLD)
28 -29°C
White Chocolate (W2)
28 - 29°C
Tempering Using A Microwave:
- Place 2/3 of callets into a plastic bowl.
- Put the bowl into microwave and heat on 800 or 1000W to a temperature of between 40 - 45°C.
- Regularly stop the microwave every 15 to 20 seconds and stir well so that the chocolate does not burn.
- Test with a temperature probe to ensure you do not exceed your desired temperature.
- Continue repeating this process until all the Callets have melted.
- Add the remaining 1/3 of callets and stir. This will add new Beta5 crystals to your chocolate.
- Warm the chocolate using the guide above and testing with a temperature probe.
- Take a sample by using a rectangular strip (approx 6 cm by 3 cm) of greaseproof paper and test by dipping in the chocolate on one side of the paper no more than 2-3 cm.
- Set aside on a cool worktop for 1 minute to set, once you know it sets, you can use the chocolate.
- Place into a piping bag or pour chocolate into moulds.
- If your chocolate is setting too quickly regularly stir and heat using a clean hairdryer or heat gun.
Tempering Using A Bain-Marie:
- Prepare the bain-marie by using a large saucepan with approximately 5cm of water and bring it to a gentle simmer, then reduce heat so it's just hot, not boiling. Place a heatproof bowl over the top ensuring not to touch the water.
- Place 2/3 of callets into the heat proof bowl.
- Gently heat the chocolate until the temperature reaches between 40 - 45°C.
- Regularly stir in a figure of eight every 25 to 30 seconds making sure stir that the chocolate does not burn.
- Test with a temperature probe to ensure you do not exceed your desired temperature.
- Continue repeating this process until all the Callets have melted.
- Carefully take off the heat, ensuring no water gets into the chocolate.
- Add the remaining 1/3 of callets and stir. This will add new Beta5 crystals to your chocolate.
- Warm the chocolate using the guide above and testing with a temperature probe.
- Take a sample by using a rectangular strip (approx 6 cm by 3 cm) of greaseproof paper and test by dipping in the chocolate on one side of the paper no more than 2-3 cm.
- Set aside on a cool worktop for 1 minute to set, once you know it sets, you can use the chocolate.
- Place into a piping bag or pour chocolate into moulds.
- If your chocolate is setting too quickly regularly stir and heat using a clean hairdryer or heat gun.
Tempering Using A Melting Kettle/Tank:
- Prepare the melting kettle by placing stainless steel insert into the tank.
- Place 2/3 of callets into the insert.
- Gently heat the chocolate until the temperature reaches between 40 - 45°C.
- Once melted test with a temperature probe to ensure you do not exceed your desired temperature.
- Take the stainless steel insert out of the kettle, add the remaining 1/3 of callets and continuously stir. This will add new Beta5 crystals to your chocolate.
- Place the stainless steel insert back into kettle, adjust the temperature to the desired temperature using the guide above and test with a temperature probe.
- Take a sample by using a rectangular strip (approx 6 cm by 3 cm) of greaseproof paper and test by dipping in the chocolate on one side of the paper no more than 2-3 cm.
- Set aside on a cool worktop for 1 minute to set, once you know it sets, you can use the chocolate.
- Use chocolate as needed by using a piping bag or pour chocolate into moulds ensure to use the lid to keep the chocolate at the desired temperature.
- If your chocolate is setting too quickly regularly stir and heat using a clean hairdryer or heat gun.
Using it the following day...
You will need to bring the temperature back up to 40 to 45°C and repeat method above.
Tips:
- You can use a clean hairdryer or a heat gun to gently heat the chocolate.
- I would recommend using real chocolate with a minimum of 33.6% cocoa solids. This will allow you to create a perfect snap and shine to the chocolate.
- Use callets or small even pieces of chocolate this will ensure a more even melt.
- We use plastic bowls, they don’t retain heat, making them perfect for keeping chocolate at the right temperature.
Cooling Chocolate:
Begin by letting the chocolate sit at room temperature for a few minutes after tempering or melting, then place it carefully in the fridge on a flat surface, avoiding sudden temperature changes. Check the chocolate regularly as it sets, allowing it to firm up slowly rather than rushing the process, to ensure a smooth, glossy finish and a stable texture.
A standard kitchen fridge can be used, provided the chocolate is well covered, allowed to cool gradually, and protected from moisture and strong food odours to minimise the risk of condensation and sugar bloom.
However the best approach is to cool chocolate gradually in a controlled environment, typically between 12 - 16°C, with low and stable humidity to prevent condensation and sugar bloom. A dedicated chocolate fridge is extremely useful for this purpose because it is specifically designed to maintain these exact conditions, unlike standard refrigerators that are too cold and humid.
Chocolate fridges provide consistent airflow, gentle cooling, and humidity regulation, allowing chocolates to set evenly and remain visually flawless and shelf-stable, which is essential in professional chocolate production and finishing. It is also important to note that chocolate fridges can be costly.
Chocolate fridges provide consistent airflow, gentle cooling, and humidity regulation, allowing chocolates to set evenly and remain visually flawless and shelf-stable, which is essential in professional chocolate production and finishing. It is also important to note that chocolate fridges can be costly.
Storing Chocolate:
The optimal work area should be 21°C. If your room is hotter, the chocolate will not have enough time to develop the proper crystals between melting and refrigeration.
The ideal chocolate storage is a chocolate fridge or a fridge that can be set between 12 - 18°C ideally without any moisture set at a maximum of 70%. Sealed from light, air and smells (e.g cheese, fish, meat, lemons, etc). I know this can be harder at home, so just be mindful of this when using a household fridge.
Troubleshooting - Chocolate Bloom/Migration:
Fat Bloom - Chocolate bloom is either of two types of whitish coating that can appear on the surface of chocolate: fat bloom, caused by changes in the fat crystals in the chocolate.
Sugar Bloom - While the most common is fat bloom, sugar bloom also occurs and is not necessarily distinguishable from the fat bloom by appearance. In freshly sugar bloomed samples, it is often easy to feel the surface difference; sugar bloom feels dry and does not melt to the touch.
Fat Migration - Fat migration in chocolate is extremely dependent on storage temperature. Chocolate becomes softer with increasing temperature and loses its resistance towards the ingress of oils from the filling. Migration occurs primarily in the liquid fat phase, as a mobile phase is necessary for movement.
How Do I Tell If My Chocolate Is Temped Correctly:
You can recognize properly tempered chocolate by its smooth, glossy shine and the clean, crisp snap it makes when broken. Well-tempered chocolate also feels firm at room temperature and melts smoothly in the mouth without appearing dull, streaky, or soft. These qualities indicate that the cocoa butter has formed stable crystals, giving the chocolate an attractive appearance and the right texture.
Thank you for reading "How To Temper Chocolate!". I hope you have learnt lots and if you have any questions feel free to create a free Gleni account and leave a comment below!
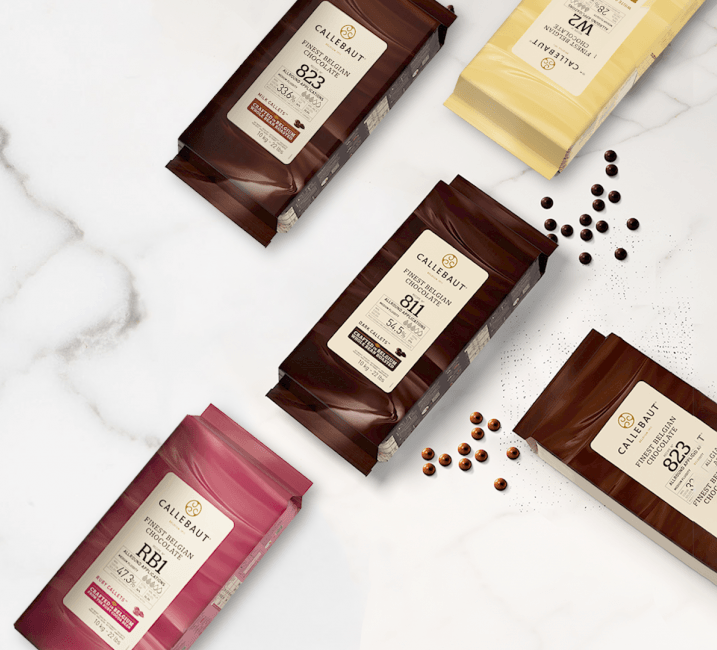
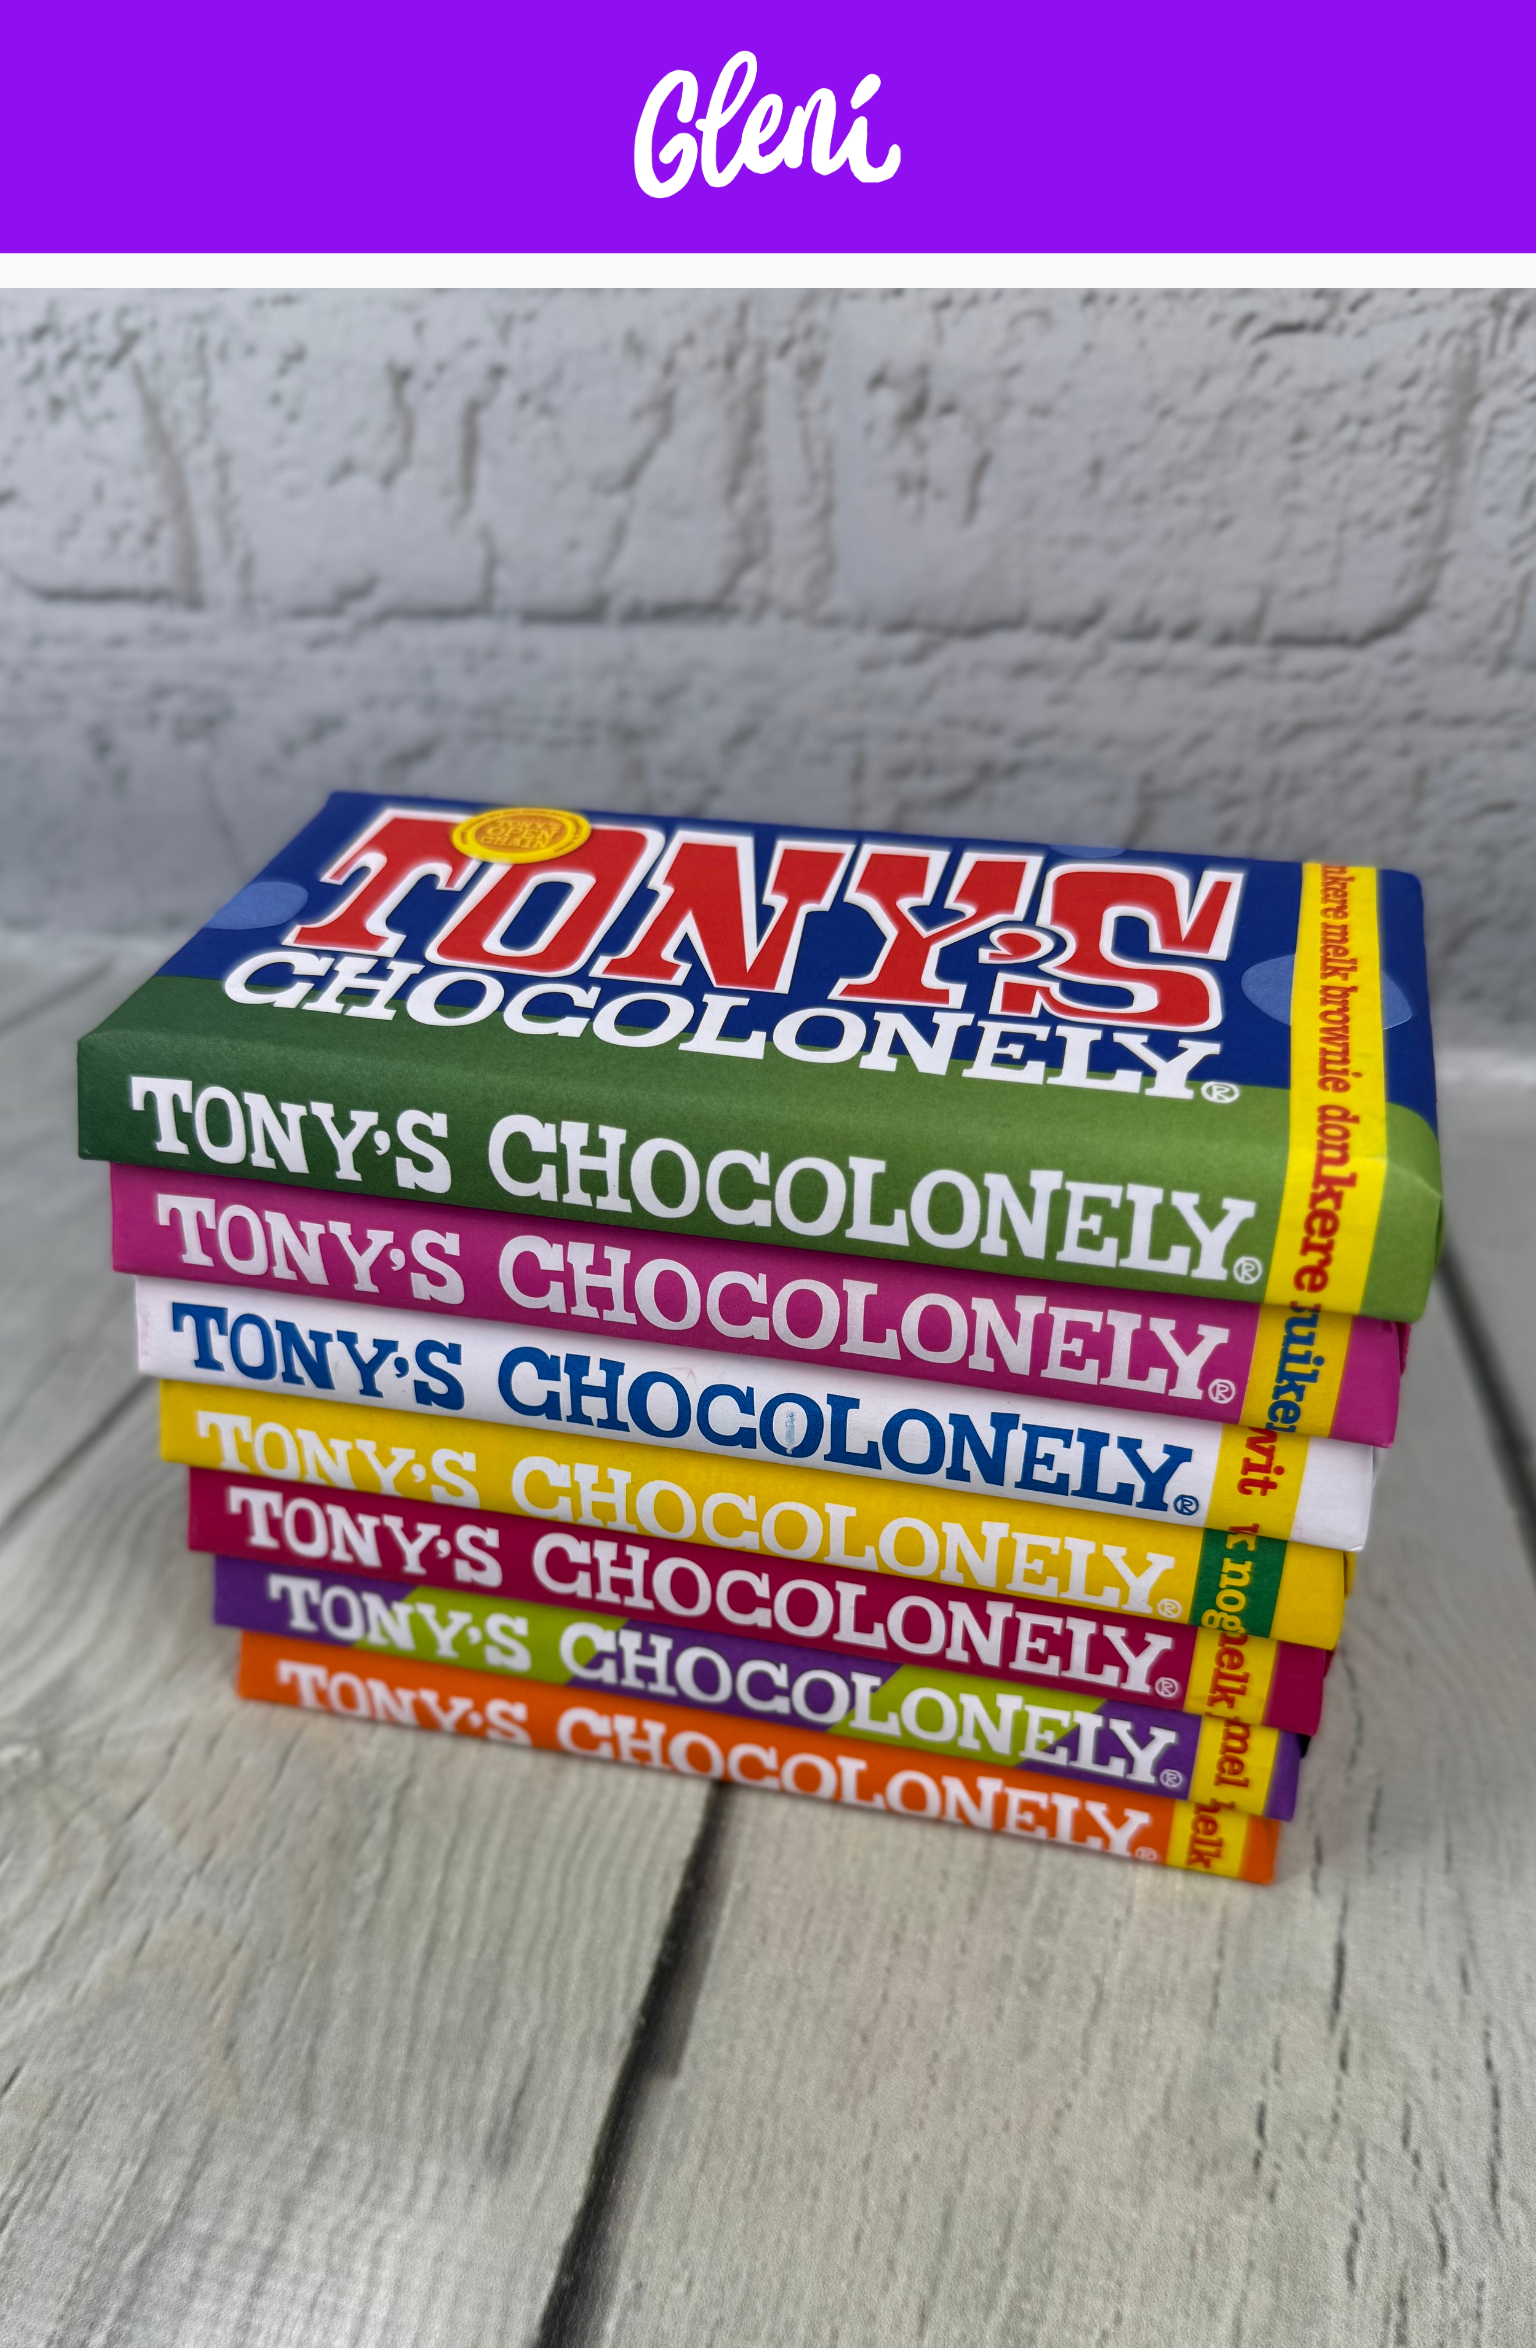
Callebaut - Dark Chocolate (811), Milk Chocolate (823), Ruby Chocolate (RB1), Gold Chocolate (GOLD) & White Chocolate (W2).
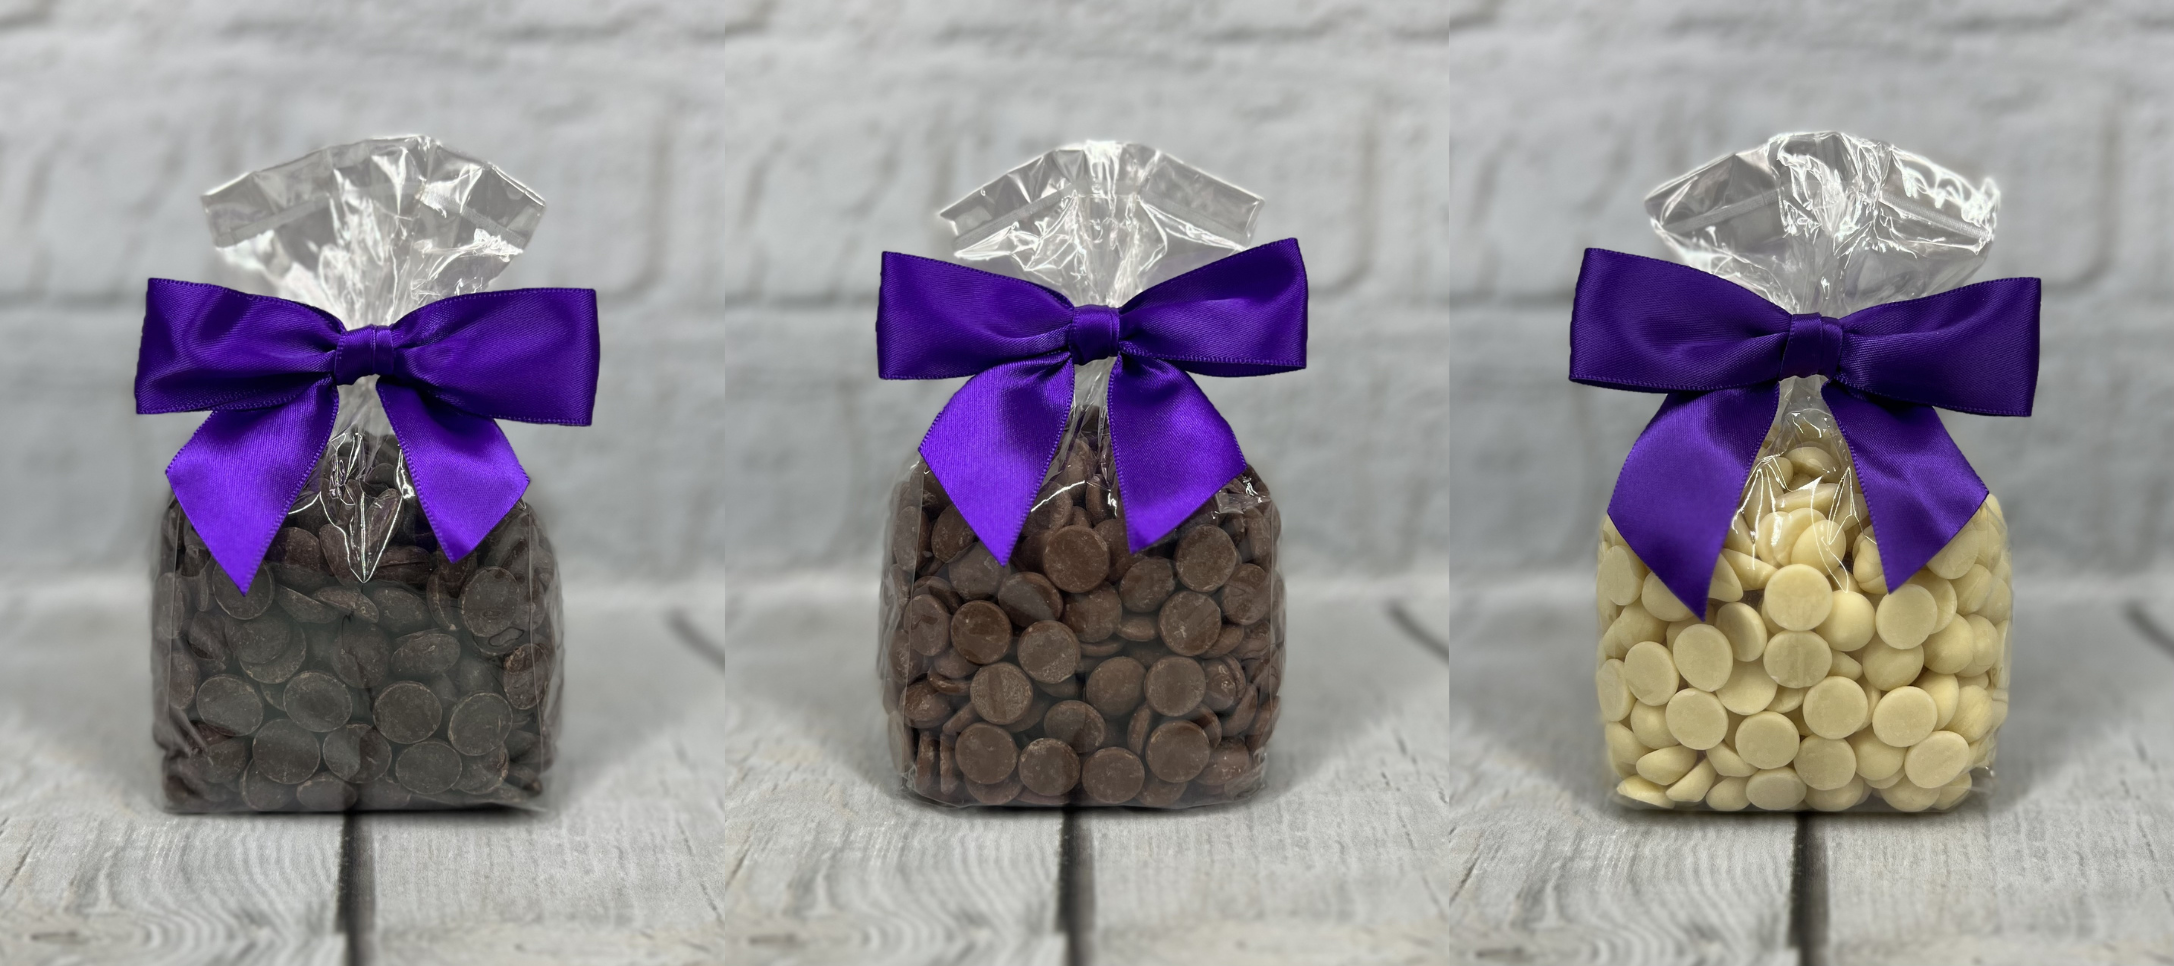
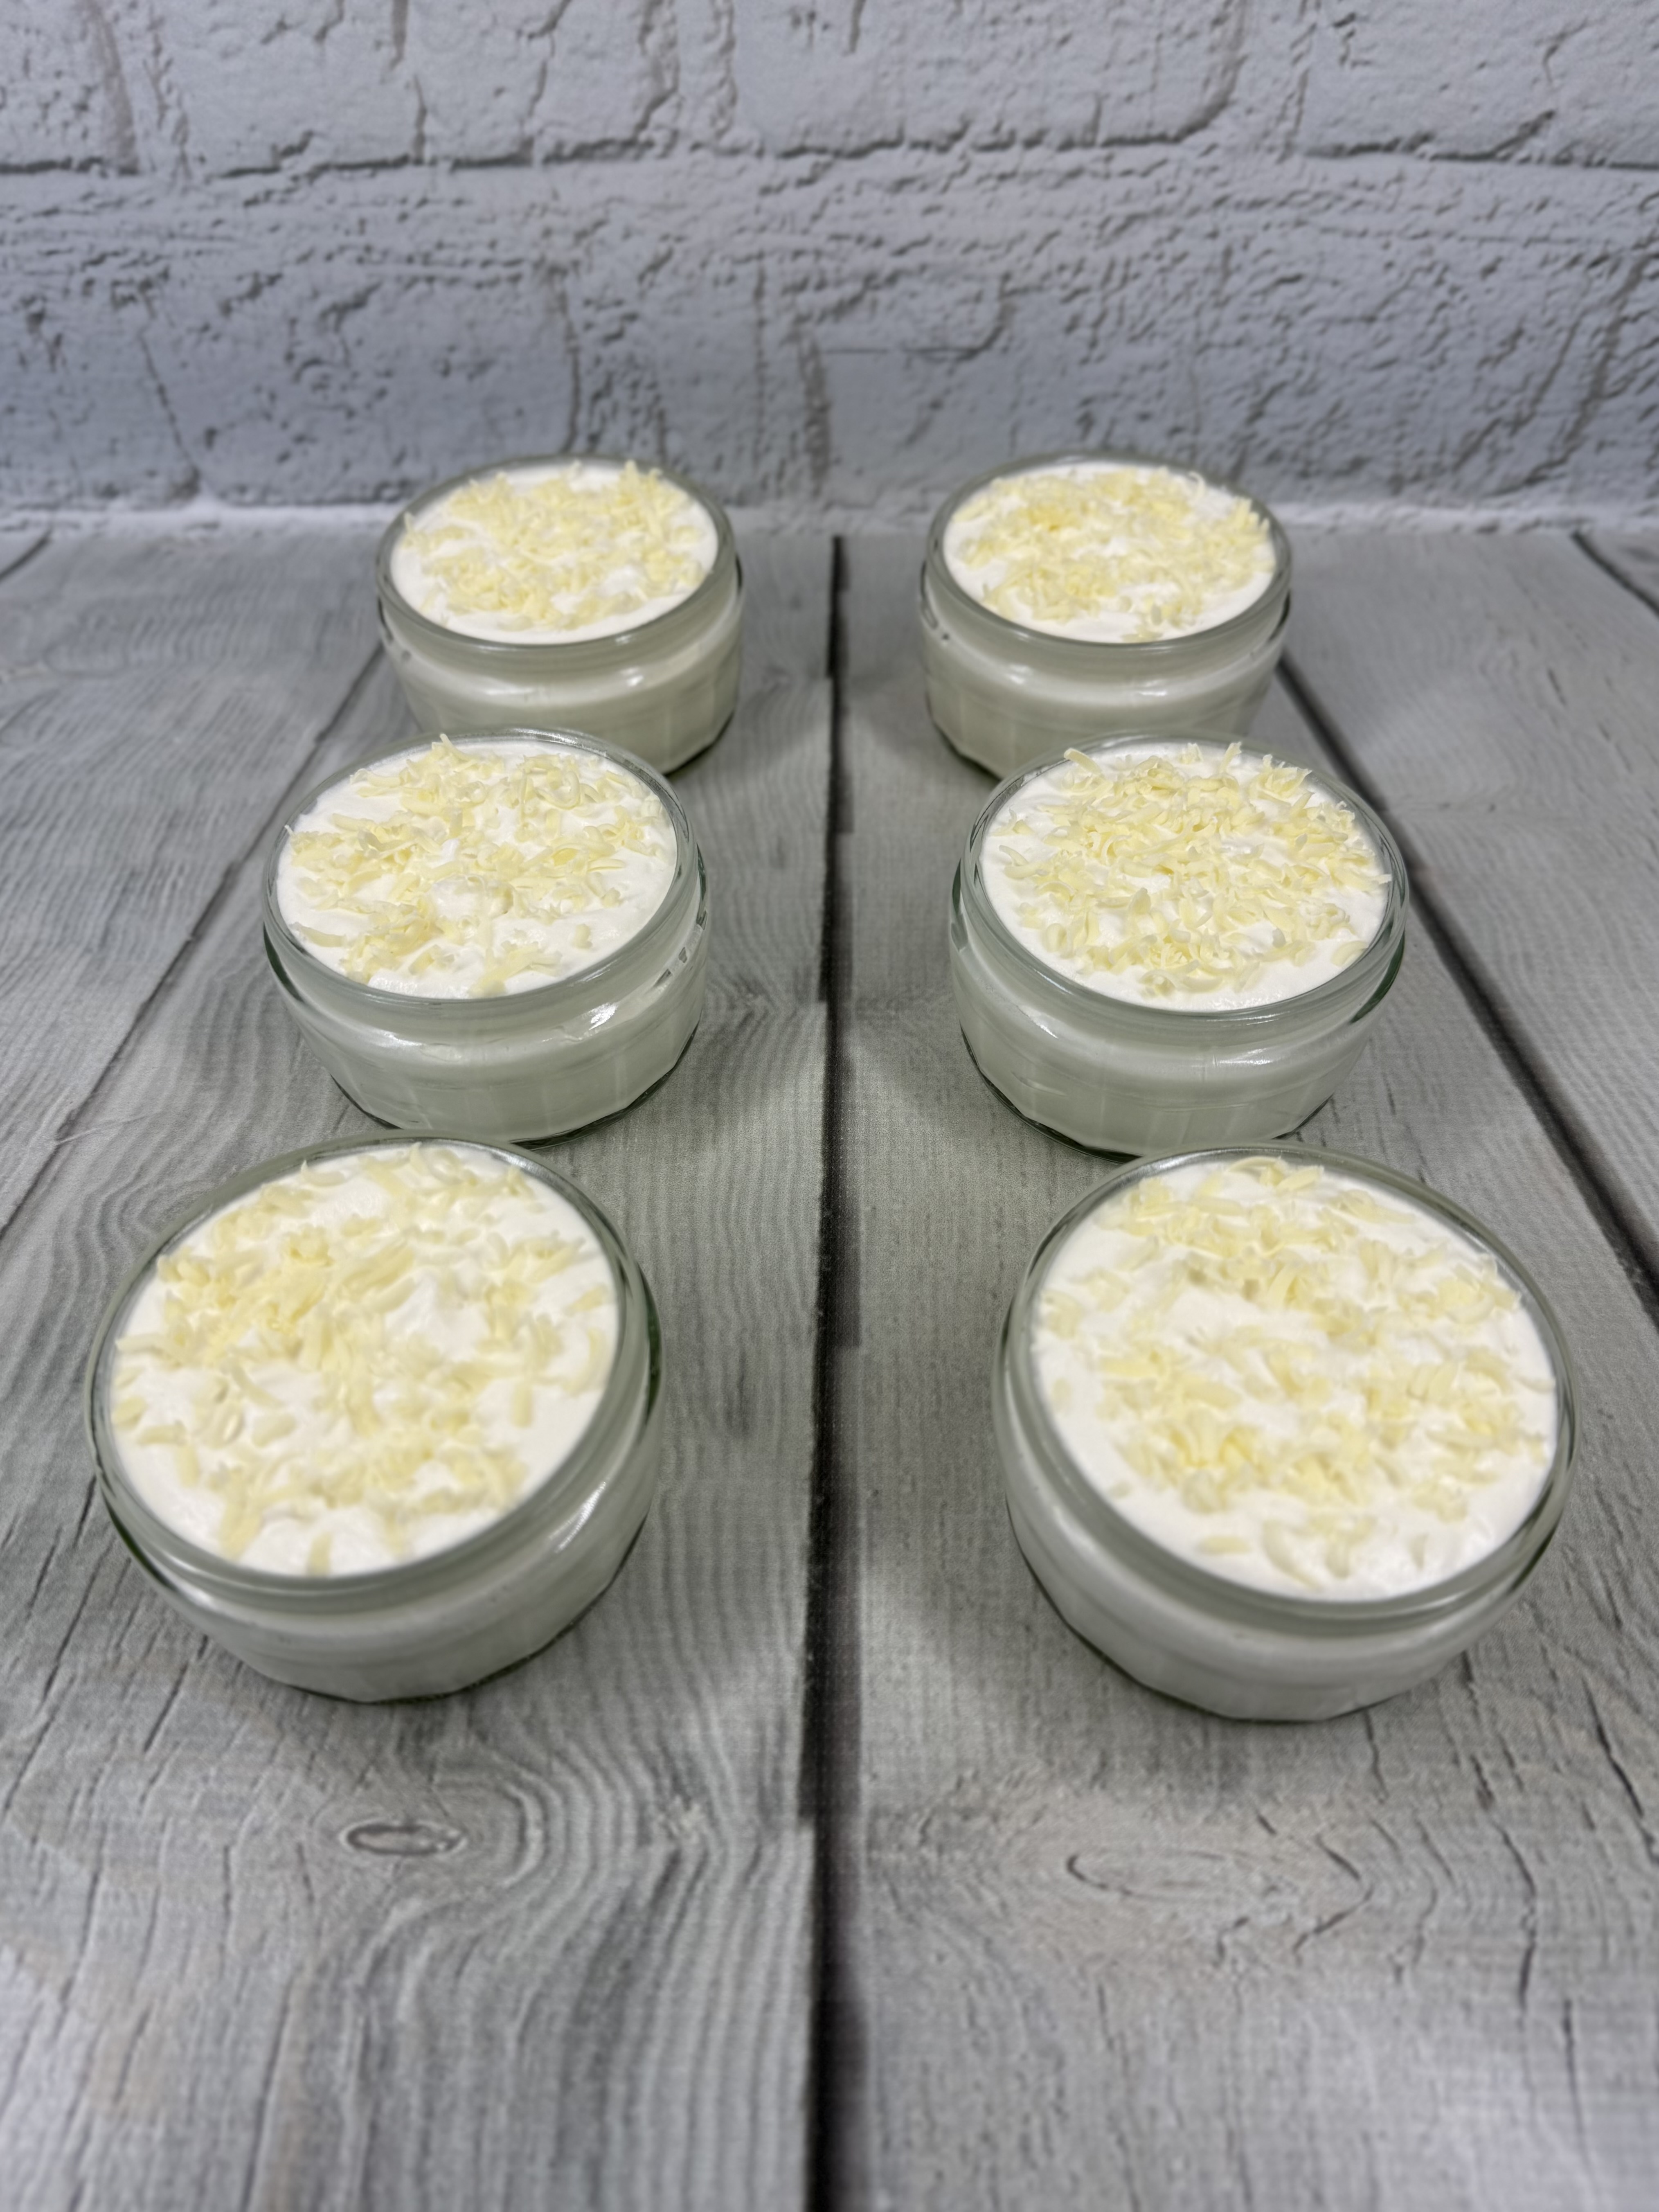
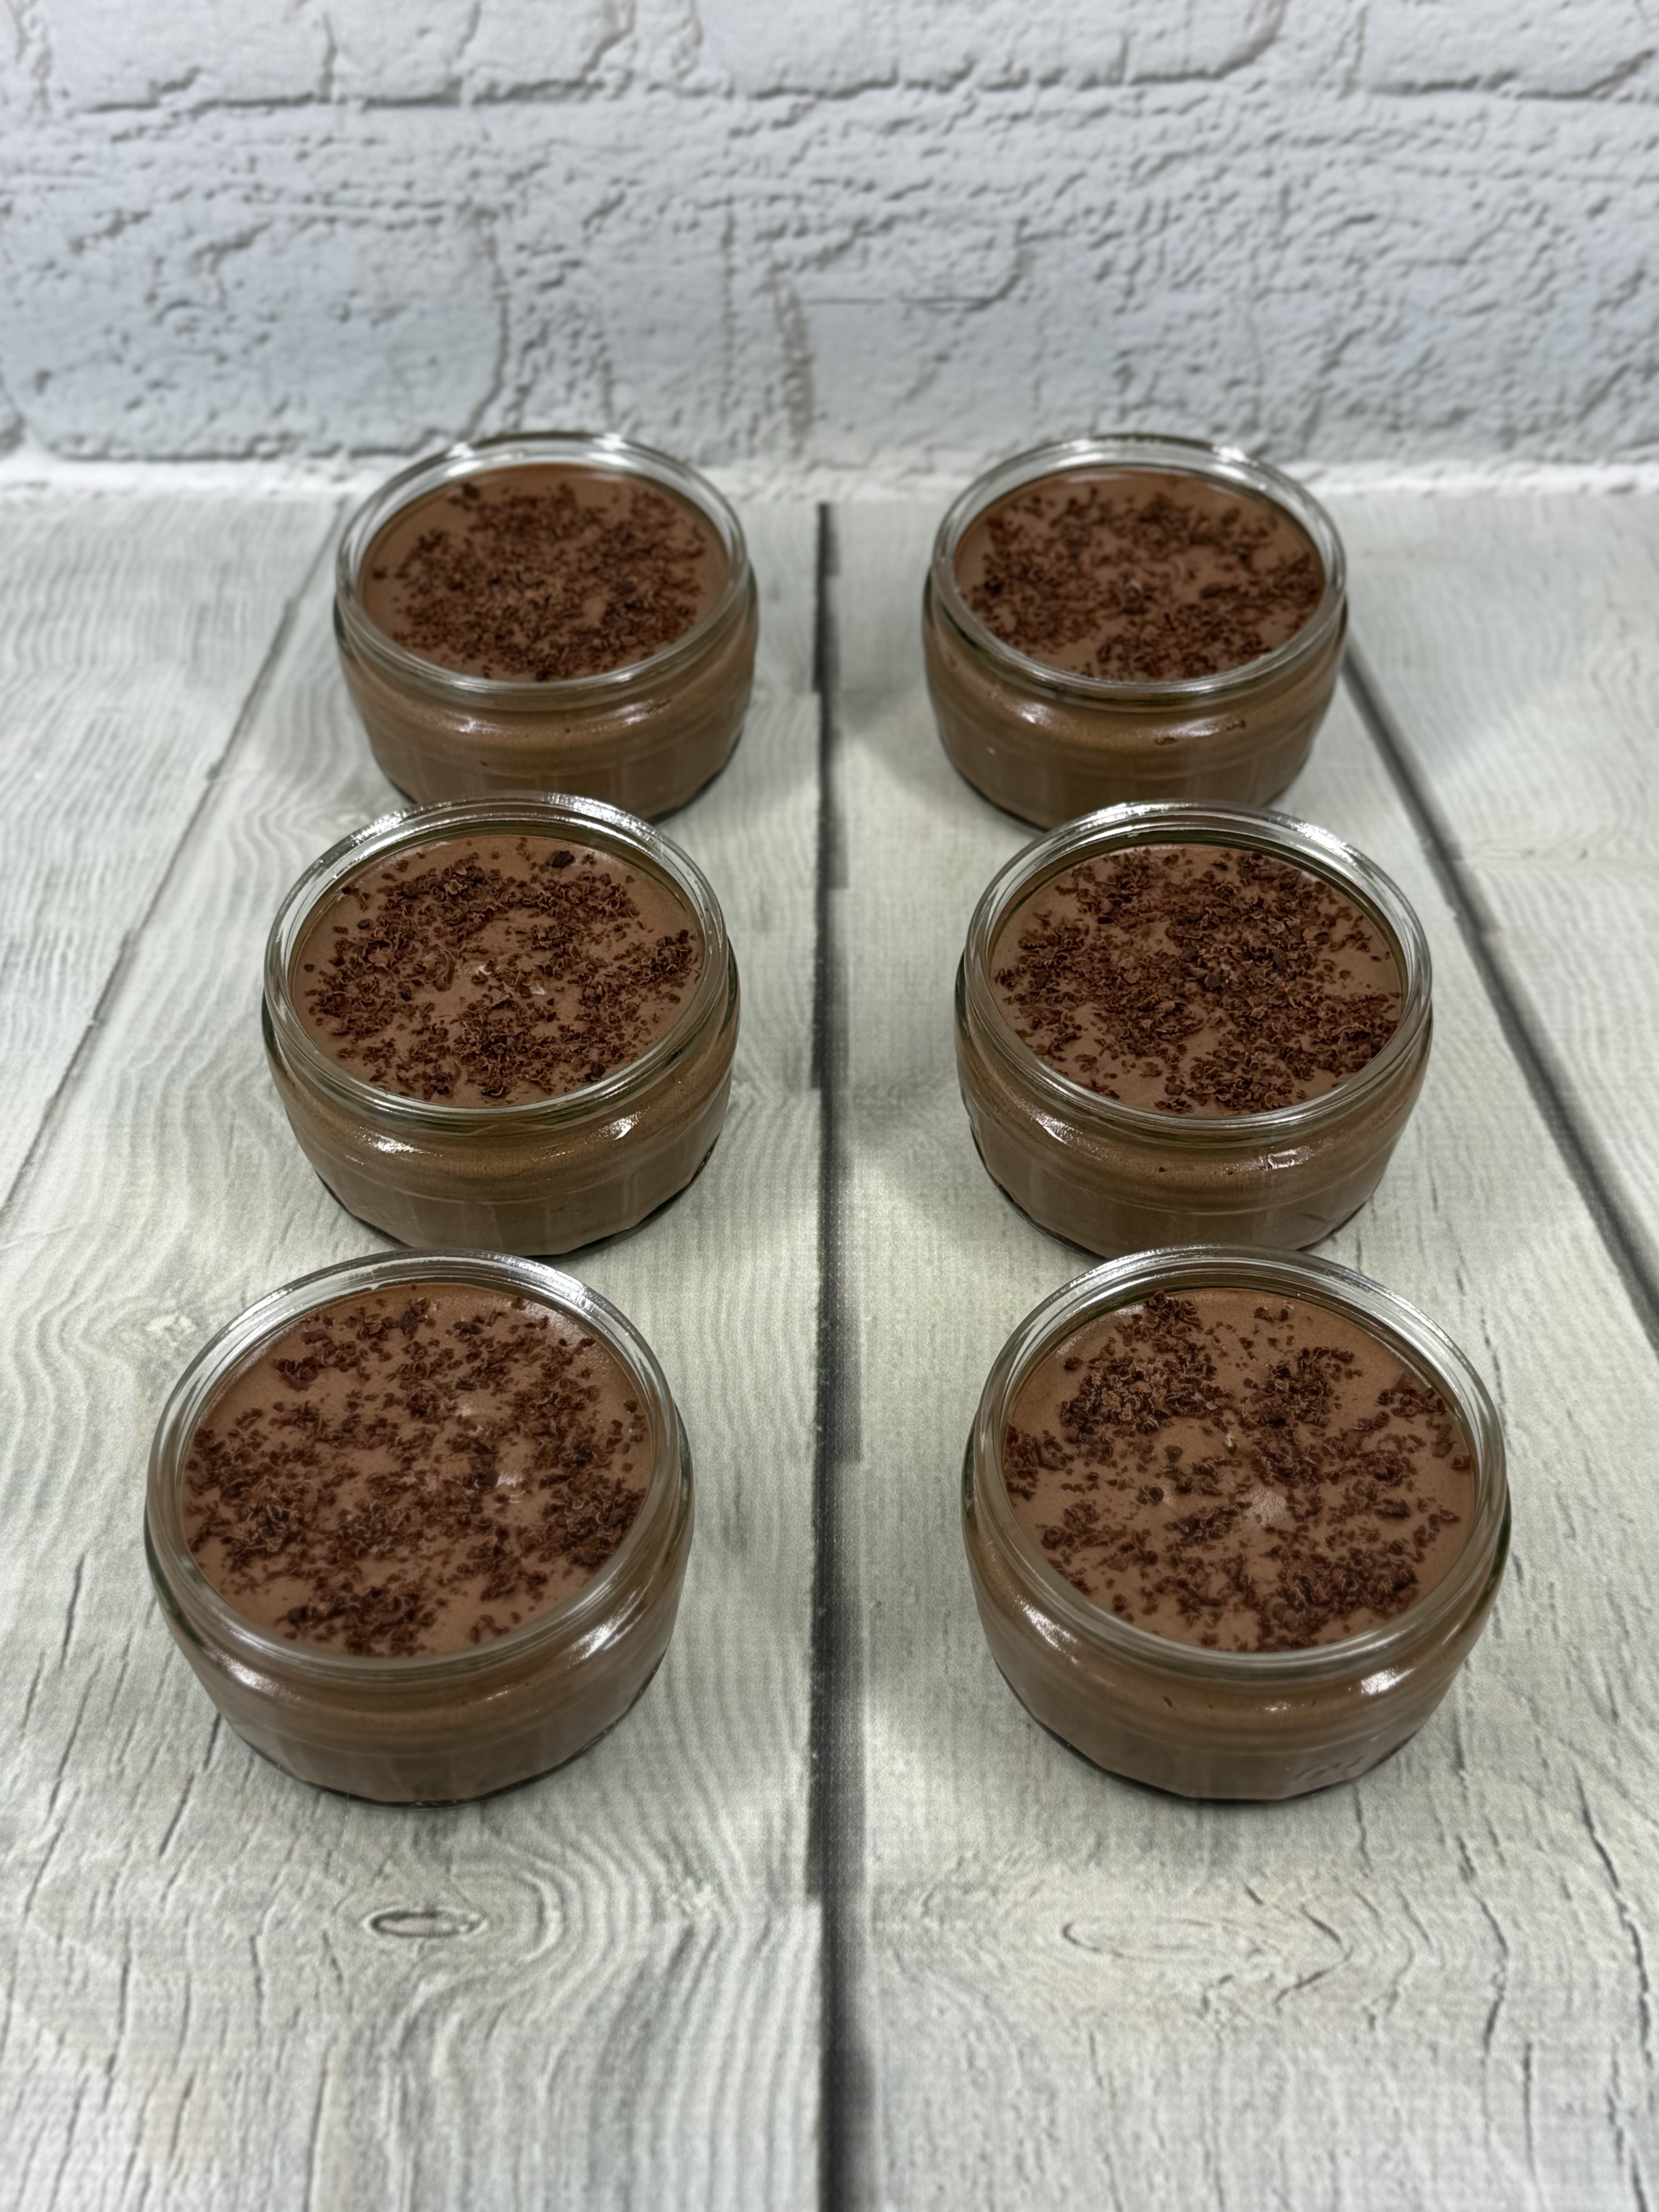
Belgium Dark, Milk & White Chocolate Callets.
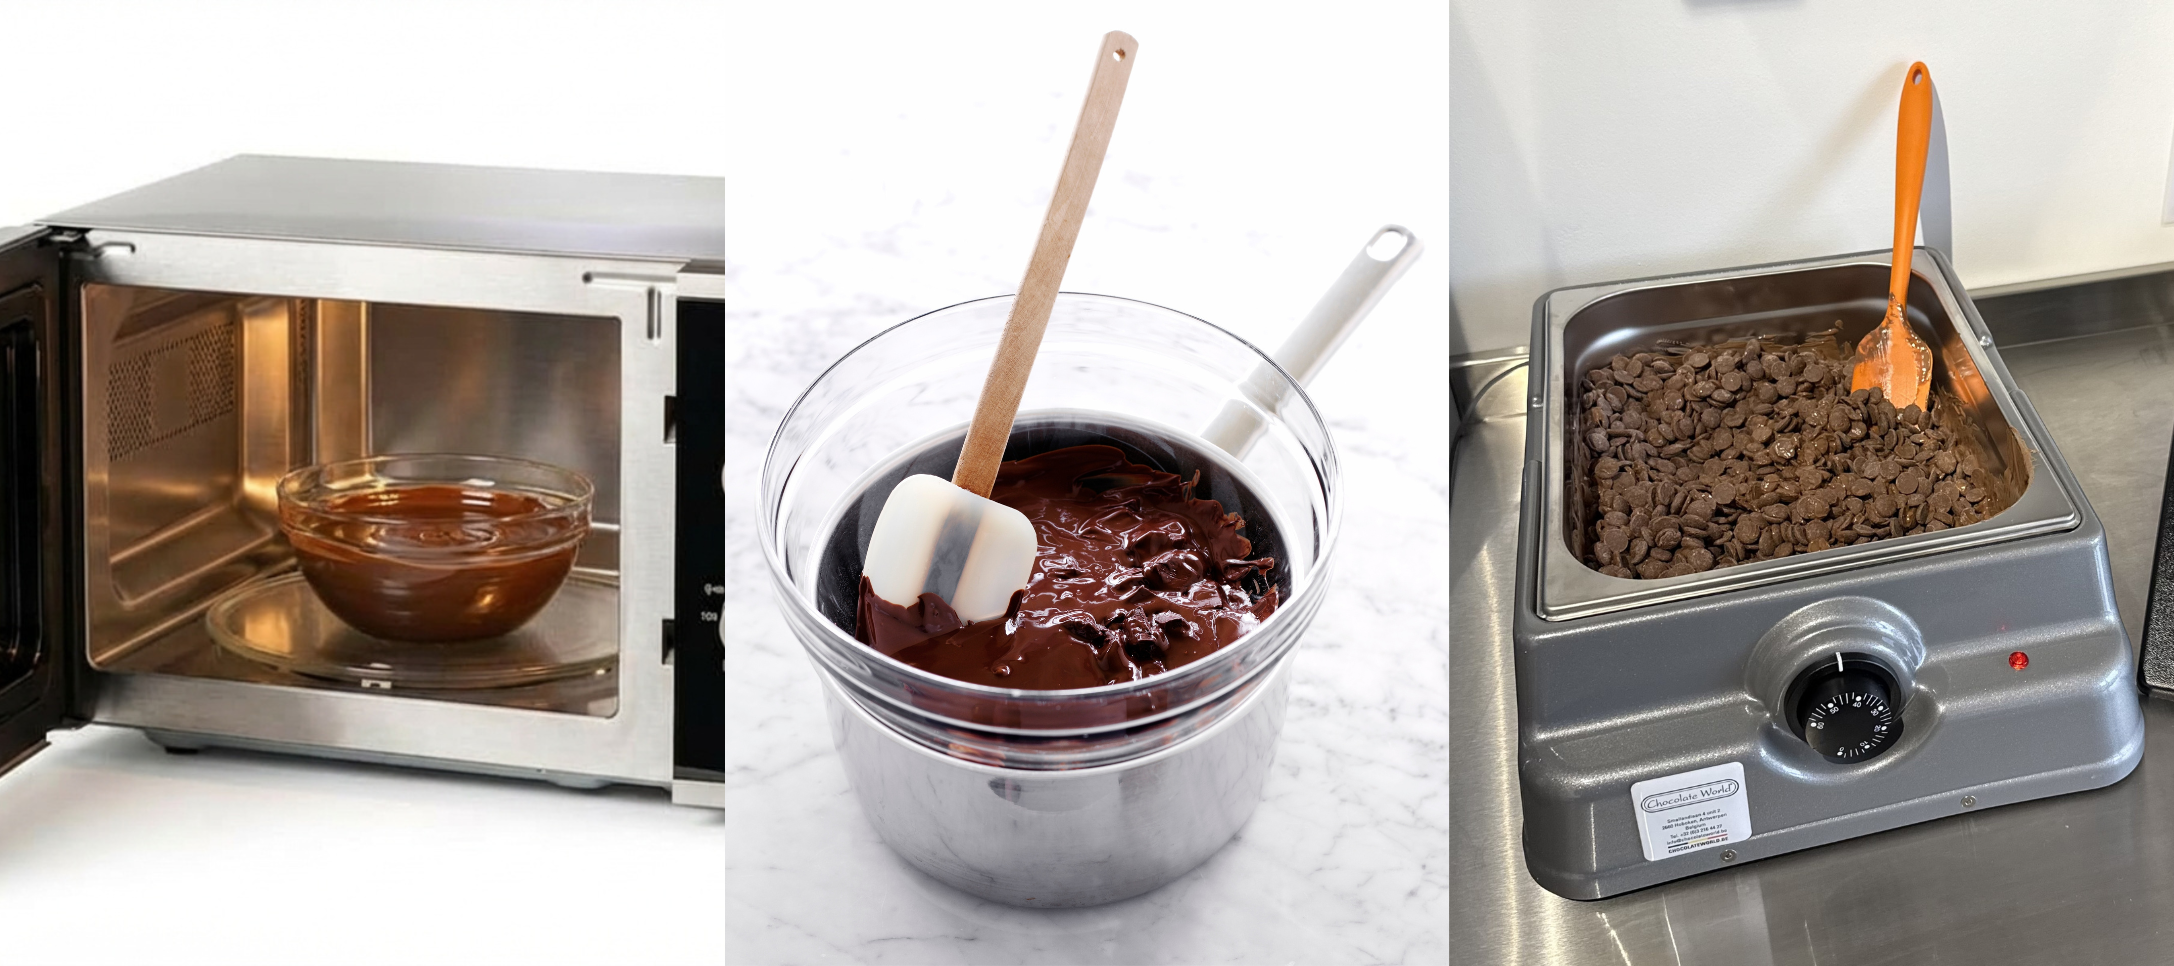
Tempering using a Microwave, Bain-Marie or Melting Kettle/Tank.
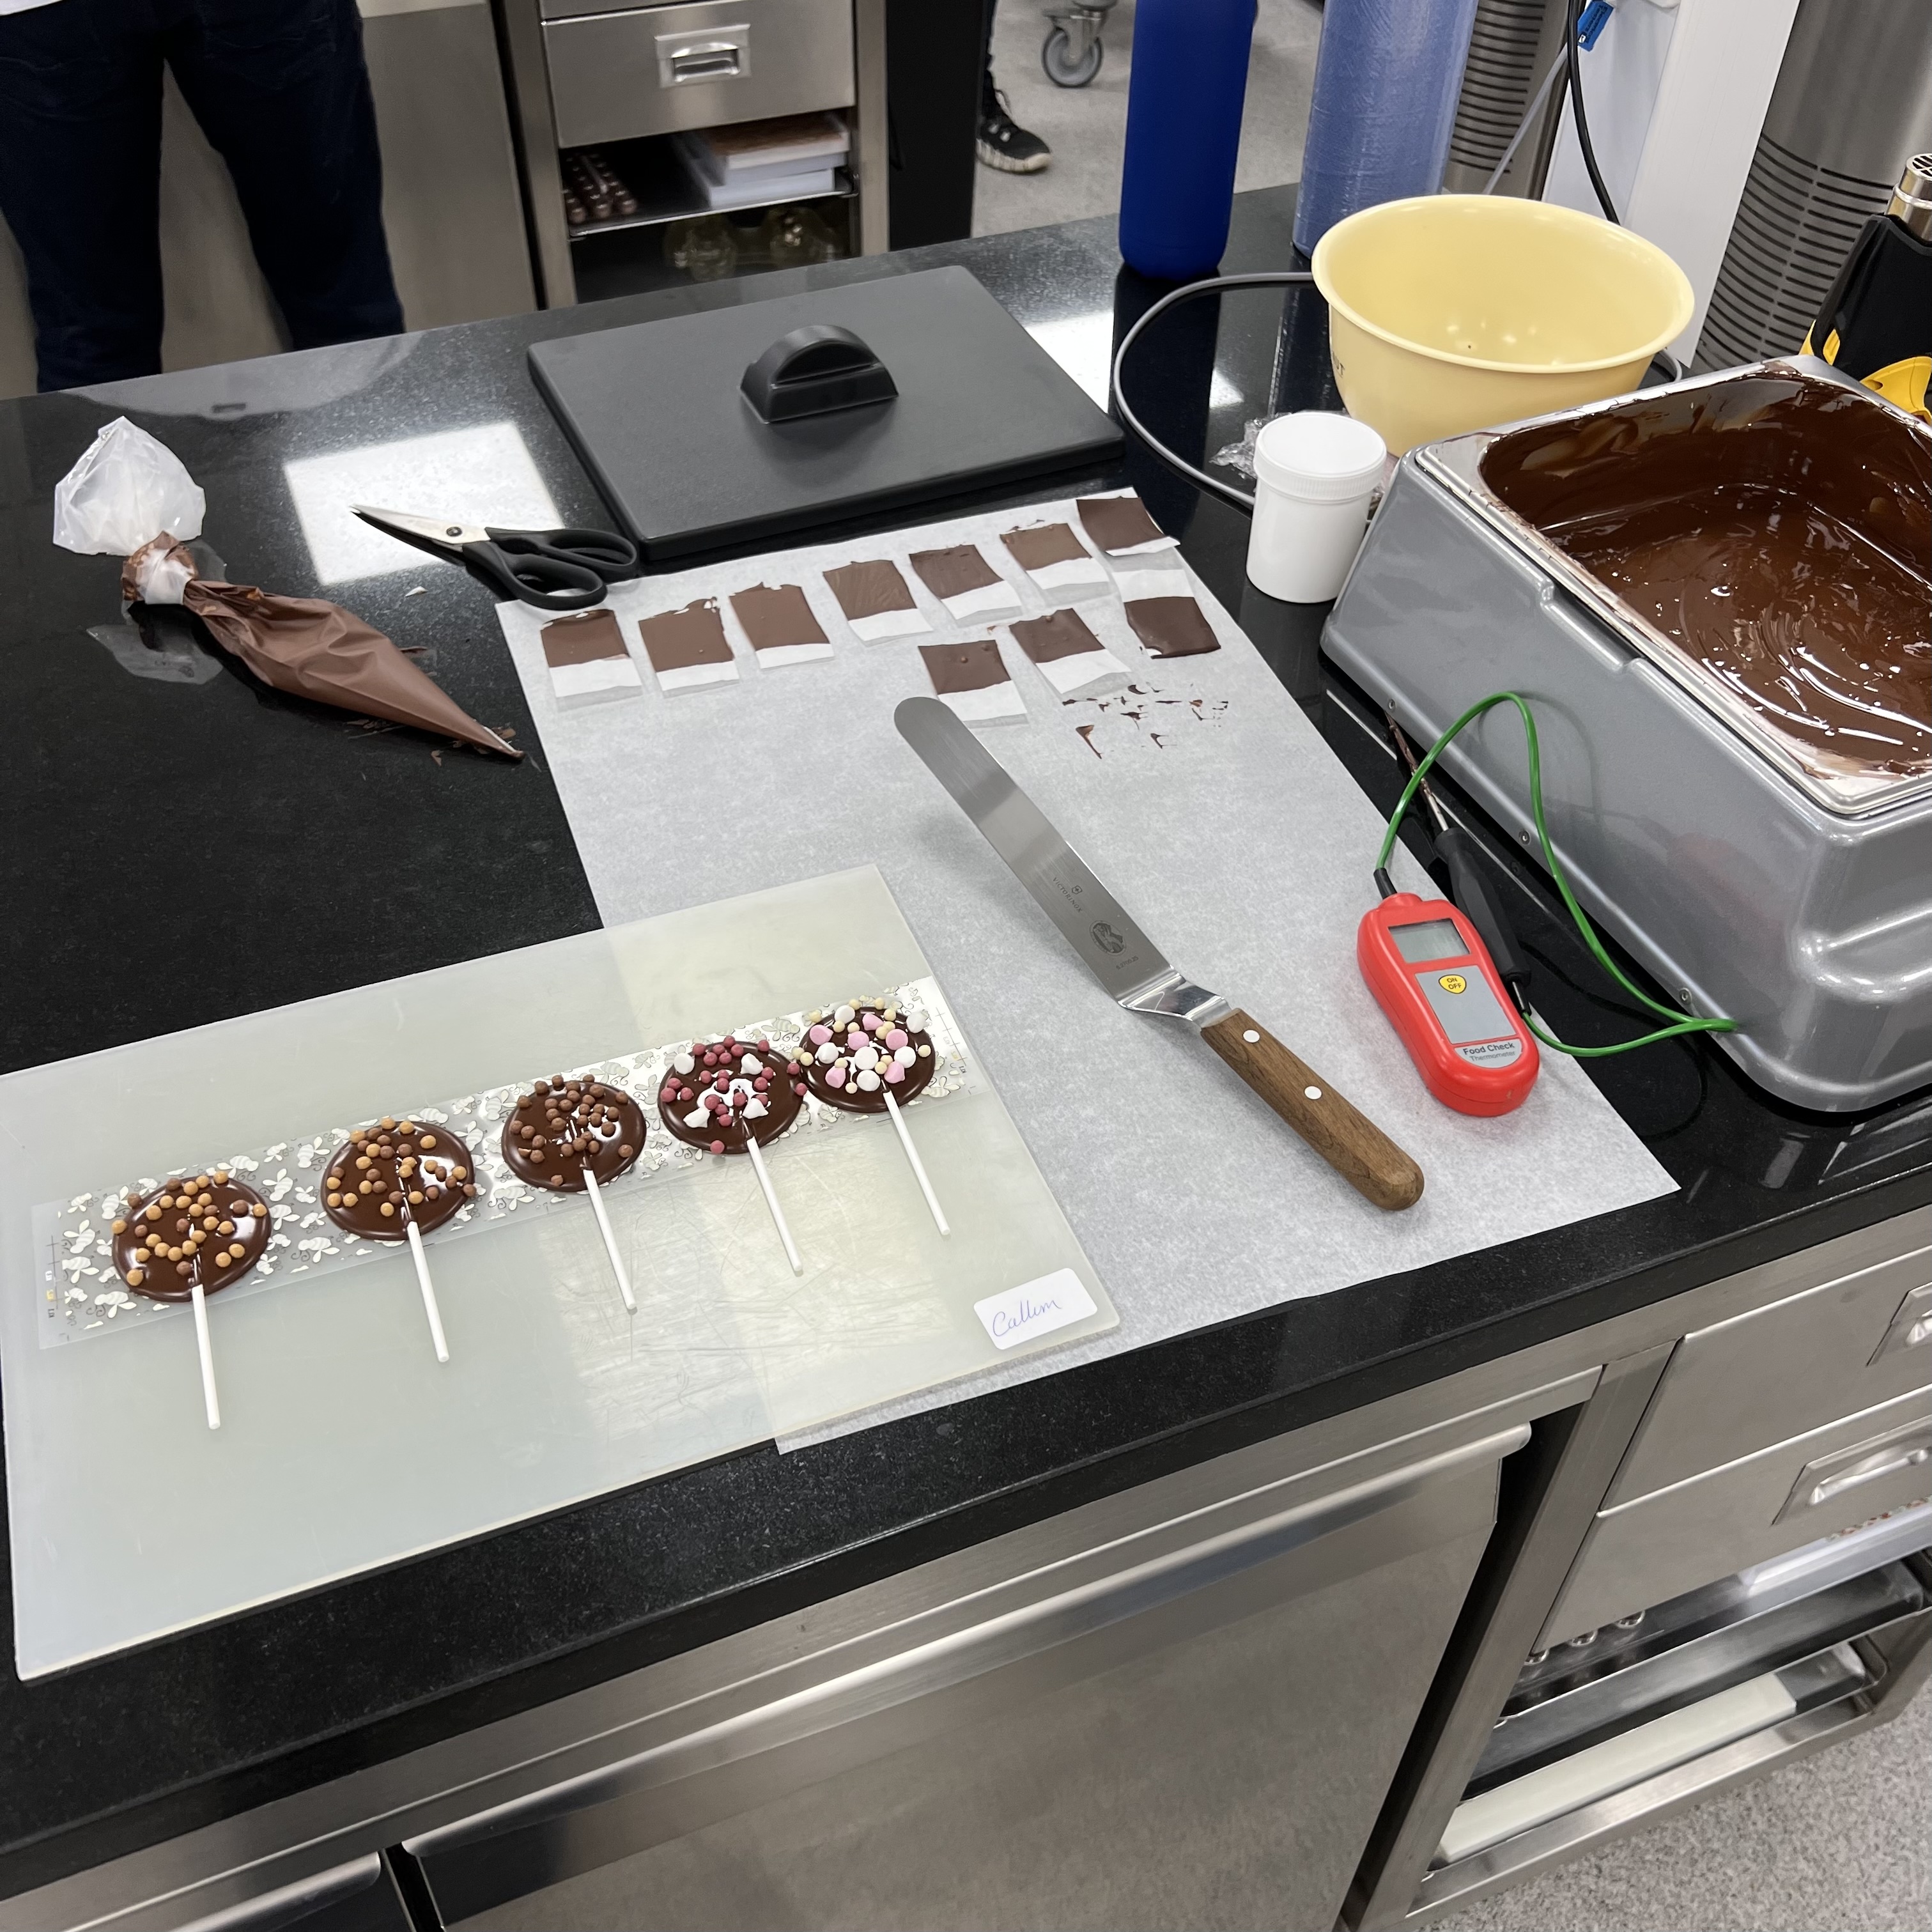
This image illustrates the use of a Melting Kettle/Tank for tempering dark chocolate before making artisan lollies. - Picture from "My Trip To The Chocolate Academy UK & Ireland".
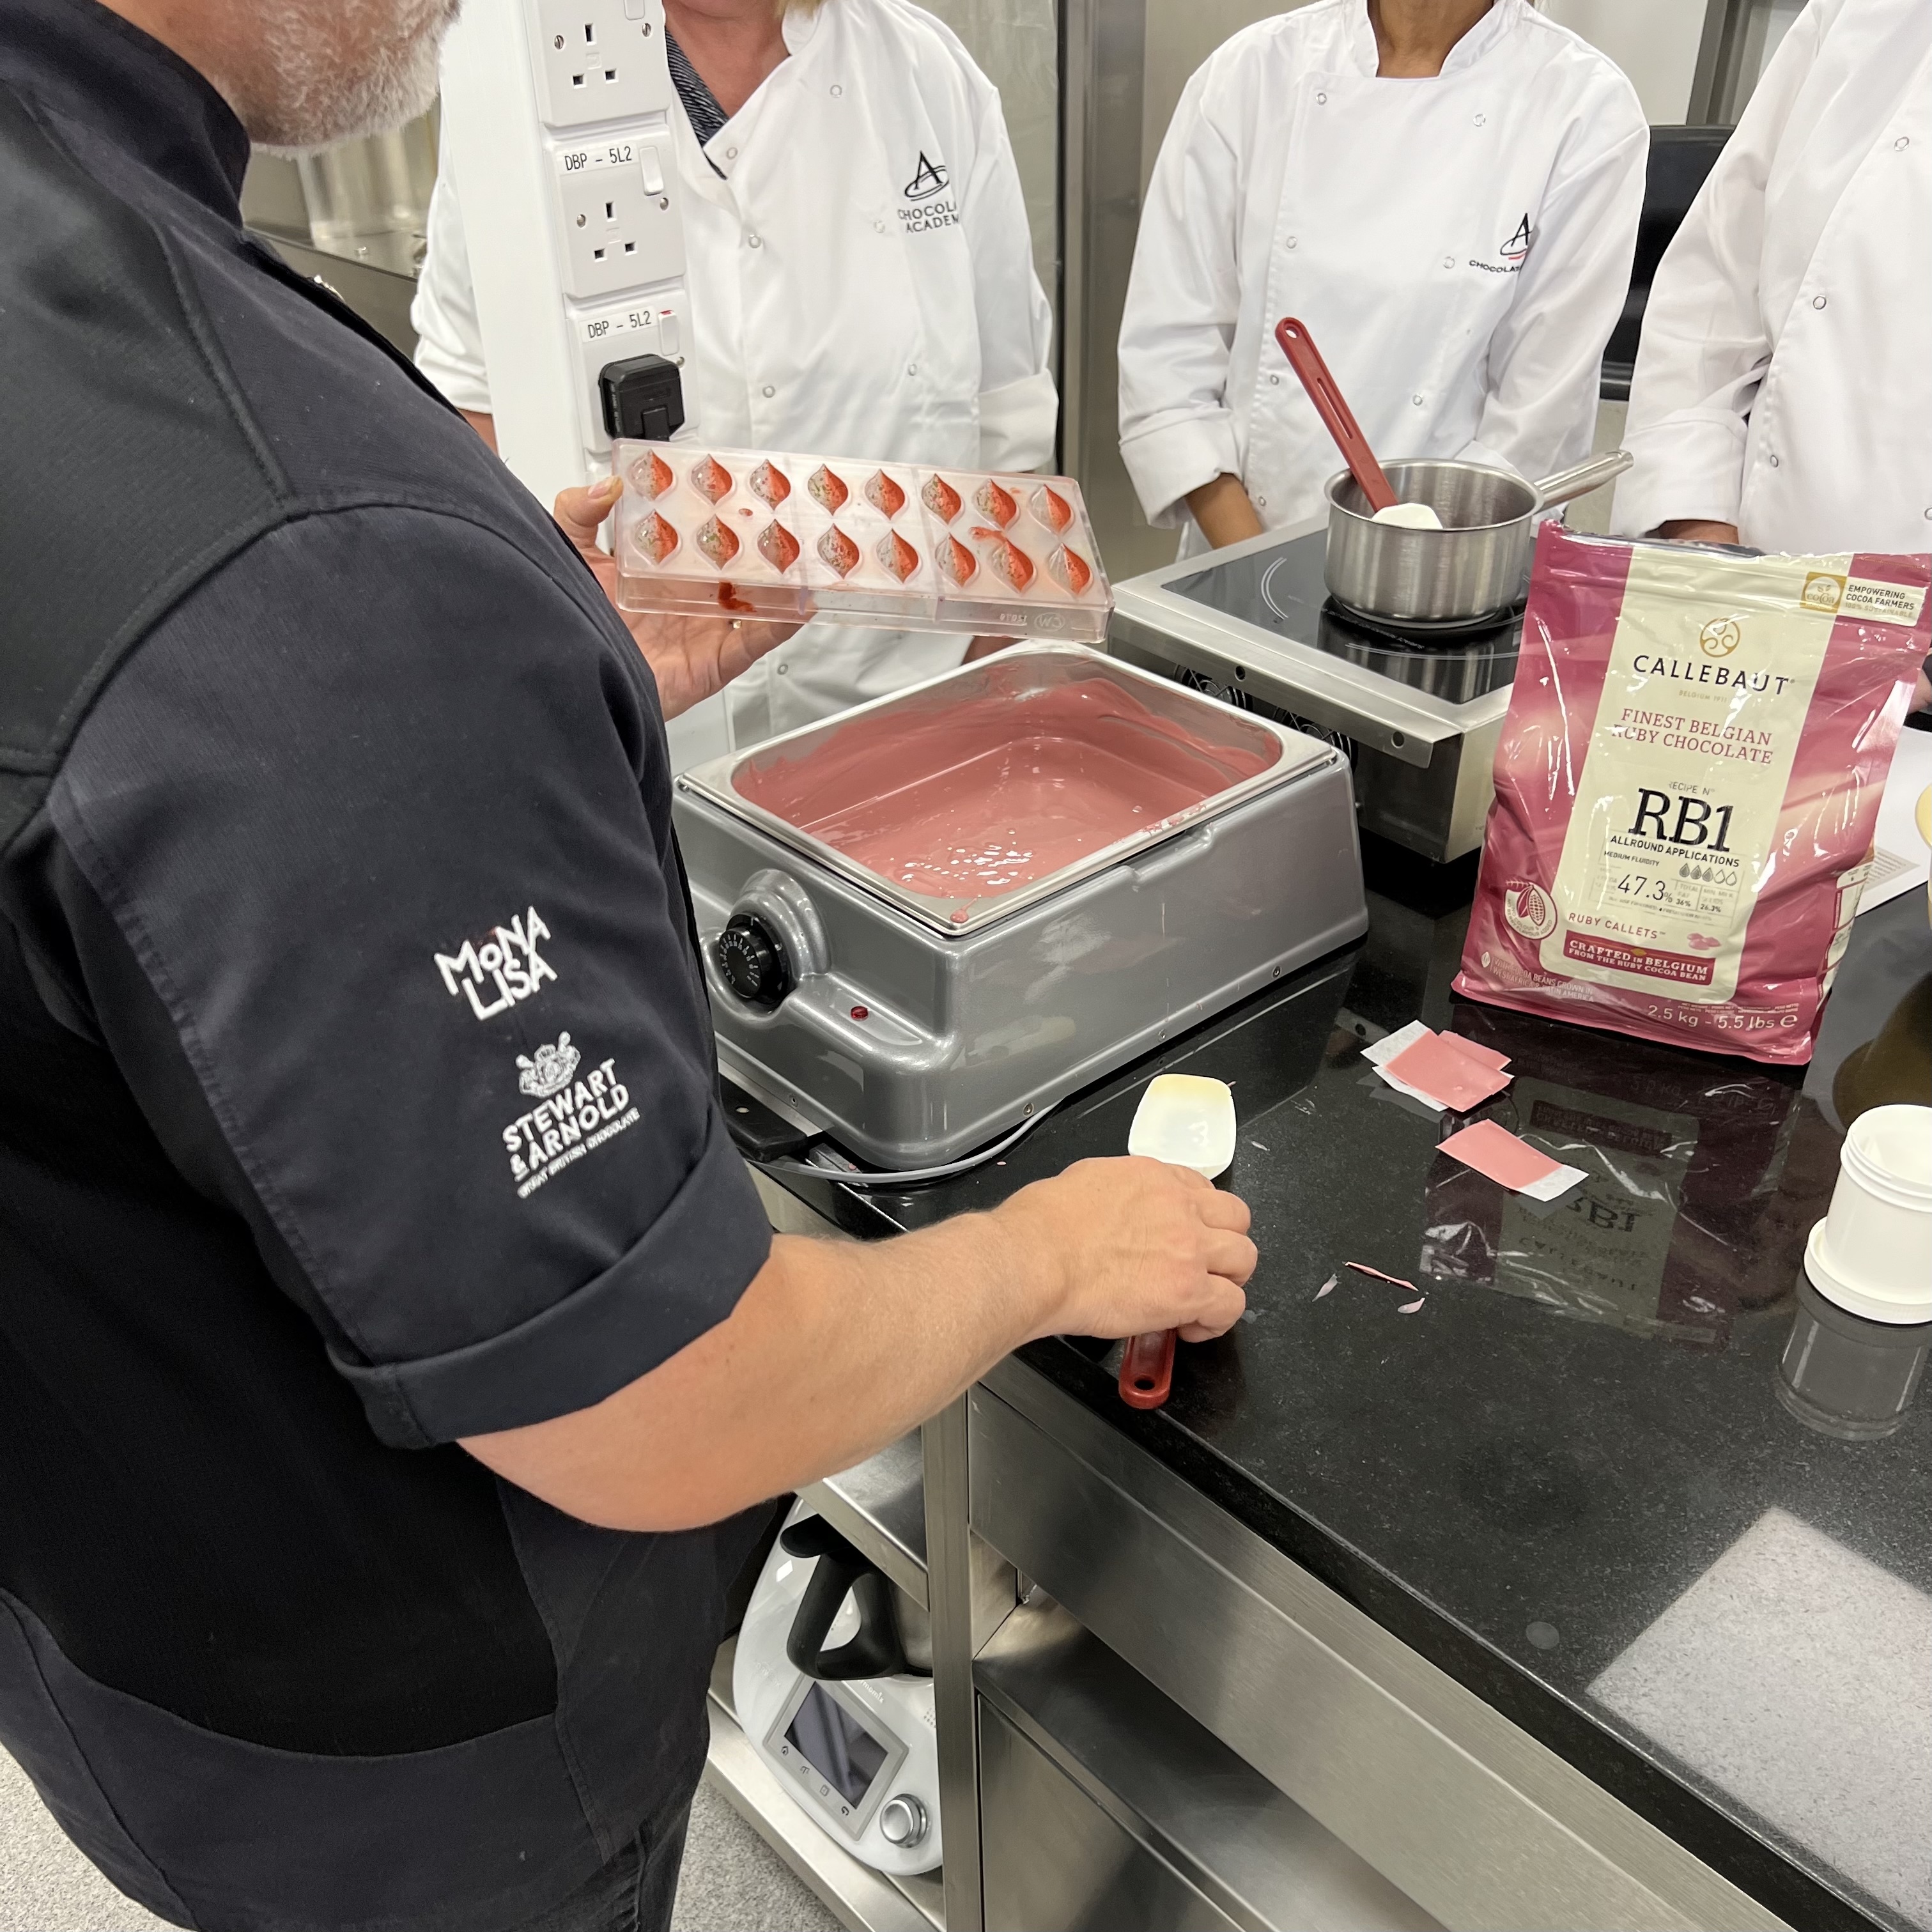
This image illustrates the use of a Melting Kettle/Tank for tempering ruby chocolate. - Picture from "My Trip To The Chocolate Academy UK & Ireland".
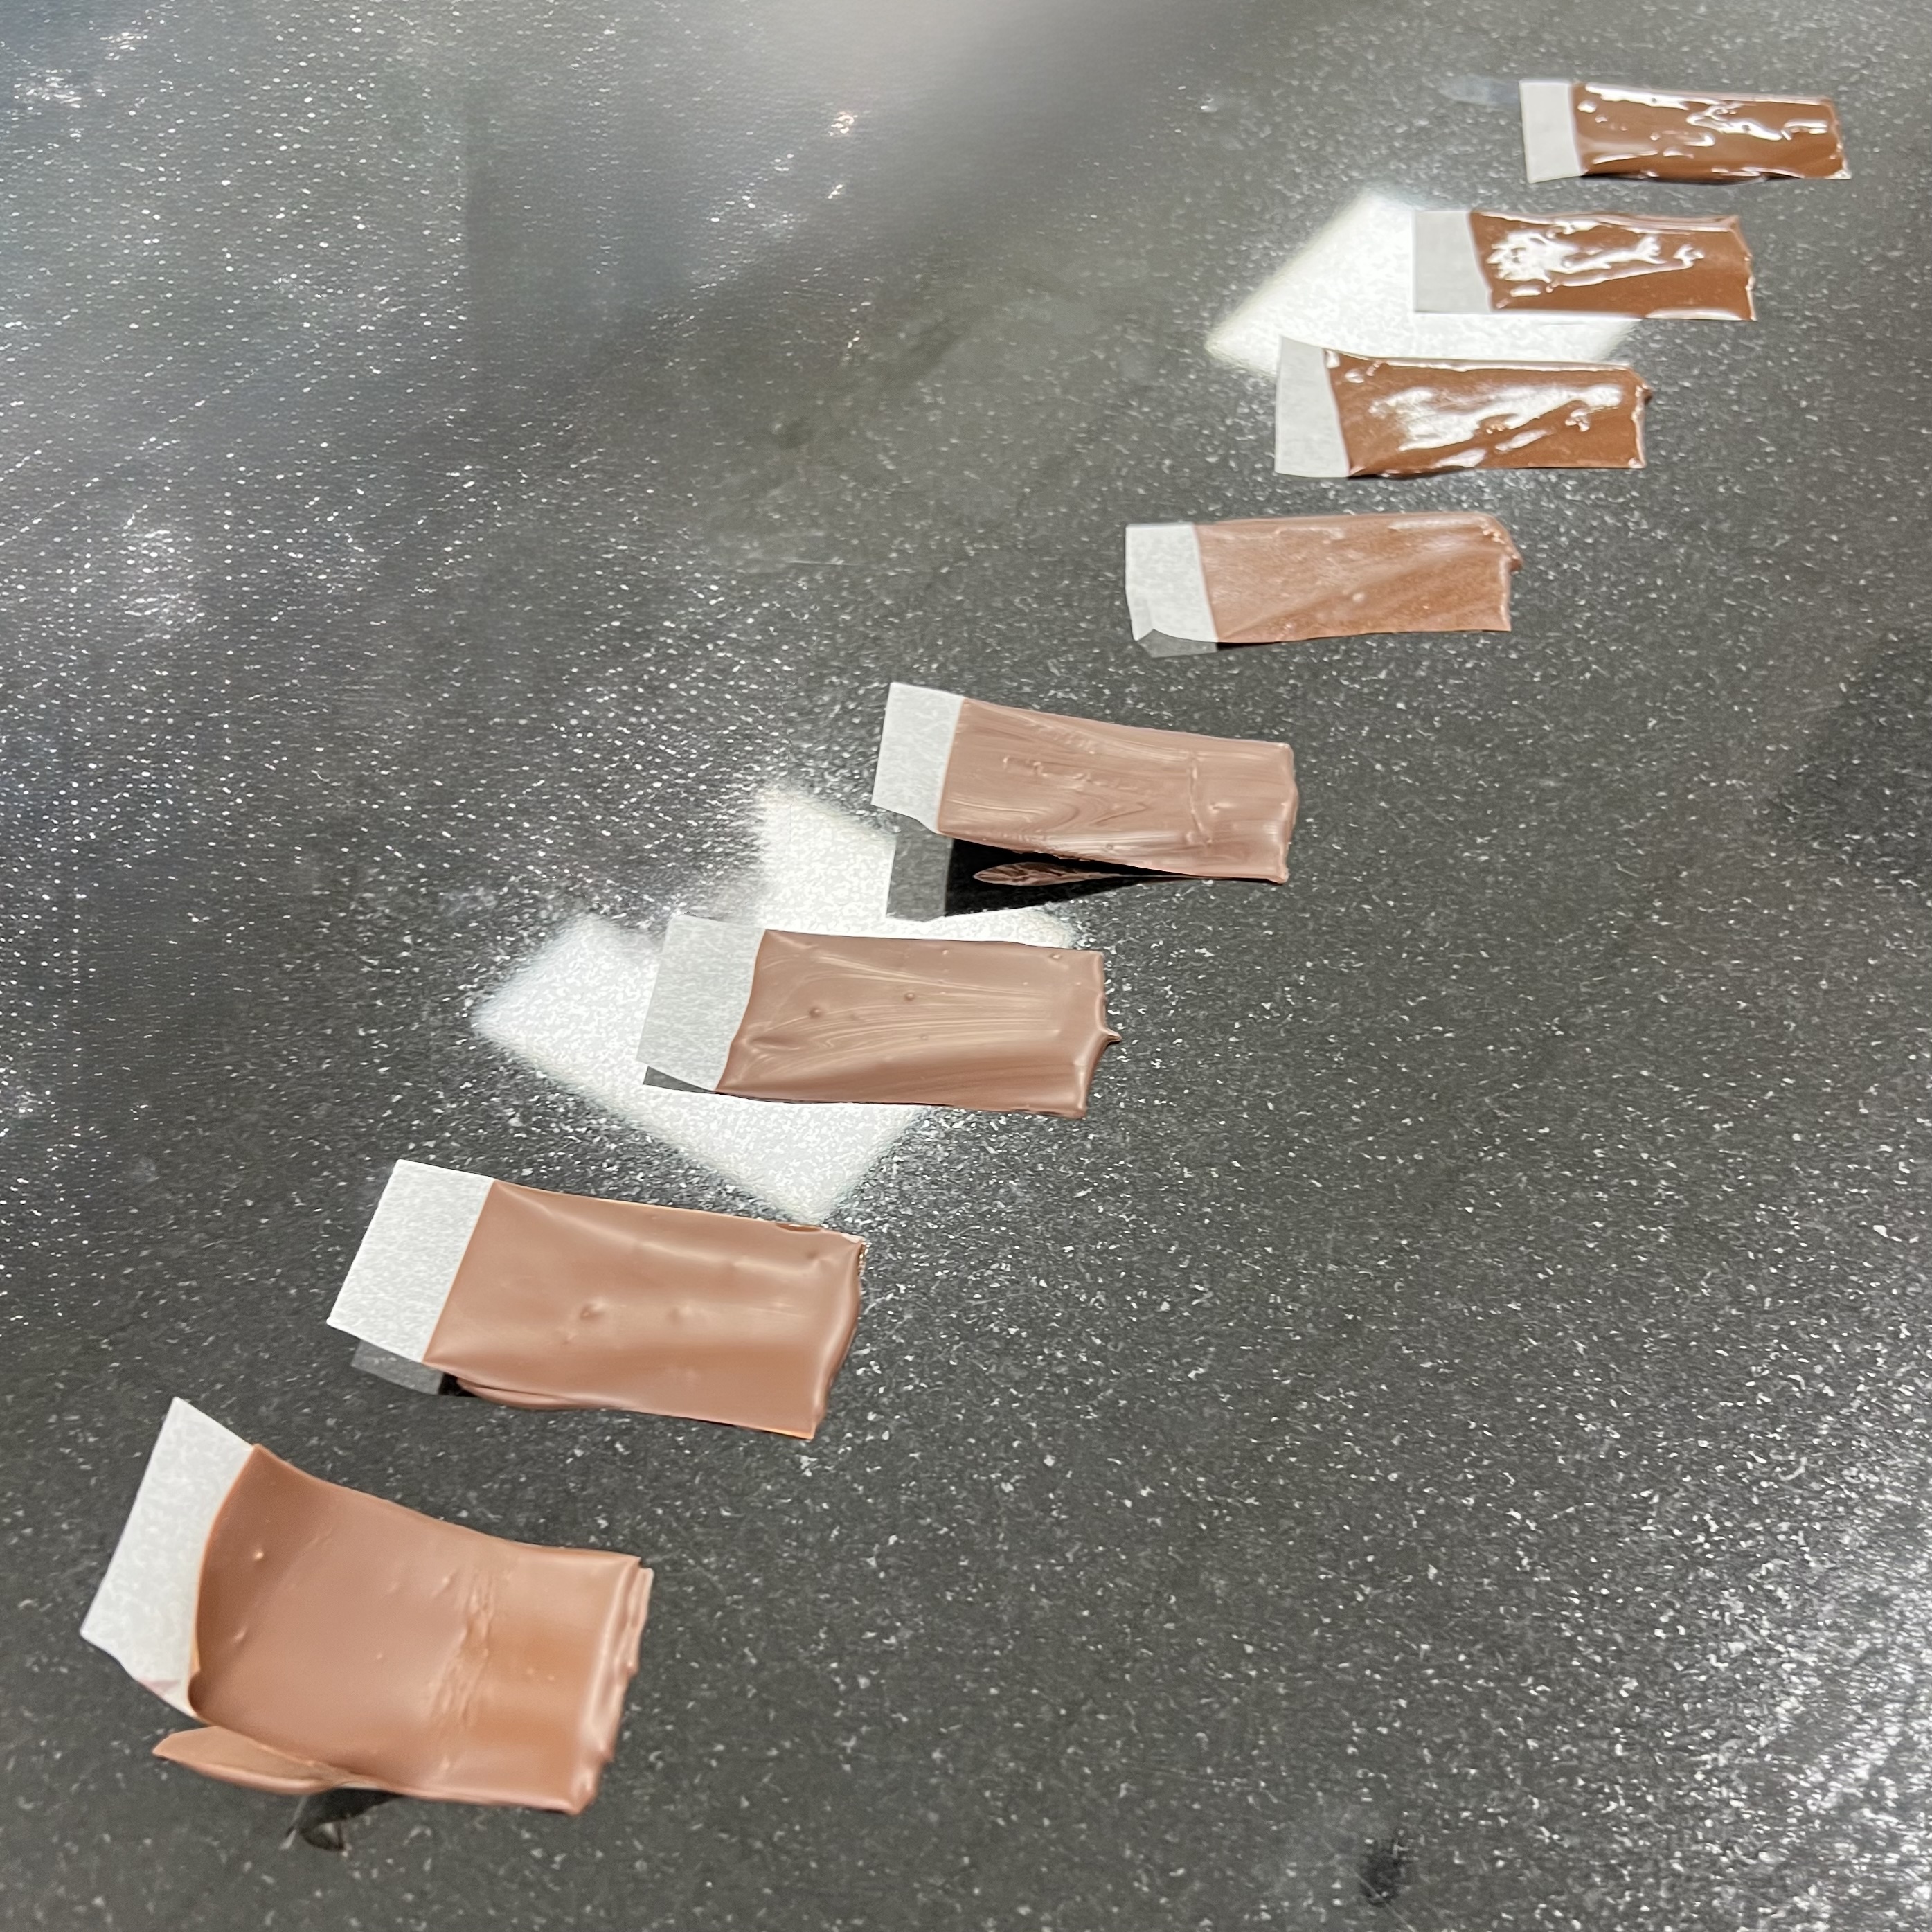
Samples of rectangular strips (approx 6 cm by 3 cm) of greaseproof paper dipped in the chocolate on one side of the paper no more than 2-3 cm. This allow you to test if your chocolate is tempered correctly. - Picture from "My Trip To The Chocolate Academy UK & Ireland".
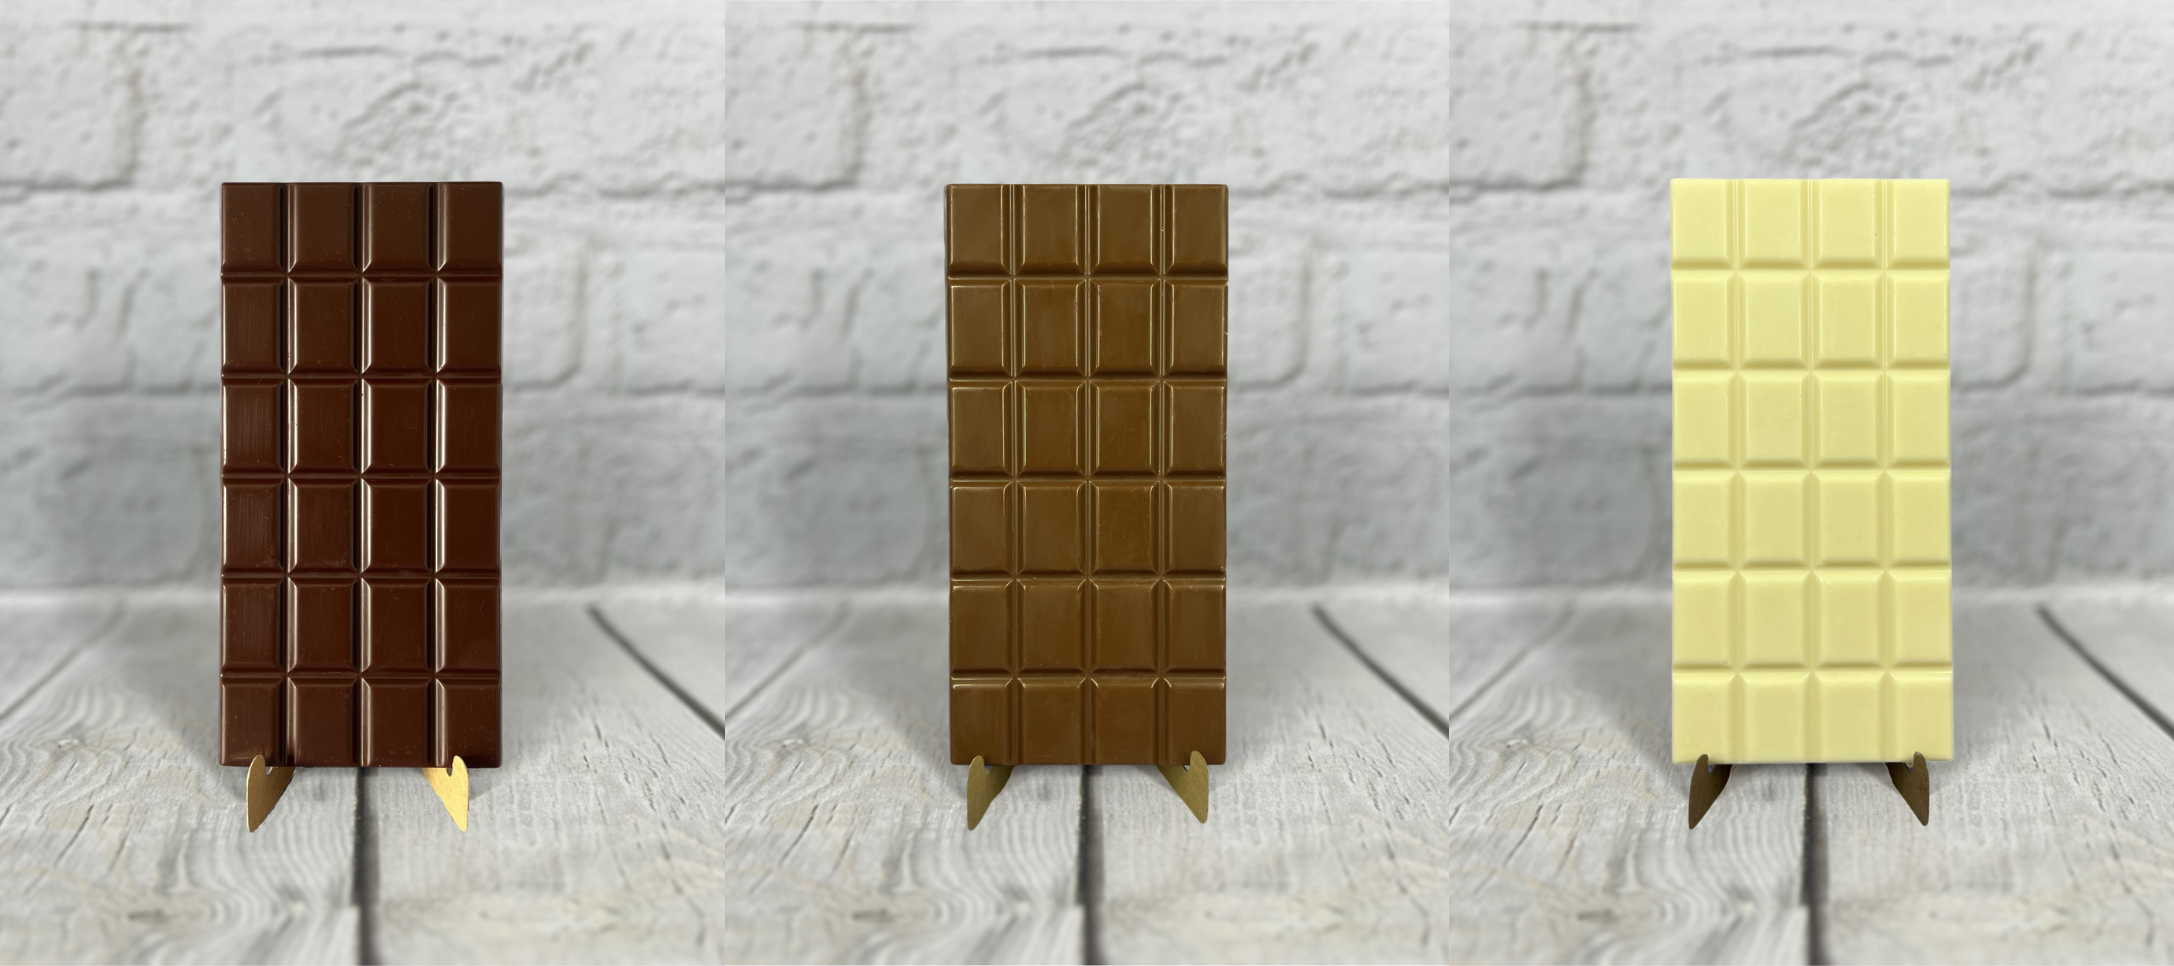
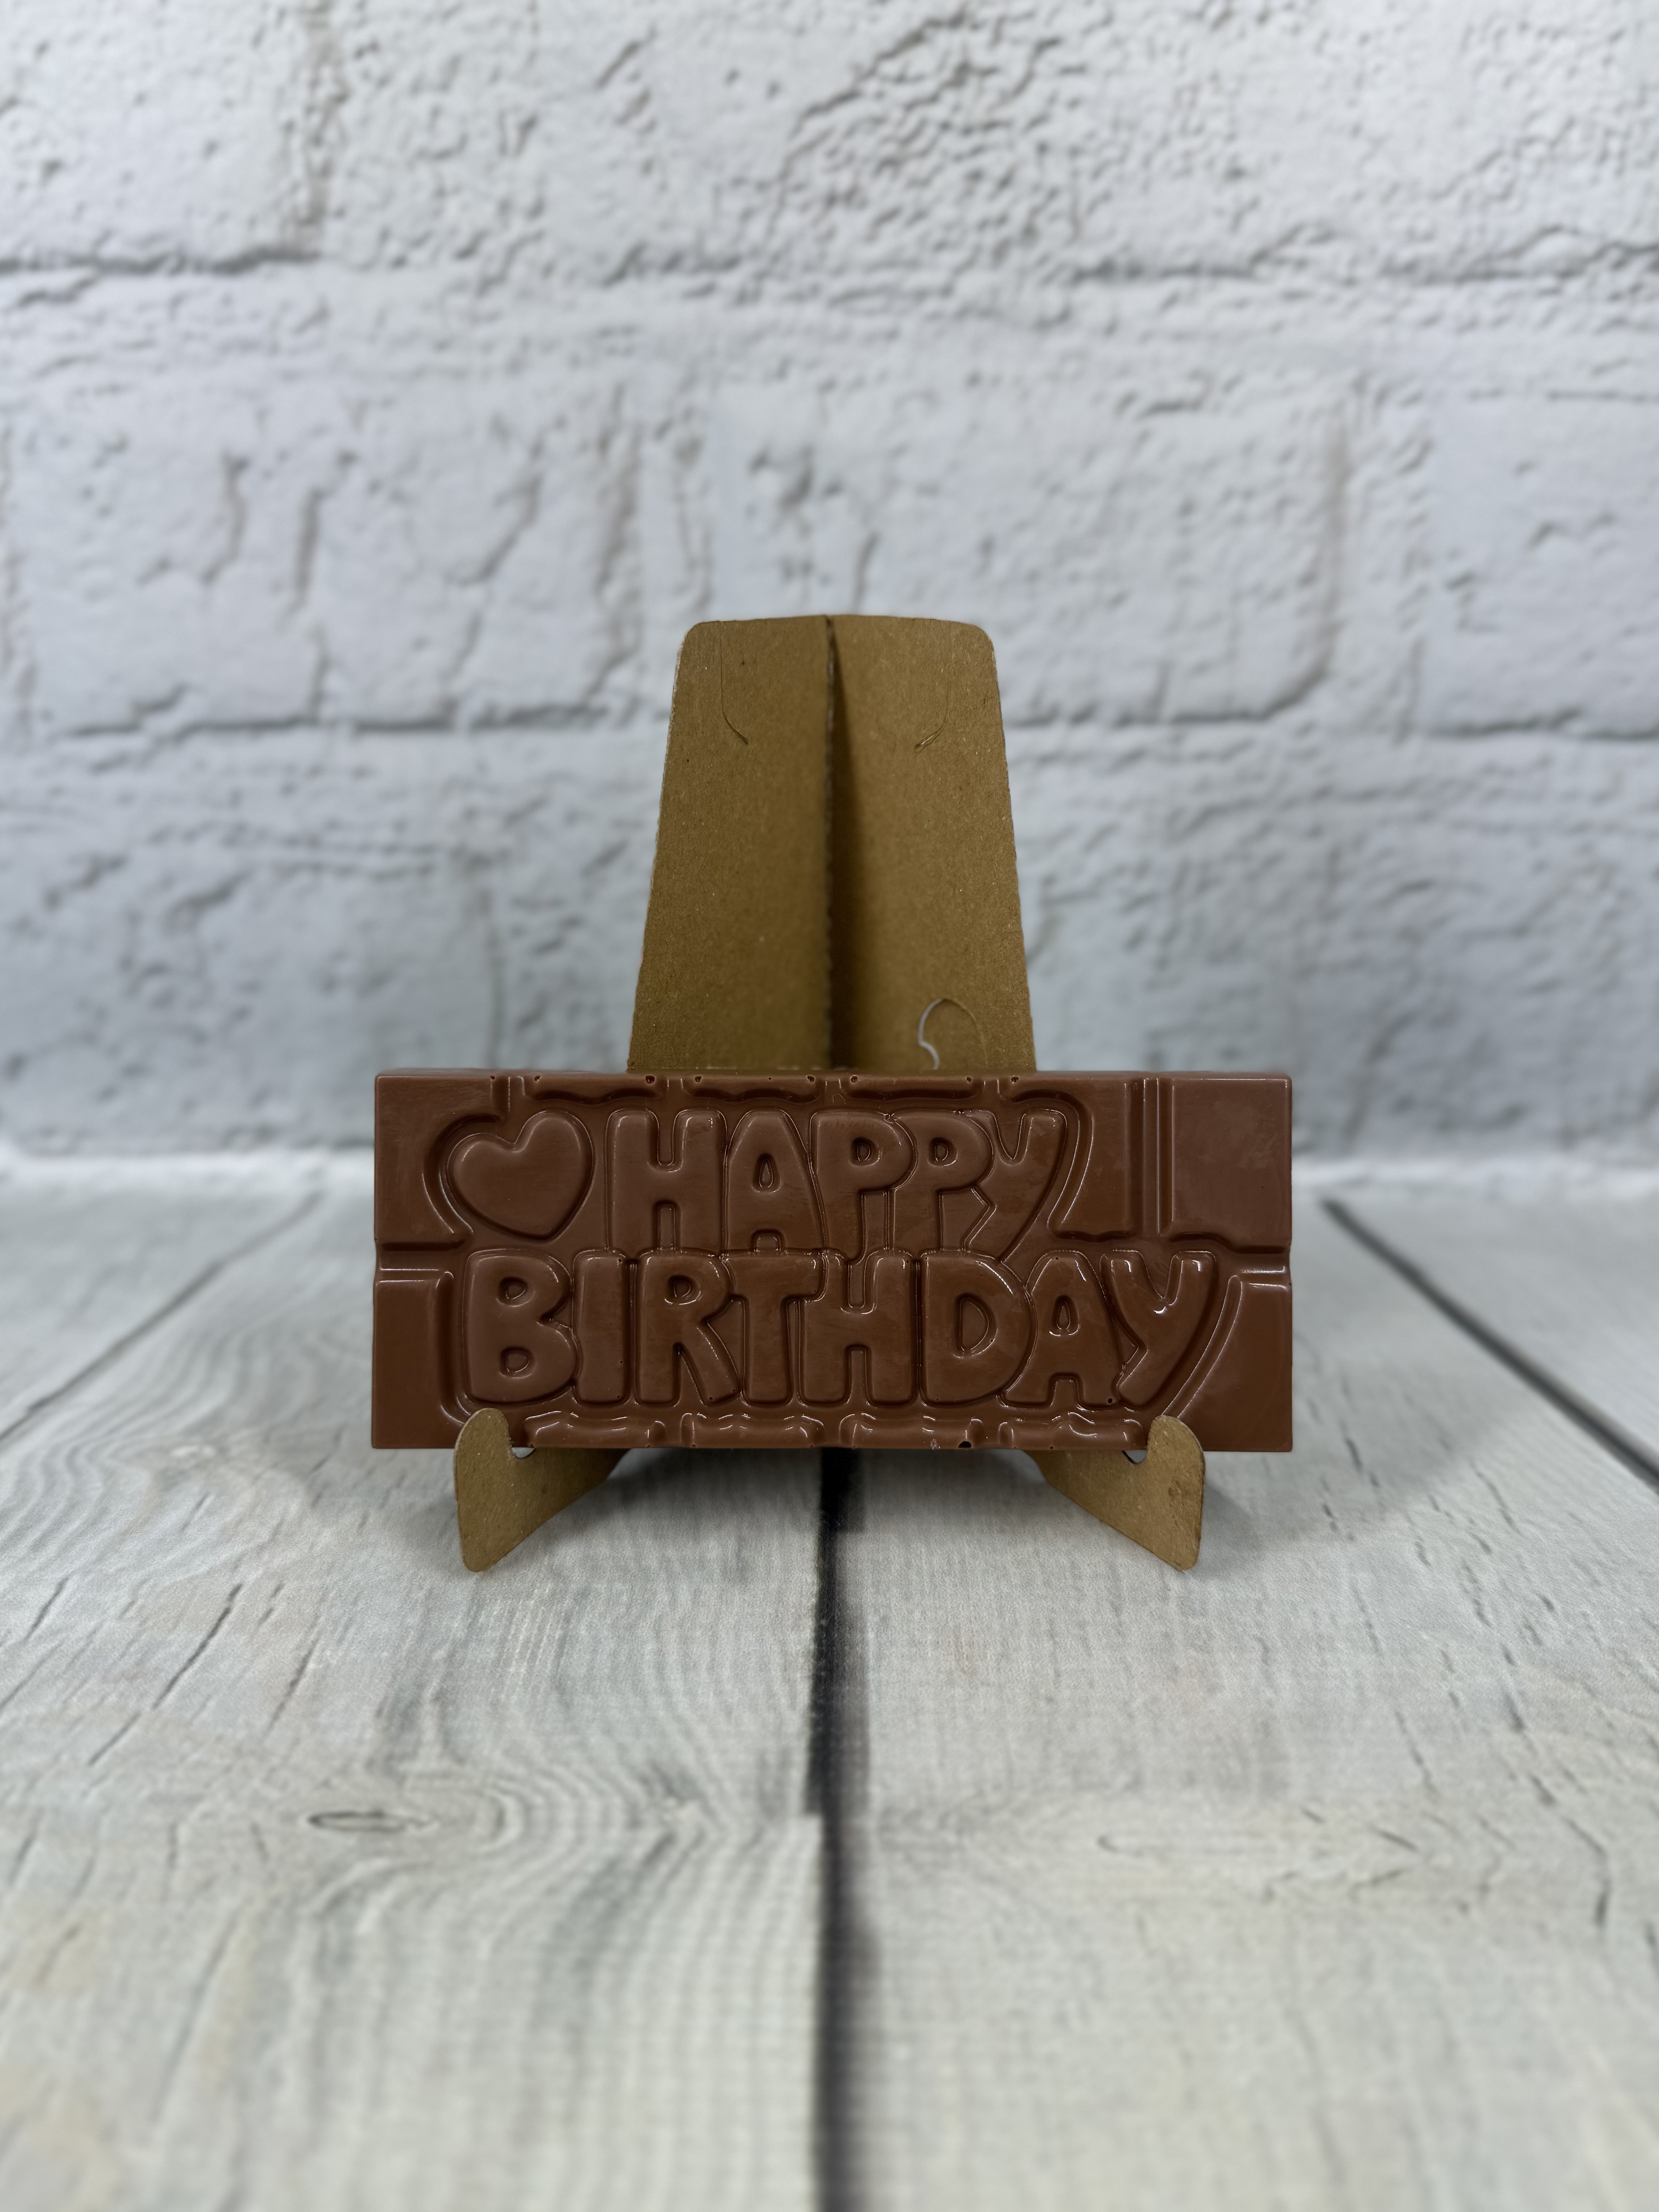
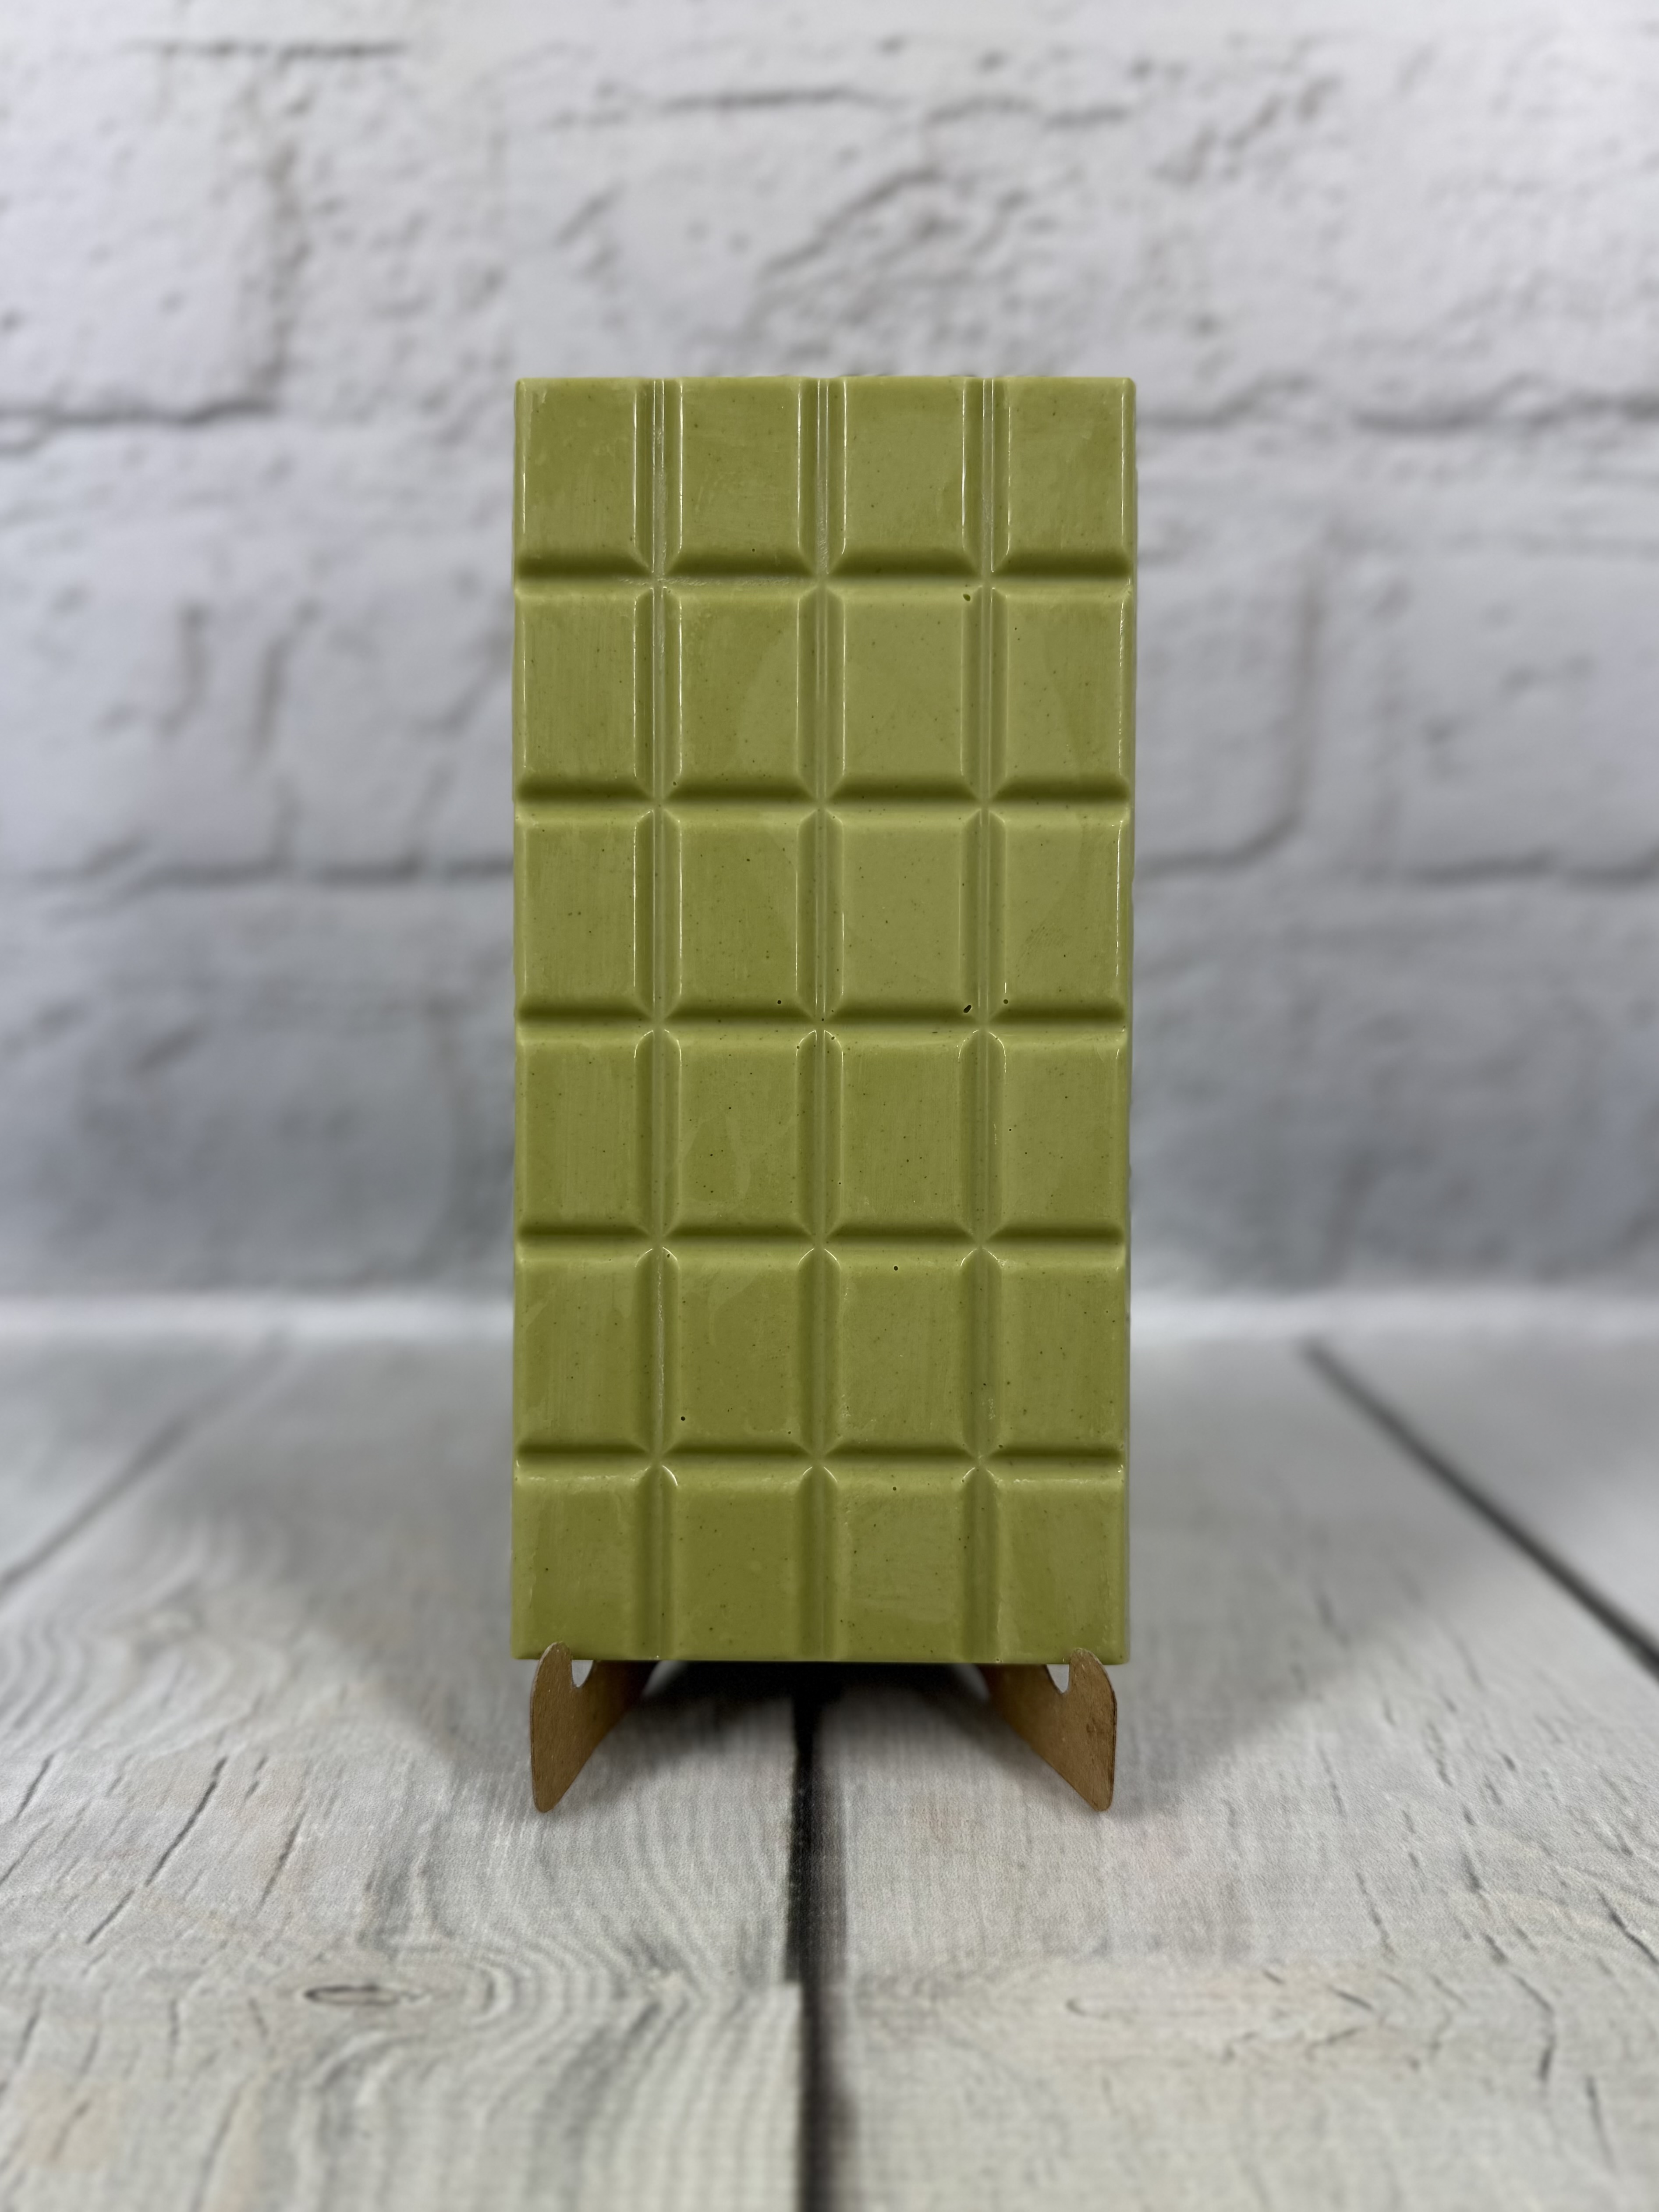
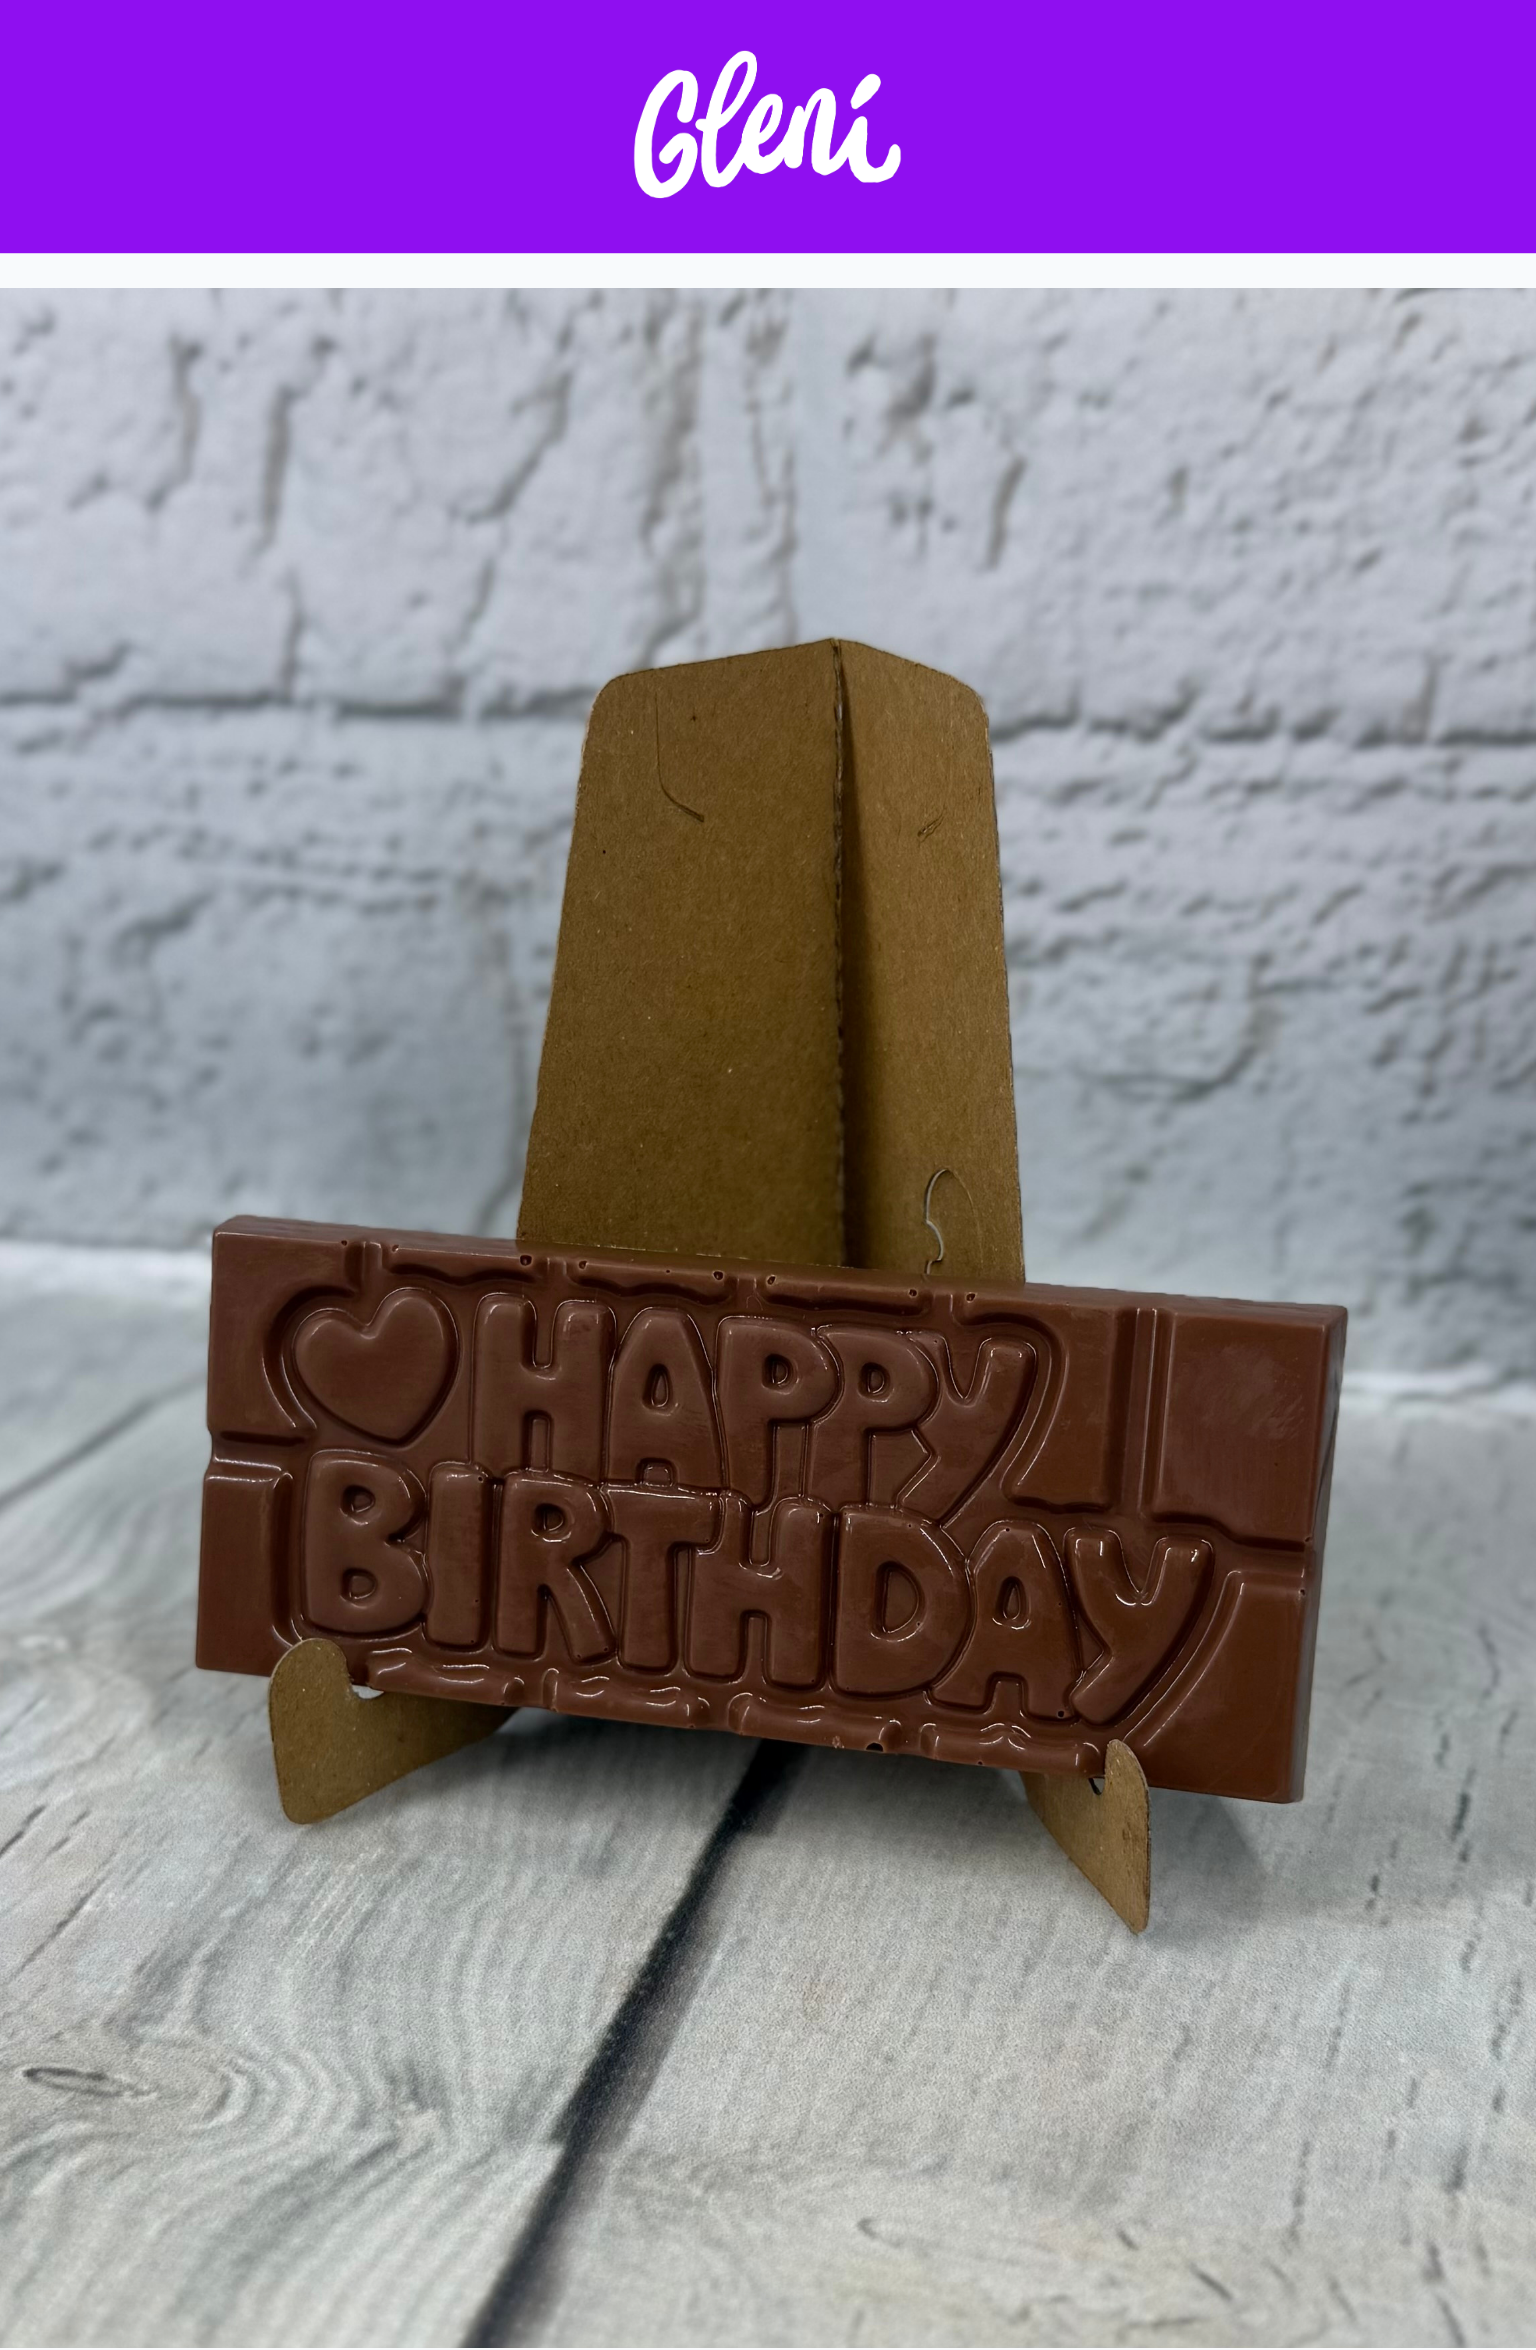
Belgium Dark, Milk & White Chocolate Bars.
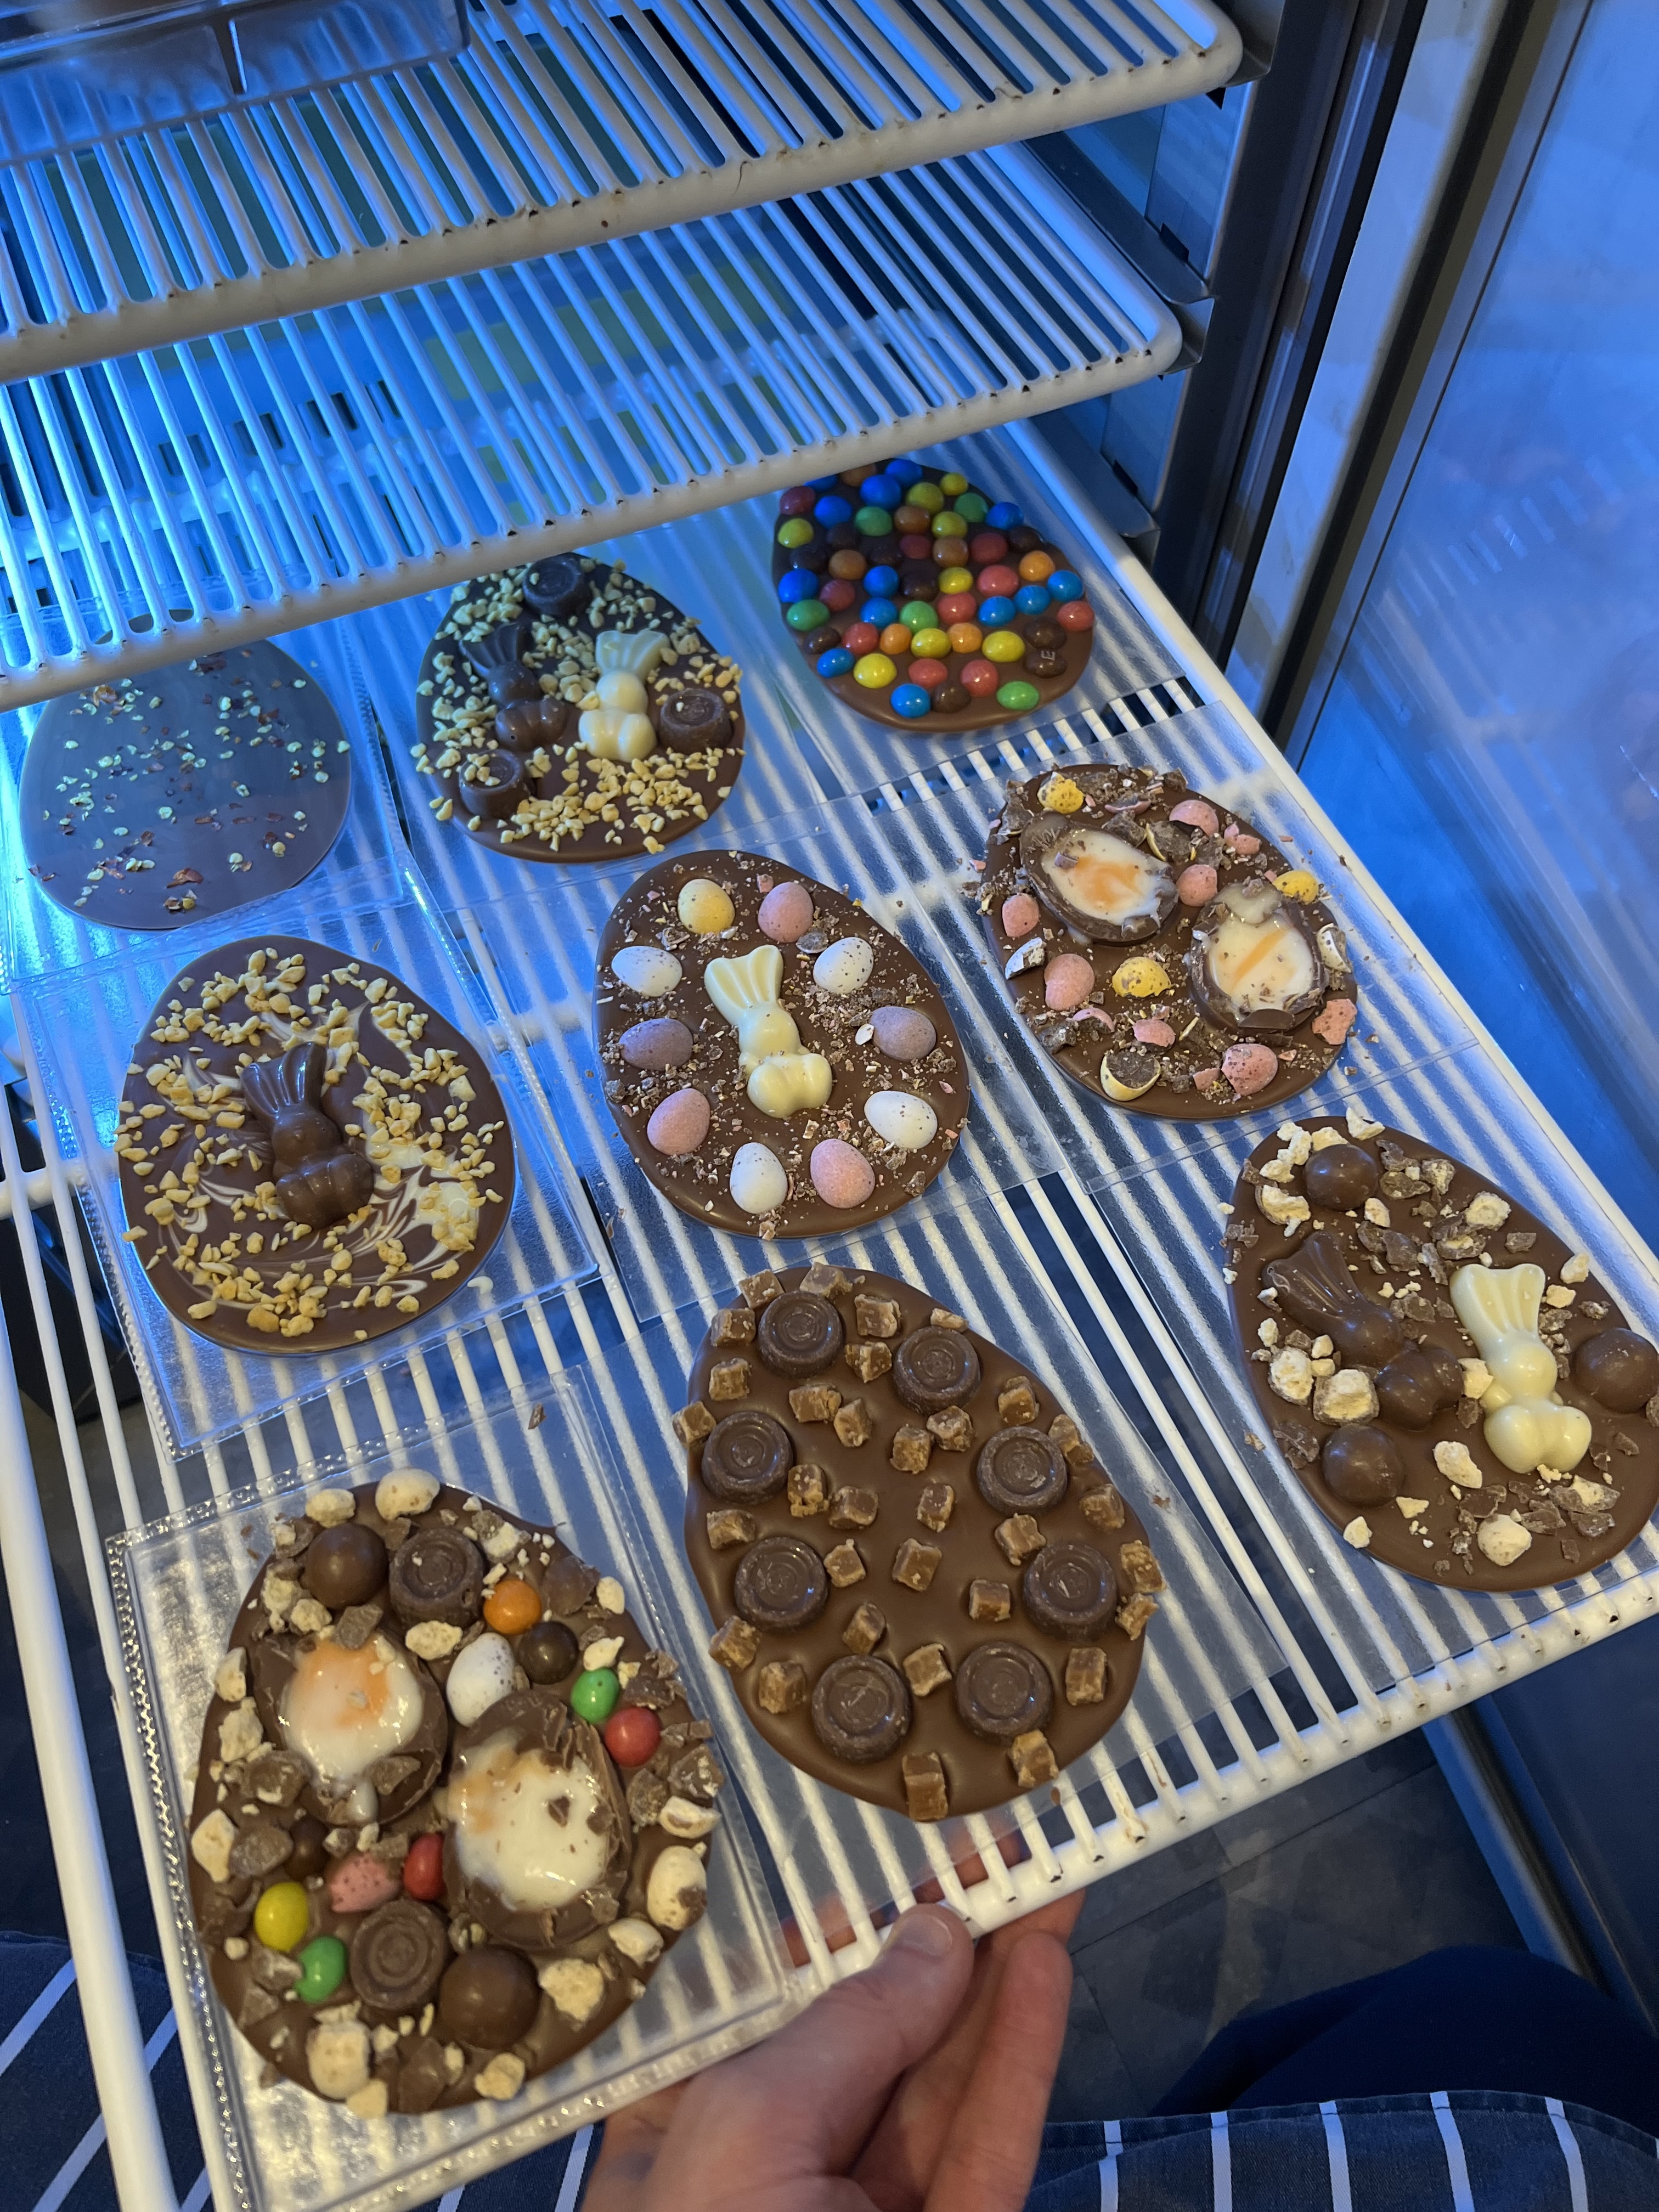
Cooling Chocolate - Chocolate fridges provide consistent airflow, gentle cooling, and humidity regulation, allowing chocolates to set evenly and remain visually flawless and shelf-stable, which is essential in professional chocolate production and finishing. It is also important to note that chocolate fridges can be costly.
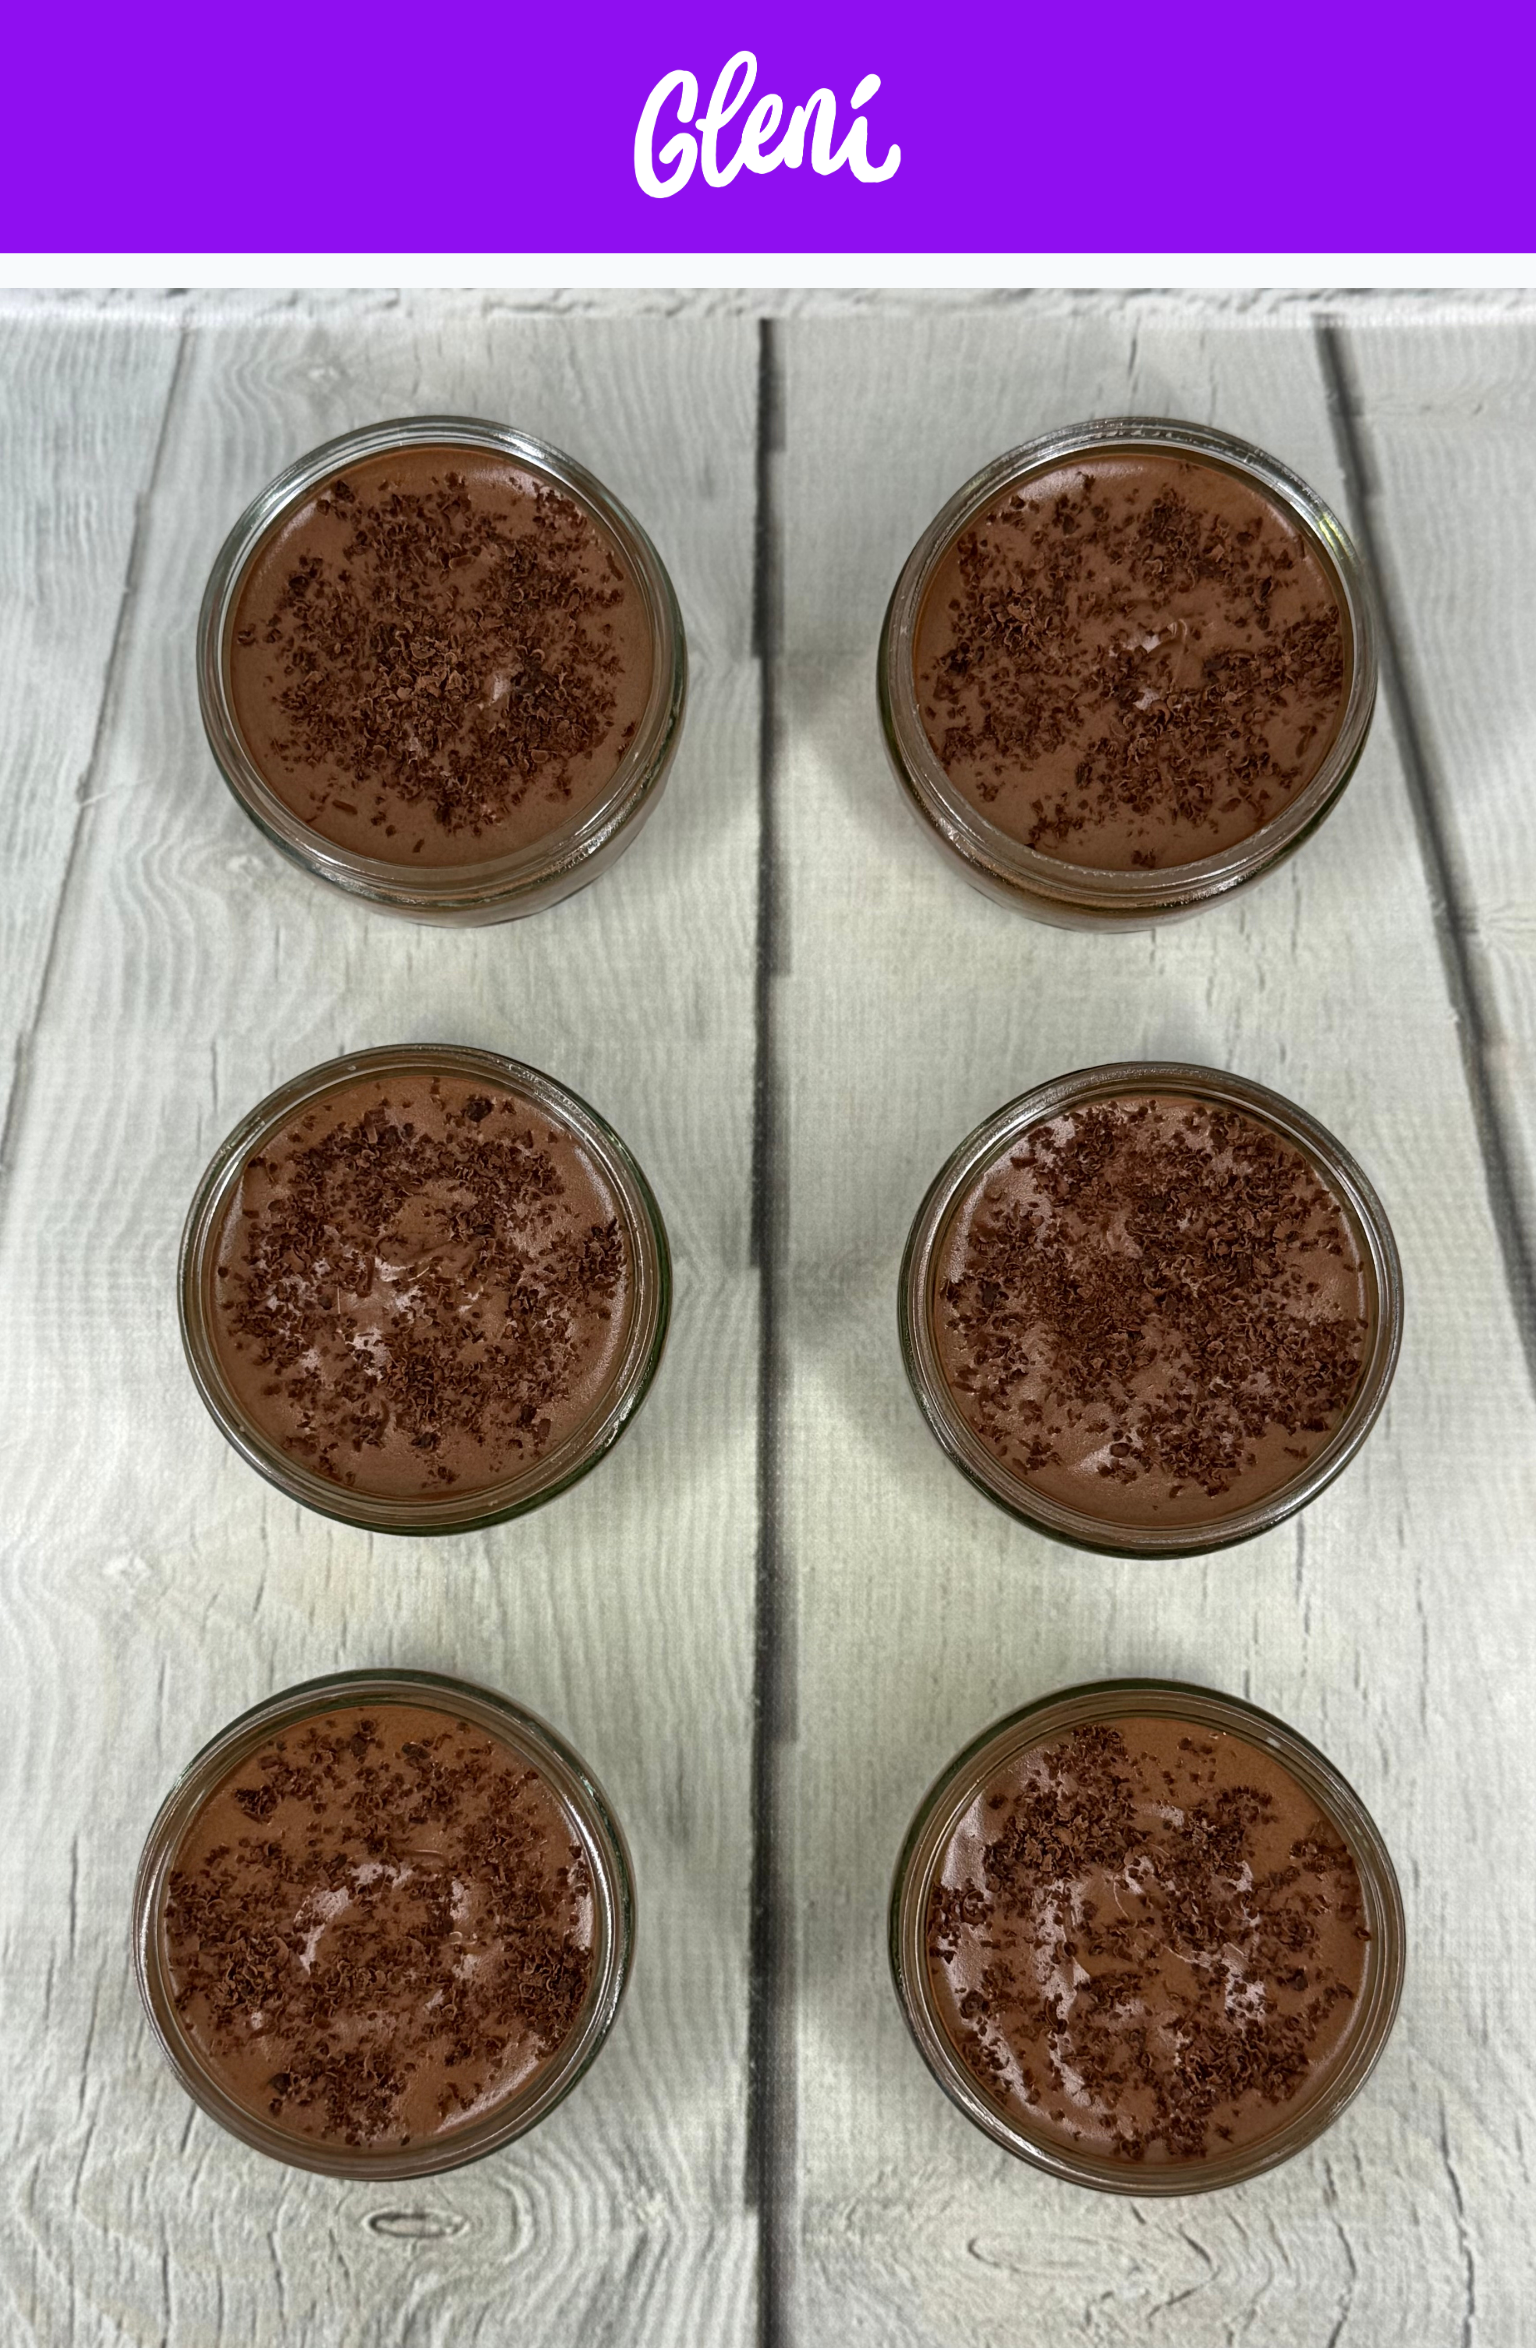
Image also shows - Loaded Chocolate Easter Egg Halves.

Fat Bloom - Chocolate bloom is either of two types of whitish coating that can appear on the surface of chocolate: fat bloom, caused by changes in the fat crystals in the chocolate.
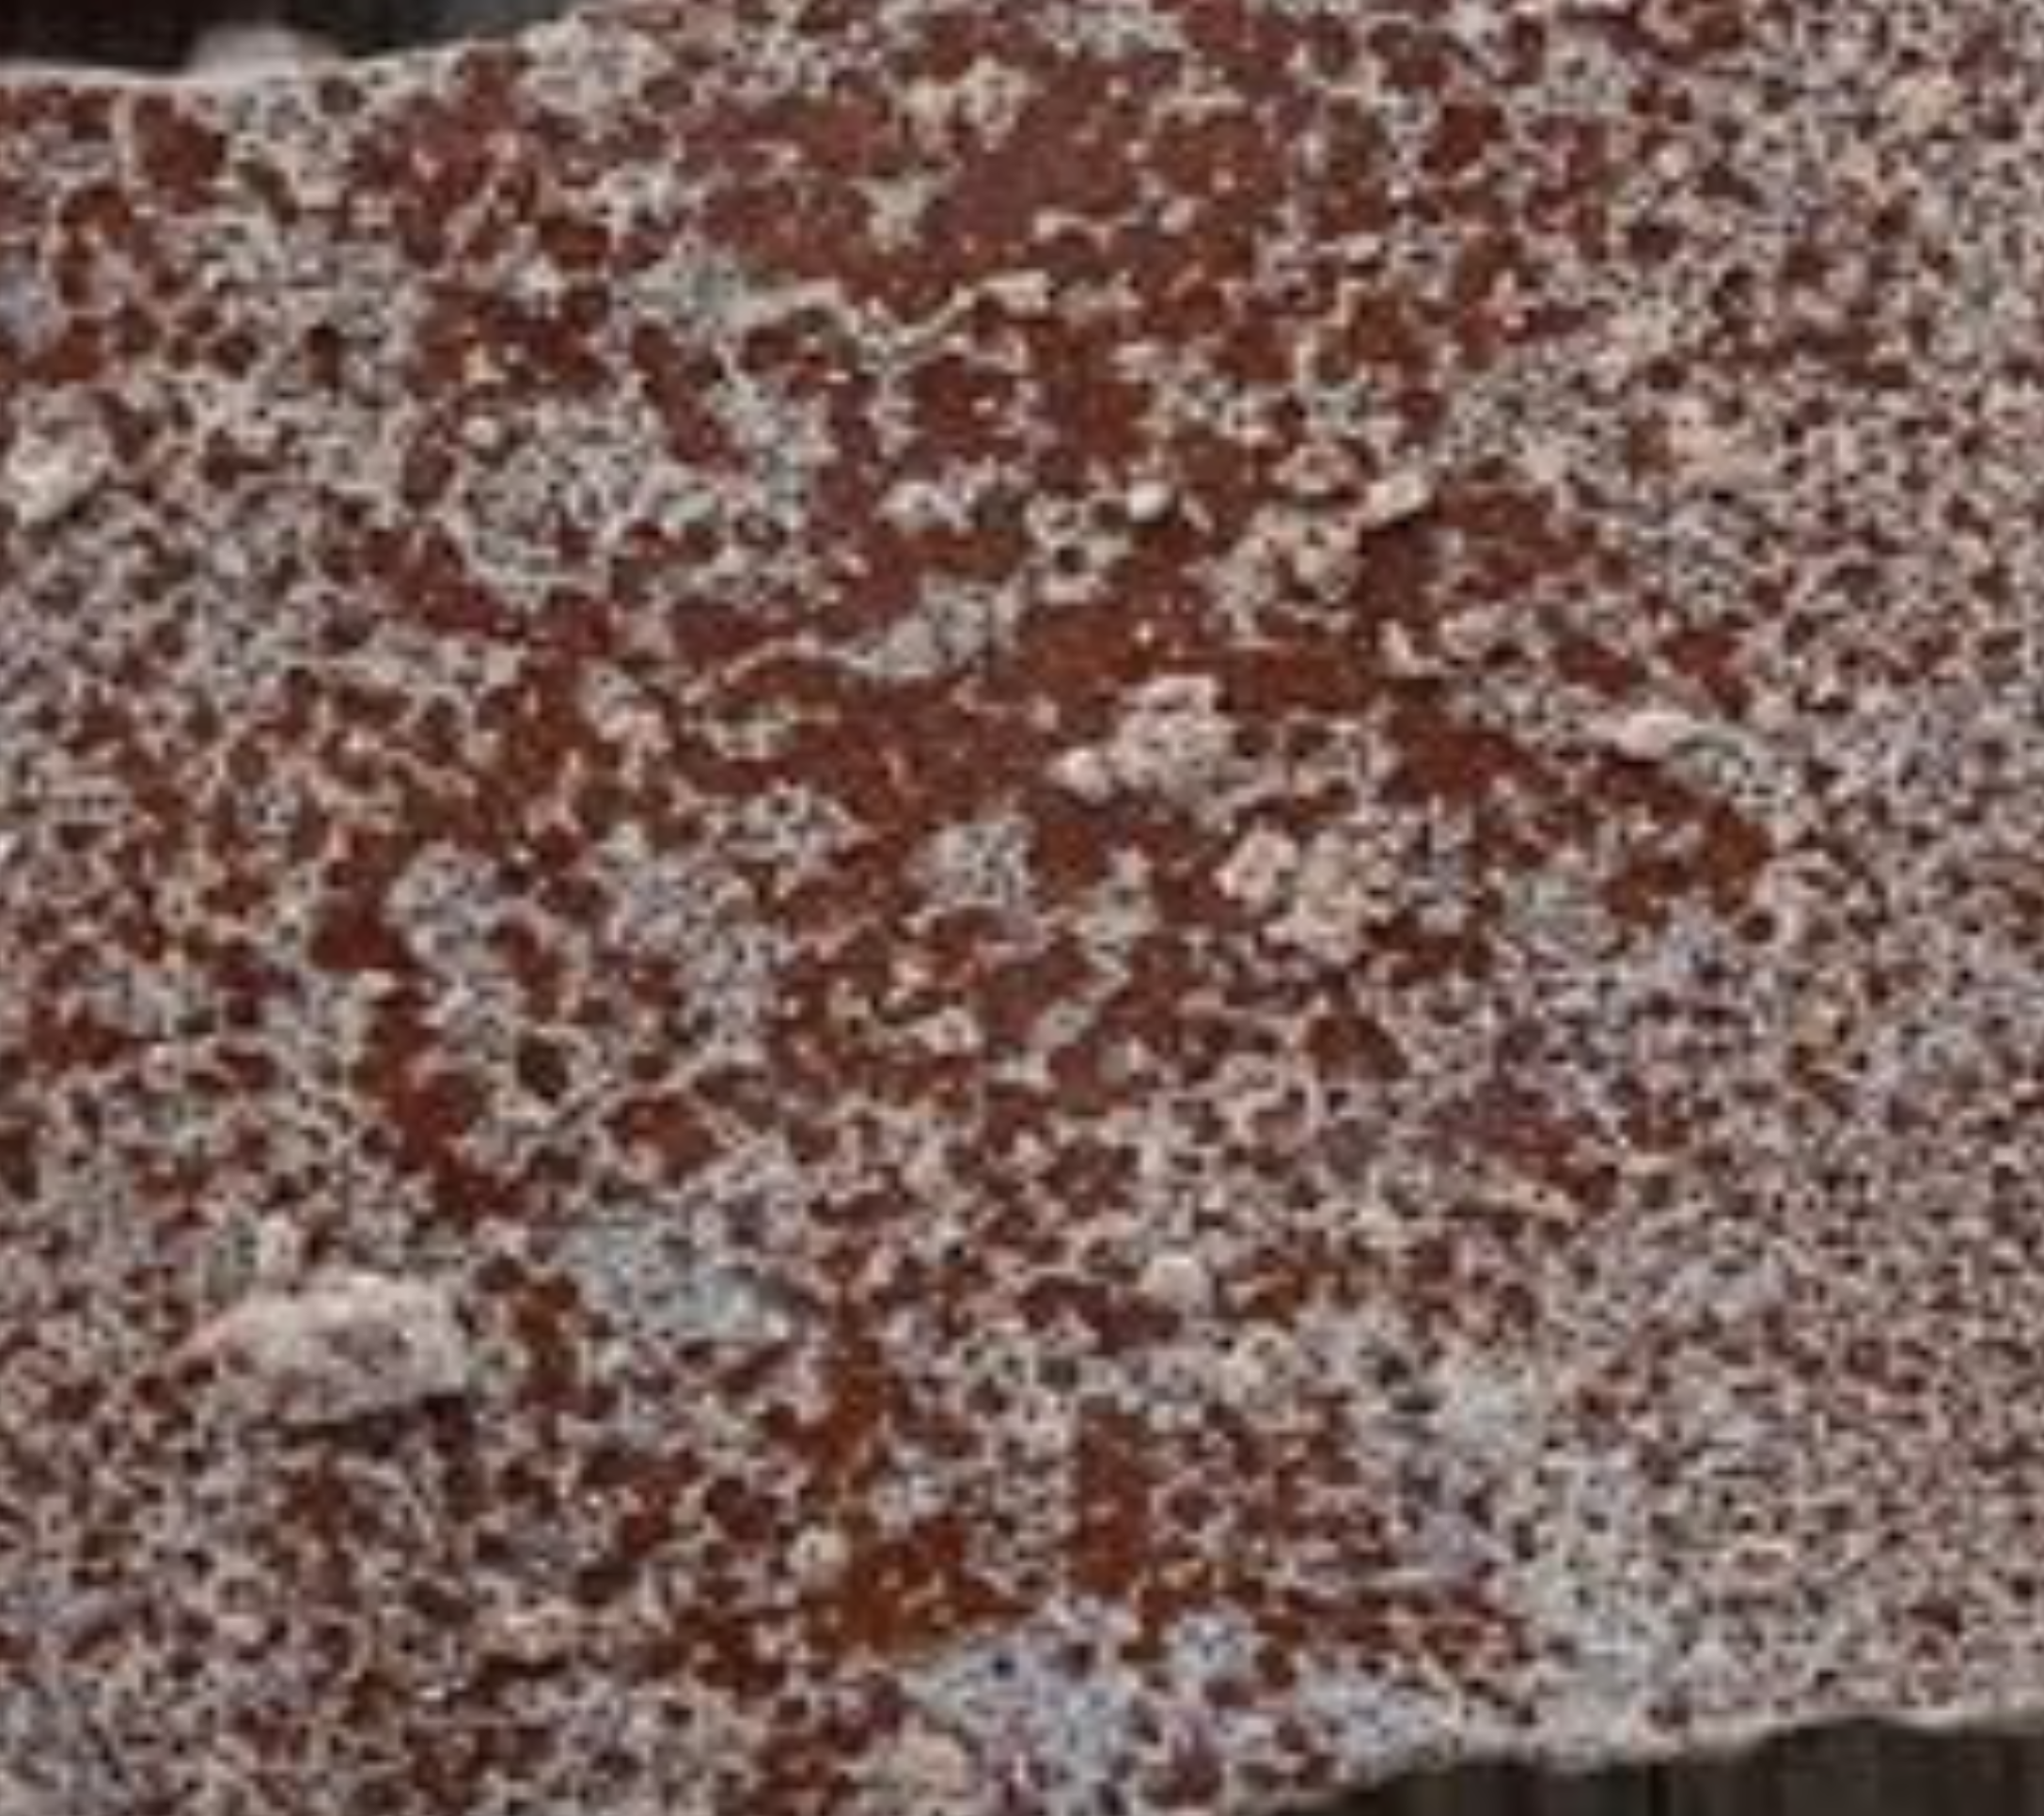
Sugar Bloom - While the most common is fat bloom, sugar bloom also occurs and is not necessarily distinguishable from the fat bloom by appearance. In freshly sugar bloomed samples, it is often easy to feel the surface difference; sugar bloom feels dry and does not melt to the touch.

Fat Migration - Fat migration in chocolate is extremely dependent on storage temperature. Chocolate becomes softer with increasing temperature and loses its resistance towards the ingress of oils from the filling. Migration occurs primarily in the liquid fat phase, as a mobile phase is necessary for movement.
Let’s discuss…
Gleni.co.uk
About Us

Welcome to Gleni, the parent company of GleniBakes and GleniChocolatier.
We are located in West Sussex, England along the south coast. My name is Callum. I am 26 years old and am a vegetarian.
I hope you enjoy our website and all we have to offer.
Always remember - Life's Easier With Treats! Read more...
Always remember - Life's Easier With Treats! Read more...
If you wish to create a free account, register below.
RegisterWith an account you can favourite, comment, shop with ease and lots more.

No comments yet…