Chocolate Hedgehog Cake
10th June 2024
This cake was made for Callum’s 24th Birthday!


Chocolate Hedgehog Cake Recipe
- 175g Baking butter
- 175g Caster sugar
- 3 Large eggs
- 150g Self raising flour
- 25g Cocoa powder
- 200g Block butter
- 400g Icing sugar
- 25g Cocoa powder
- 2-4 tbsp Boiling water
- 2-3 packets Chocolate buttons
- 1 Glacé cherry (for the nose)
- 2 Dark chocolate callets (for the eyes)
- Preheat the oven to 180⁰c, Fan 160⁰c, Gas 4, 350⁰F.
- Prepare the basin by greasing with butter and dust lightly with sifted flour, put to one side.
- In a large bowl, cream the butter and sugar using a mixer until it becomes pale in colour.
- Add each egg individually, mixing well in between.
- Sieve the flour and cocoa powder together into the bowl and fold in gently using a spatula or low speed electric mixer until combined.
- Put the cake mixture into the prepared pudding basin.
- Bake for 1 hour 5 mins - 1 hour 15 minutes. Check with a cake tester to ensure it is fully cooked.
- Allow to cool slightly before carefully turning out onto wire rack, then allow to cool fully. If any issues, please read notes below.
- First dissolve the cocoa powder in the boiling water to make a thick paste and leave to cool.
- In a large bowl, whisk the block butter until soft. Sieve half the icing sugar into the bowl and mix, then repeat with the remaining icing sugar.
- Add the cocoa paste to the buttercream and mix until combined.
- If the sponge has domed when cooked, trim the excess cake off the tops/domes then cut in half from top to bottom, this cut section will form the bottom of your hedgehog.
- Spread a small amount of buttercream onto the centre of the cake board or plate-this will stop the cake from slipping.
- Spread plenty of butter icing onto one of the trimmed domes and place cut side down on the cake board or plate.
- Sandwich the other half of the sponge to the iced side to make a new dome shape.
- Fill in the gap with extra butter cream, you now have the body shape of the hedgehog.
- Cover the whole body in butter icing and start to shape the front, creating a tear shape. The point of the tear will be the face of the hedgehog.
- Once all the icing is on, using a fork or palette knife, gently mark all over creating a textured affect.
- Wearing disposable gloves rub the chocolate buttons to remove any imperfections and making the buttons shiny.
- Then cut the buttons in half keeping one back for the tail, stick them in at an angle, cut side down. Cover three quarters of the cake leaving the face area clear, making sure all the buttons are pointing in the same direction.
- Place the whole button at the back near the cake board or plate creating the hedgehog’s tail.
- Now cut the glacé cherry in half and place one half on the end of the tear drop to create the nose.
- Use two chocolate callets and place one either side of the face to create the eyes.
- Removal of the sponge if it sticks to the basin. Carefully run a pallet knife around and down the side of the basin. This should reduce the suction of the cake in the basin allowing it to become free.
- If the cake rips/tears/breaks when coming out of the basin, carefully allow all parts to cool and stick back together with extra buttercream setting in the fridge before continuing with construction.
- Refer to pictures for clarification on construction of the cake.
- This is one of my family’s favourite cake recipes for birthdays.
Did you make this recipe?
Tag @gleni.co.uk on Instagram and hashtag #gleni
Let's Discuss...
About Us

Always remember - Life's Easier With Treats! Read more...
If you wish to create a free account register below.
RegisterWith an account you can favourite, comment, shop with ease and lots more.
Latest Posts
Chocolate Frogs

Chocolate Frogs
Almond & Milk Chocolate Florentines

Almond & Milk Chocolate Florentines

Gleni Update 01/26

Gleni Update 01/26
My Top 9 Favourite Gleni Moments Of 2025!

My Top 9 Favourite Gleni Moments Of 2025!
Milk Chocolate Mini Bar "Merry Christmas" (Scarlett Red)

Milk Chocolate Mini Bar "Merry Christmas" (Scarlett Red)
Hashtags
#chocolatehedgehogcake #chocolatehedgehog #hedgehog #birthdaycake #birthday #cake #chocolatebuttons #chocolate #buttons #darkchocolatecallets #glacecherry #glenichocolatier #glenibakes #gleni
Latest Videos
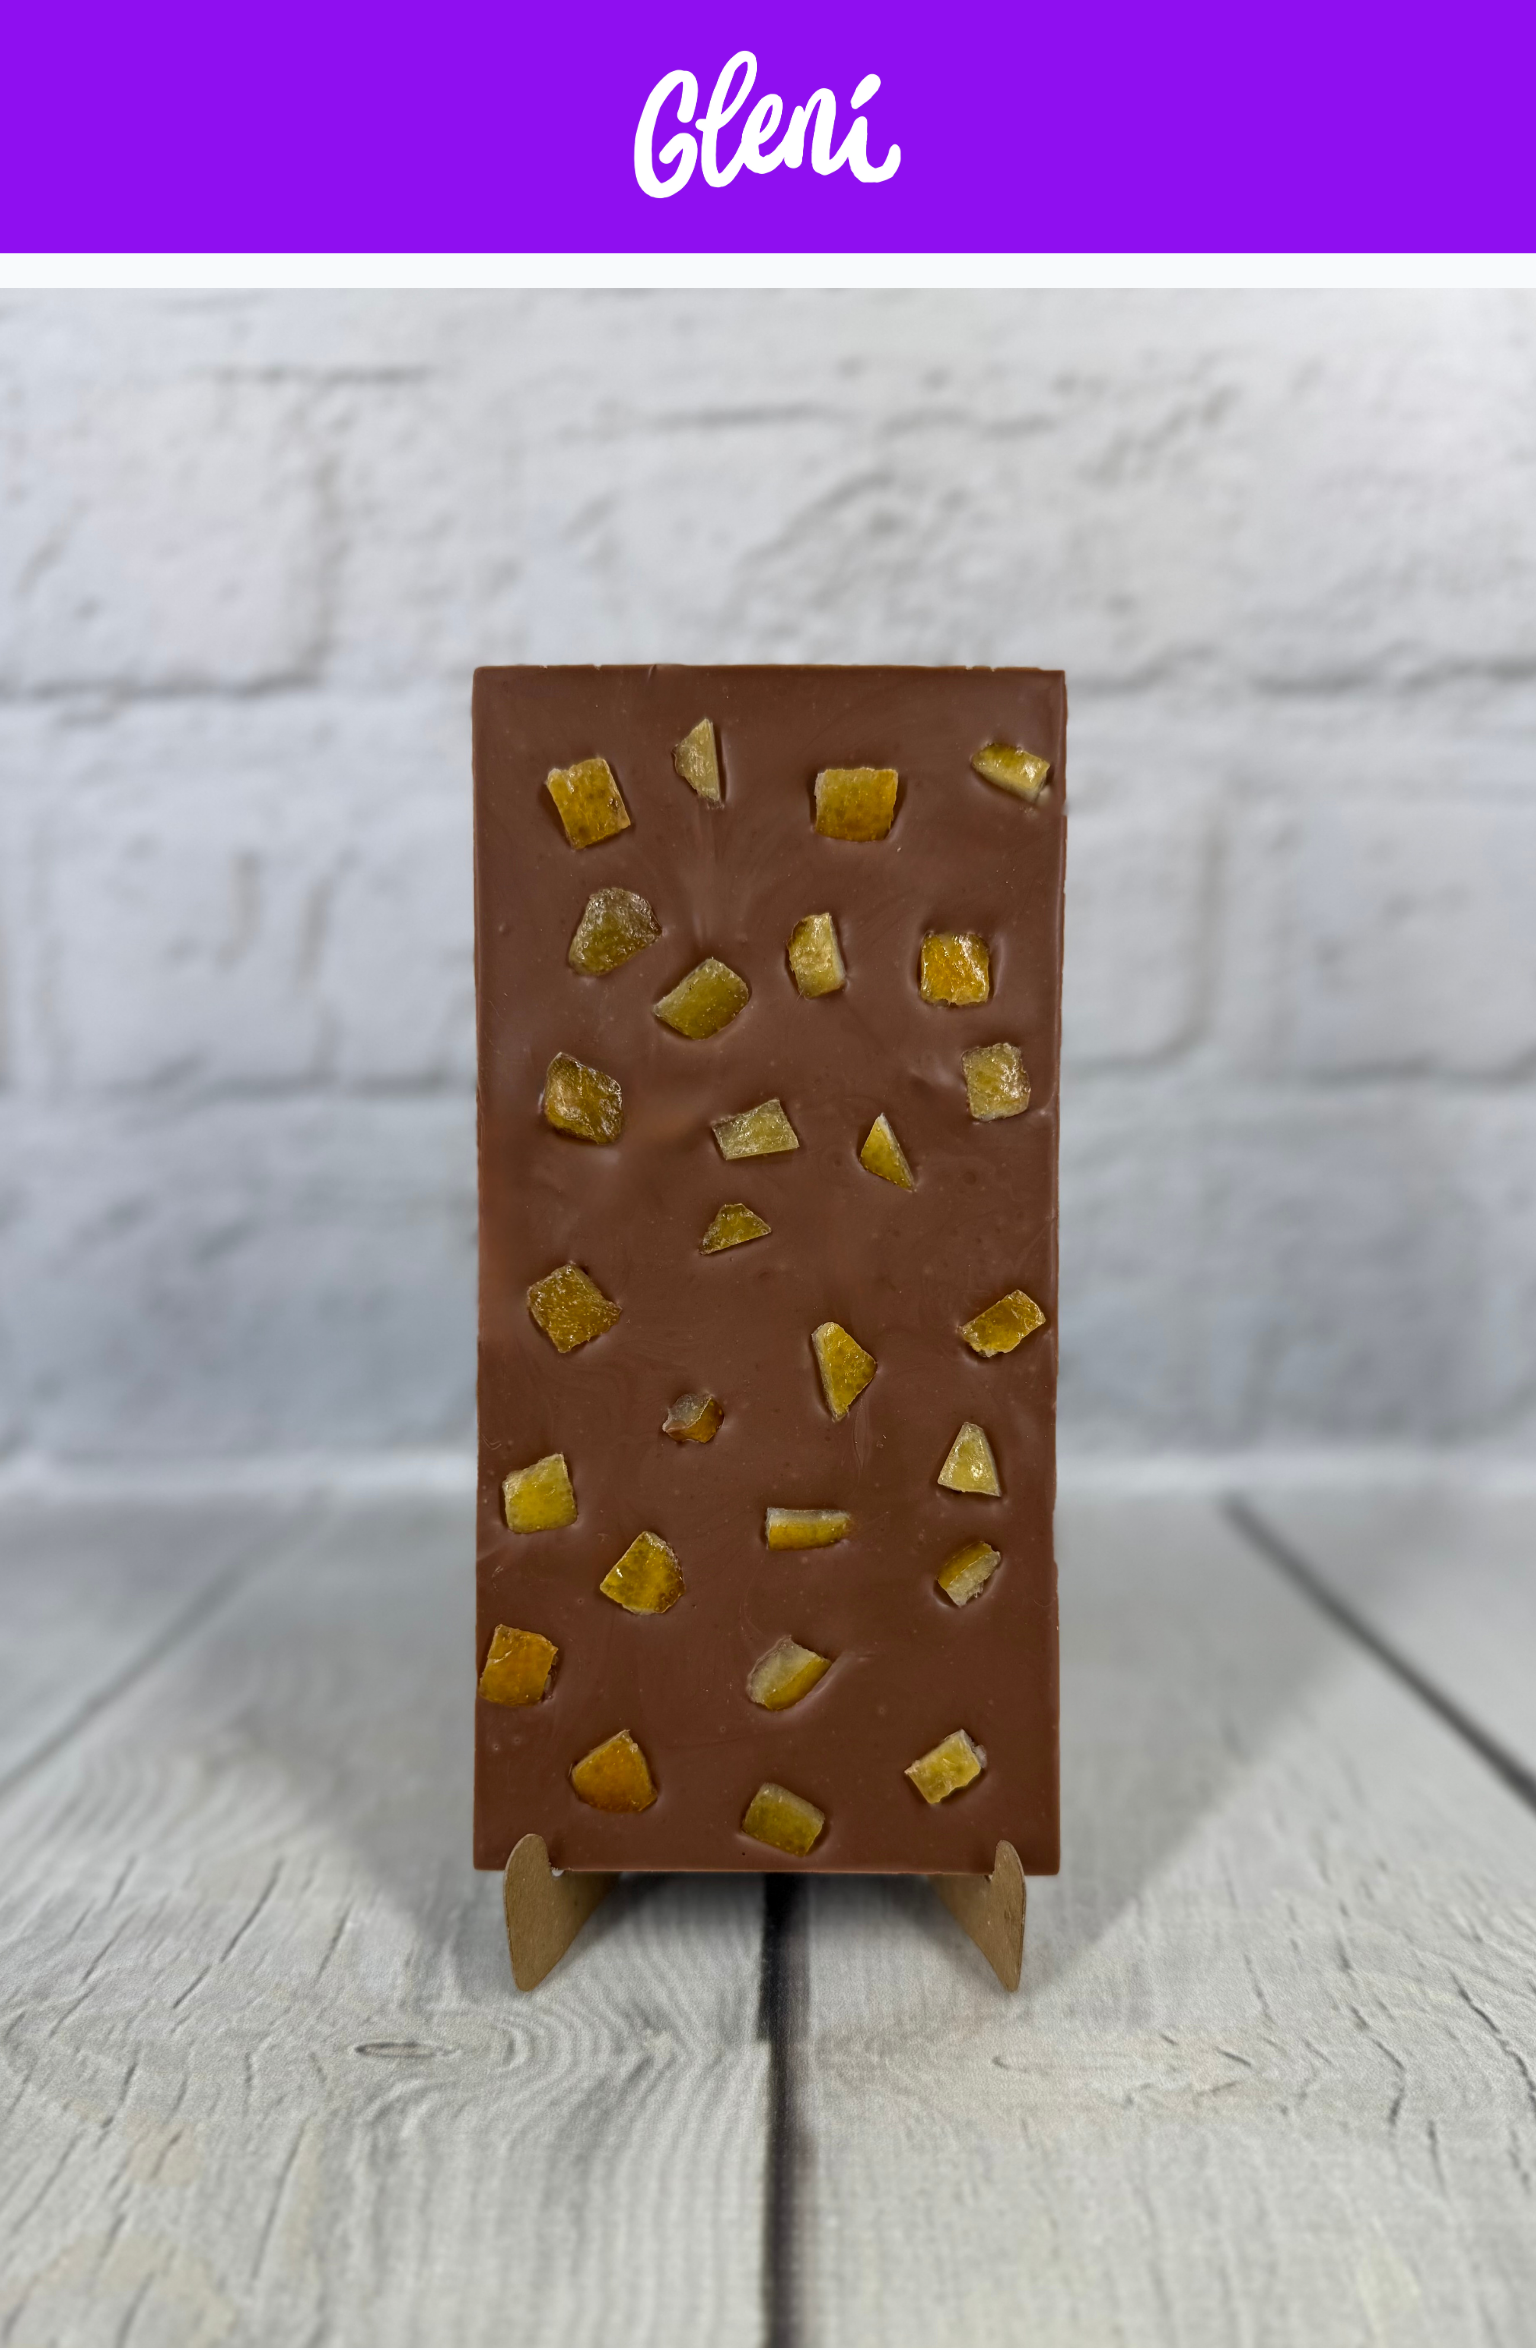
Milk Chocolate Orange Bar

Milk Chocolate Orange Bar
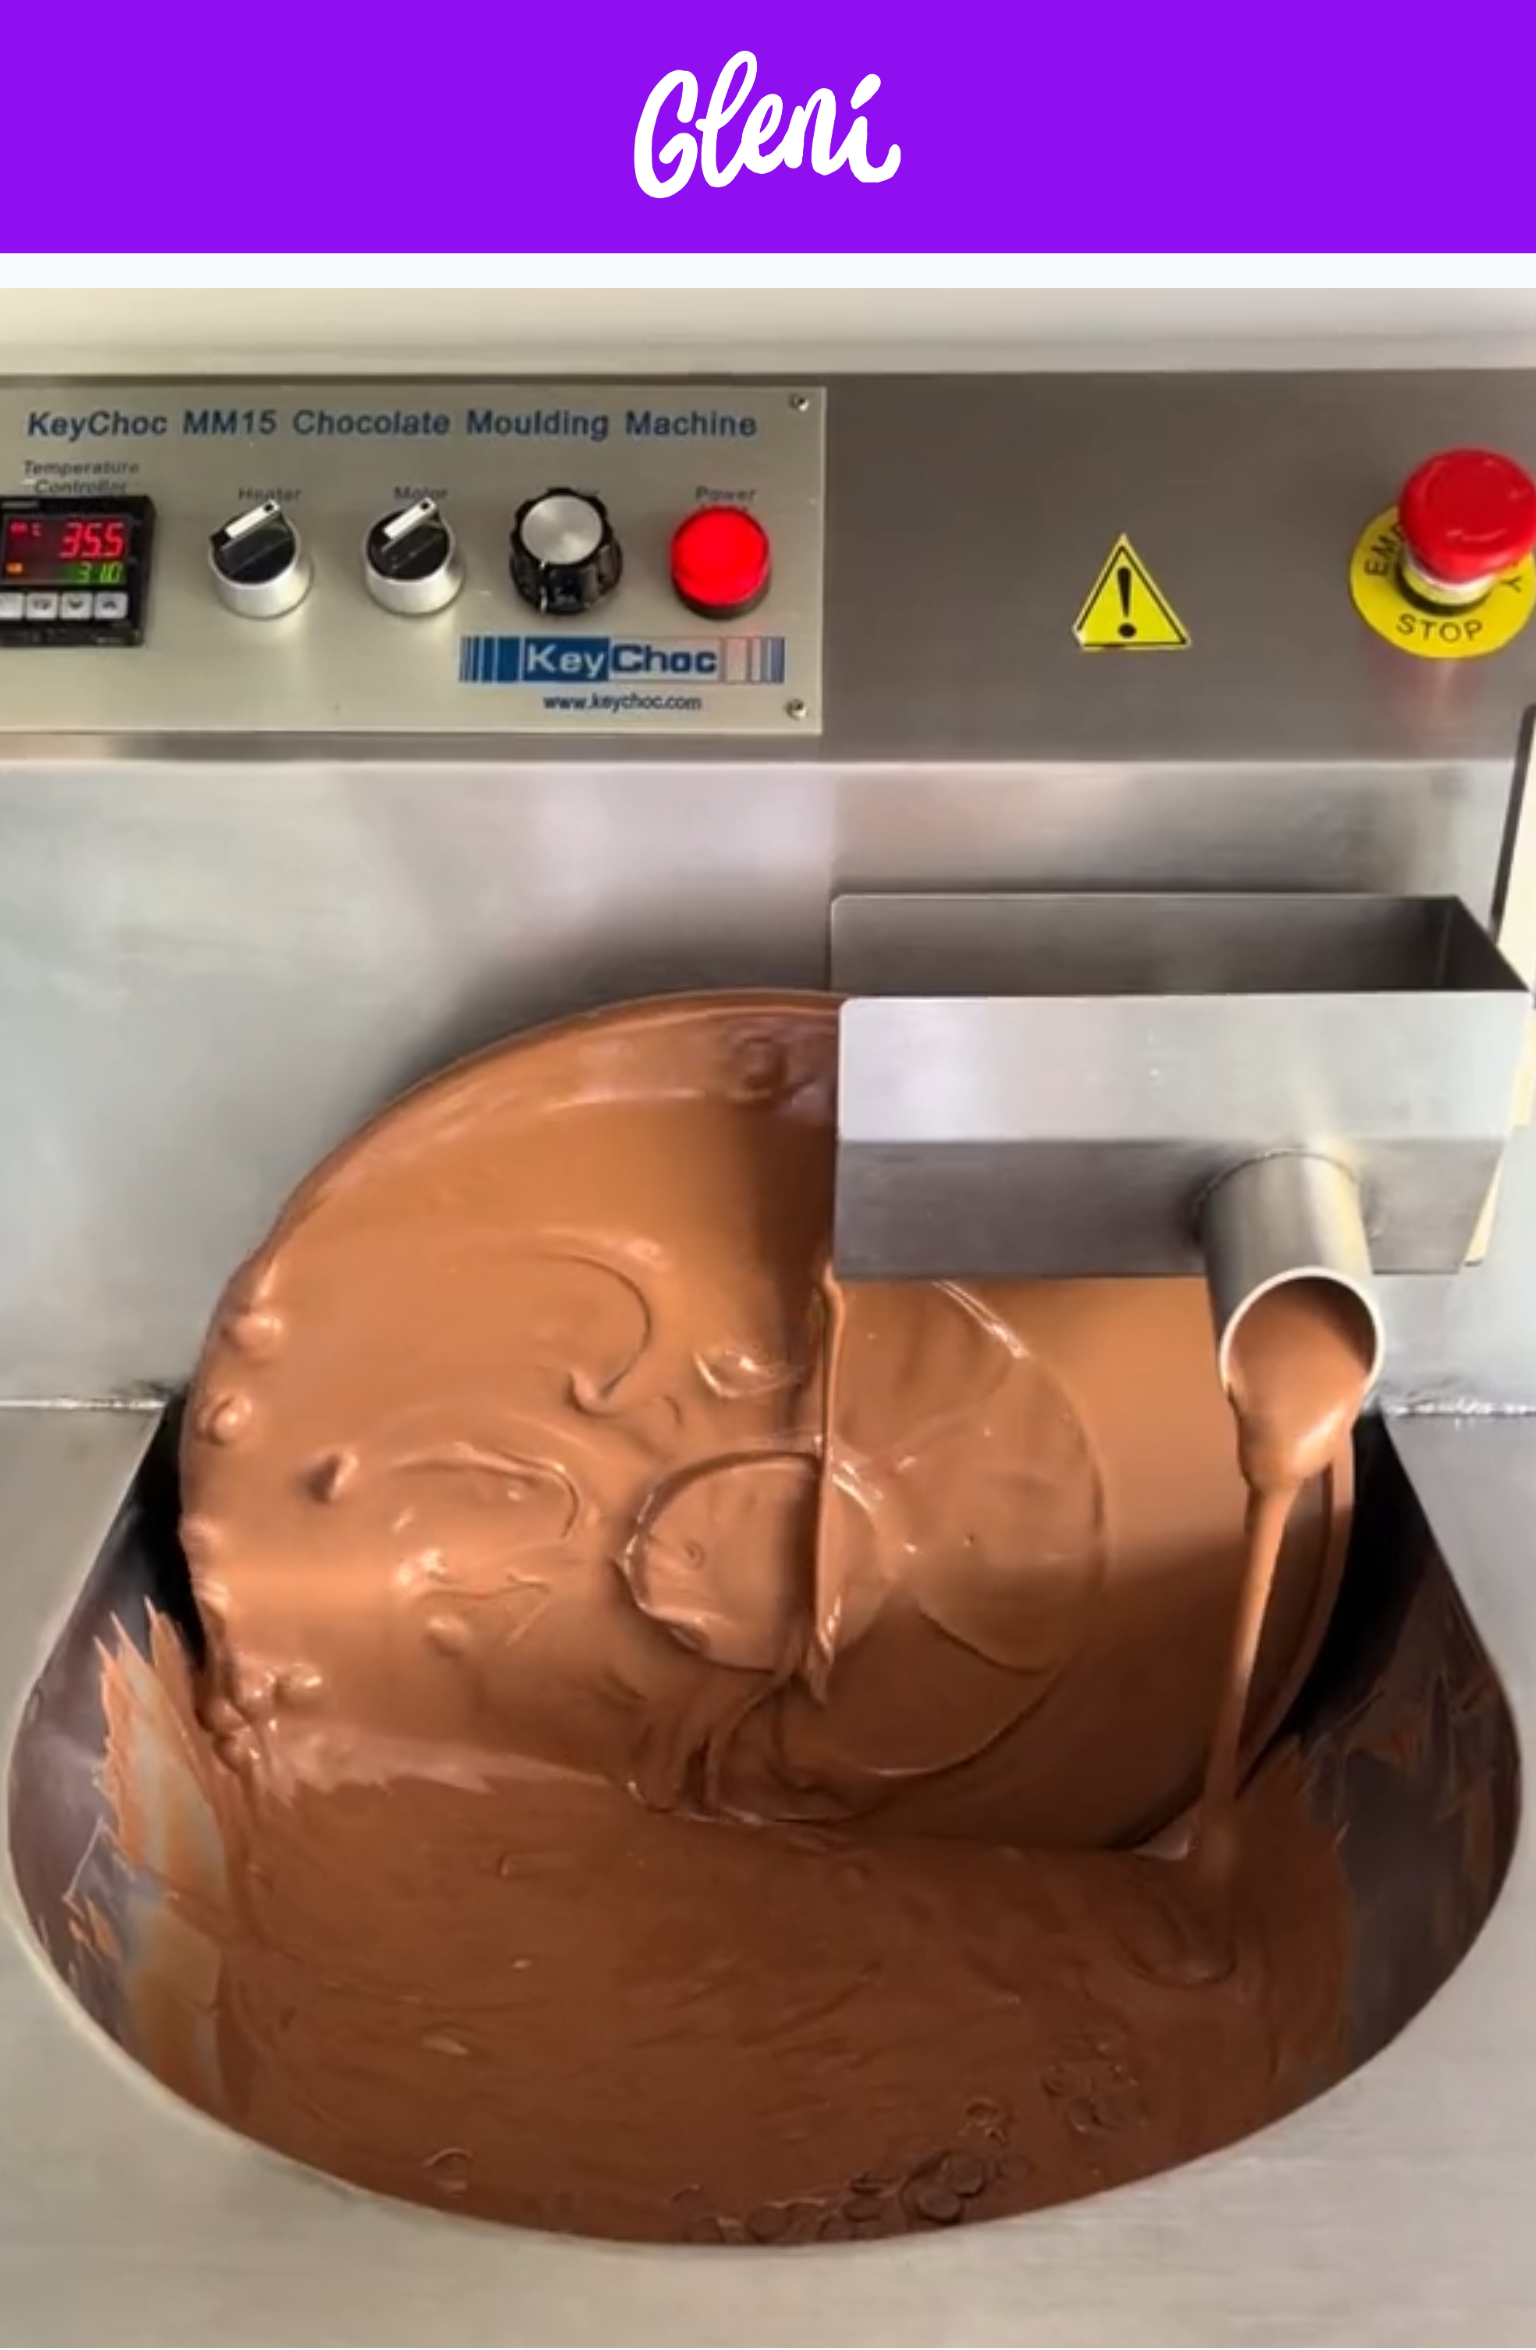
Chocolate Machine

Chocolate Machine

2025 Season Comes To An End!

2025 Season Comes To An End!
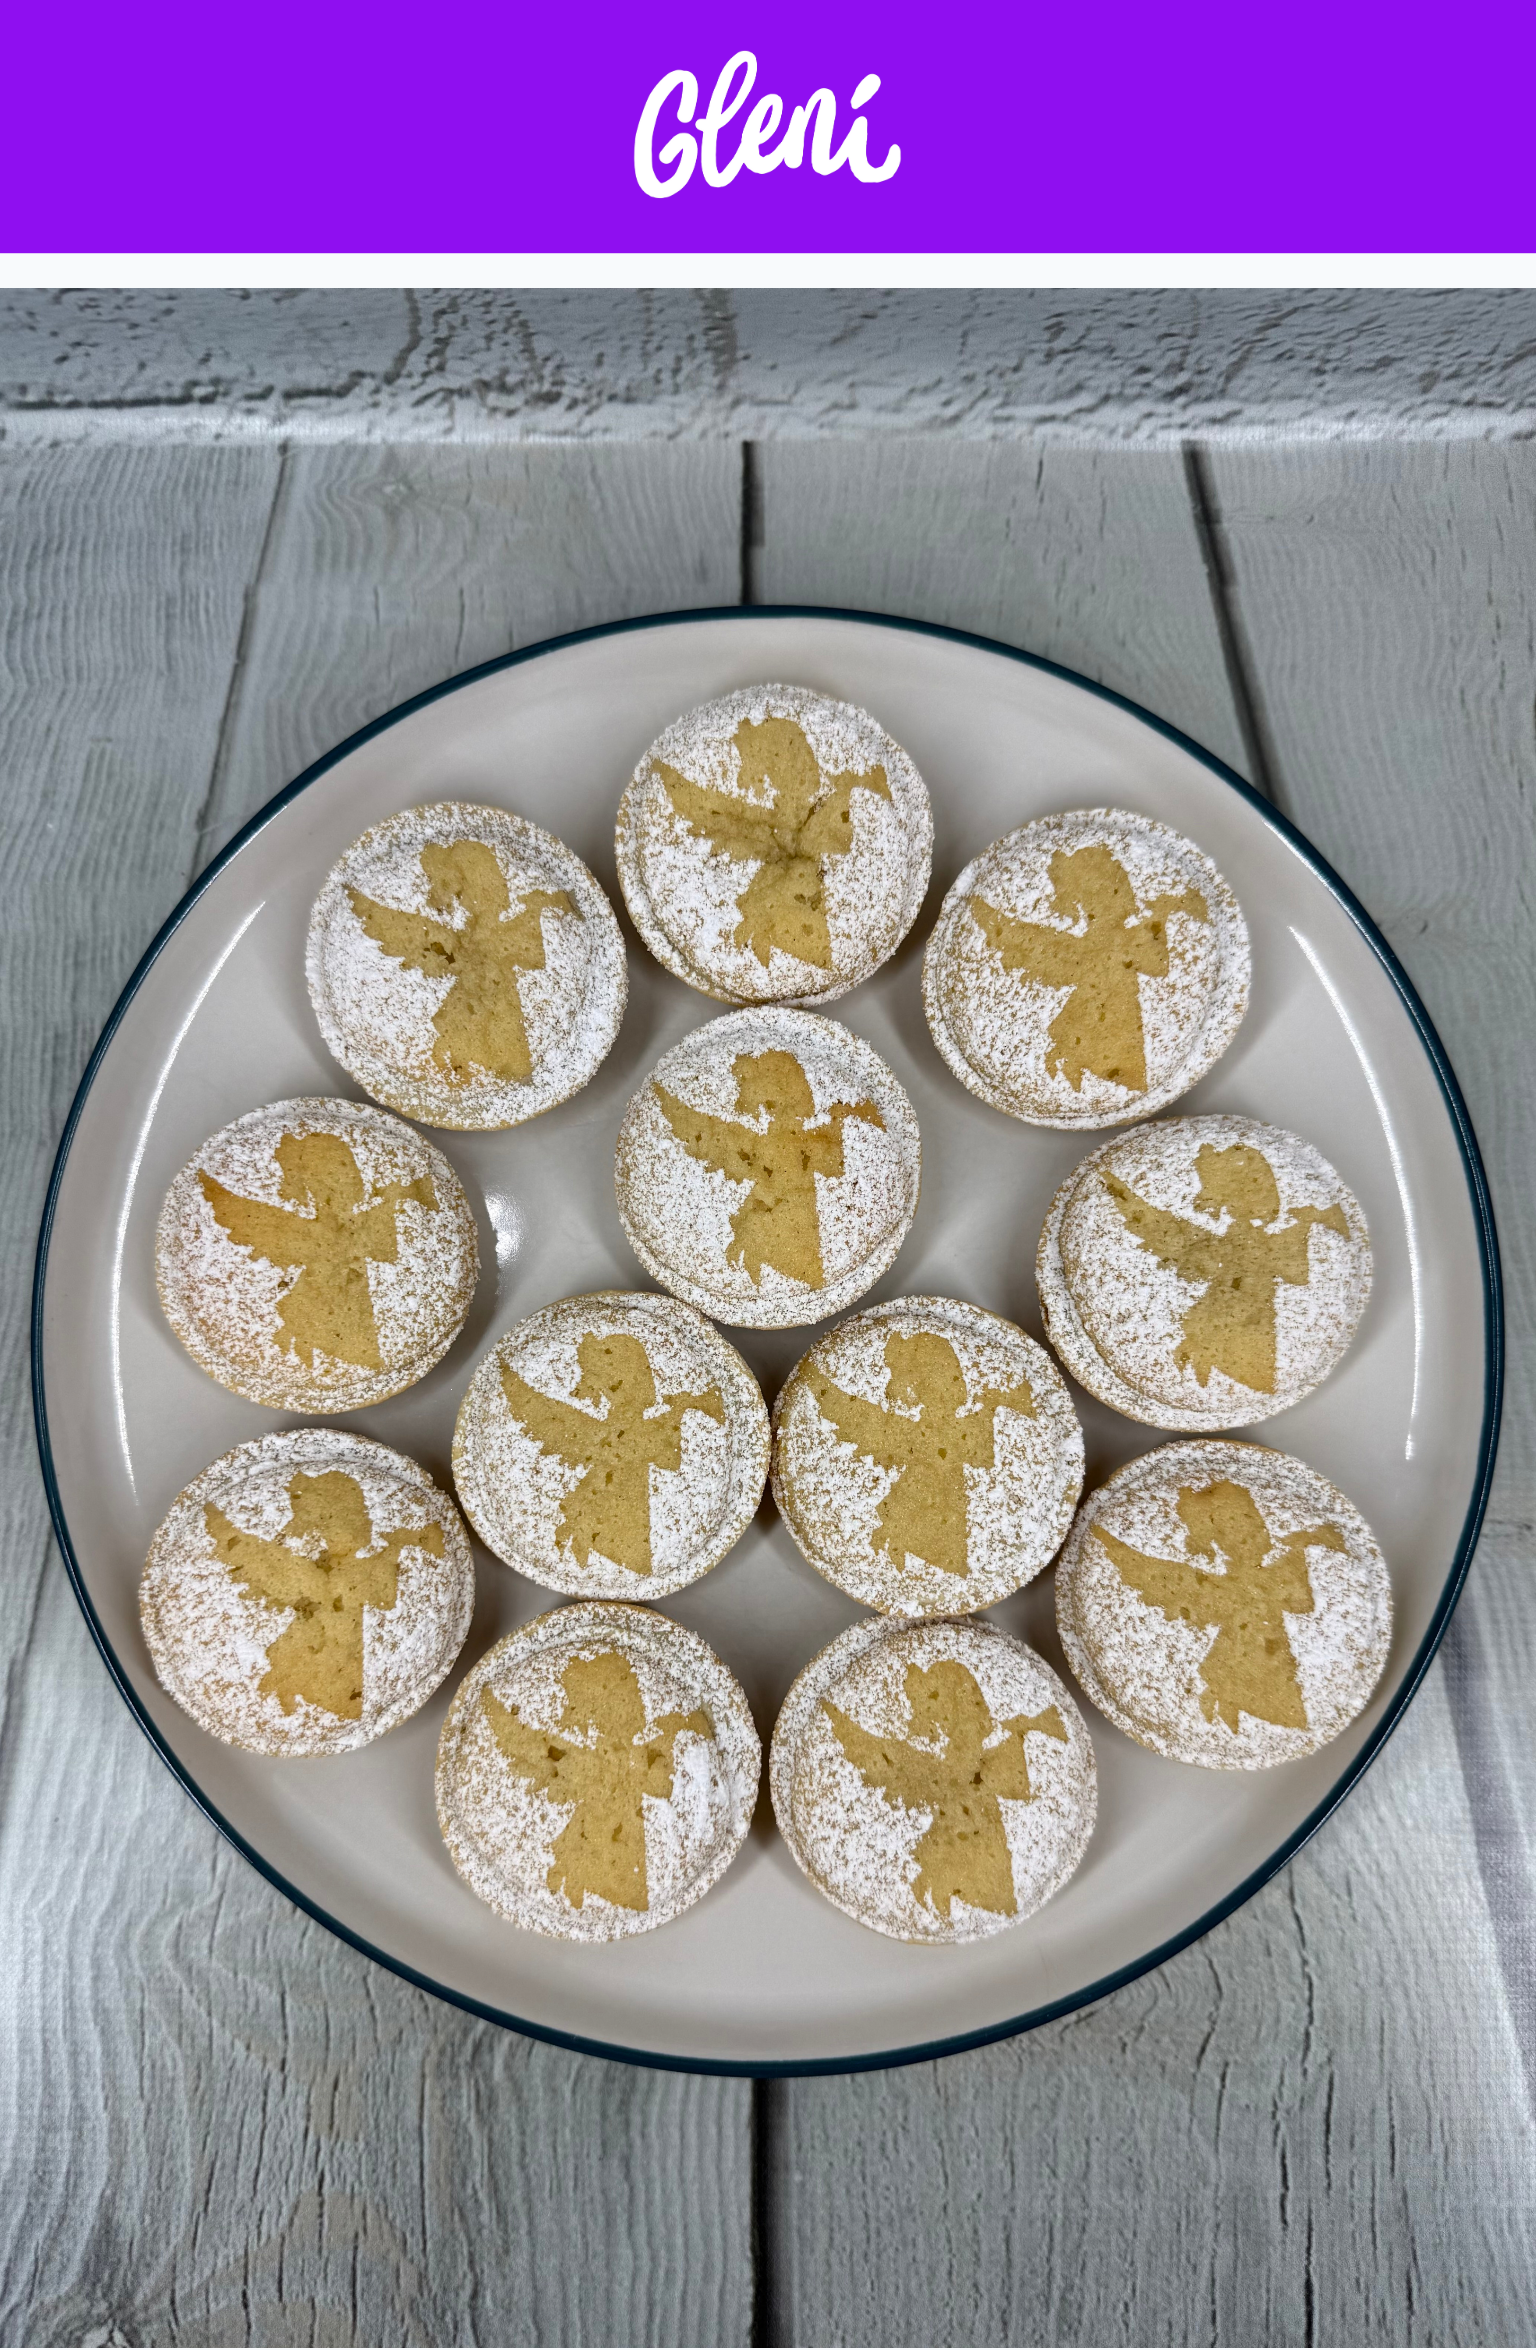
Christmas Angel Mince Pies

Christmas Angel Mince Pies
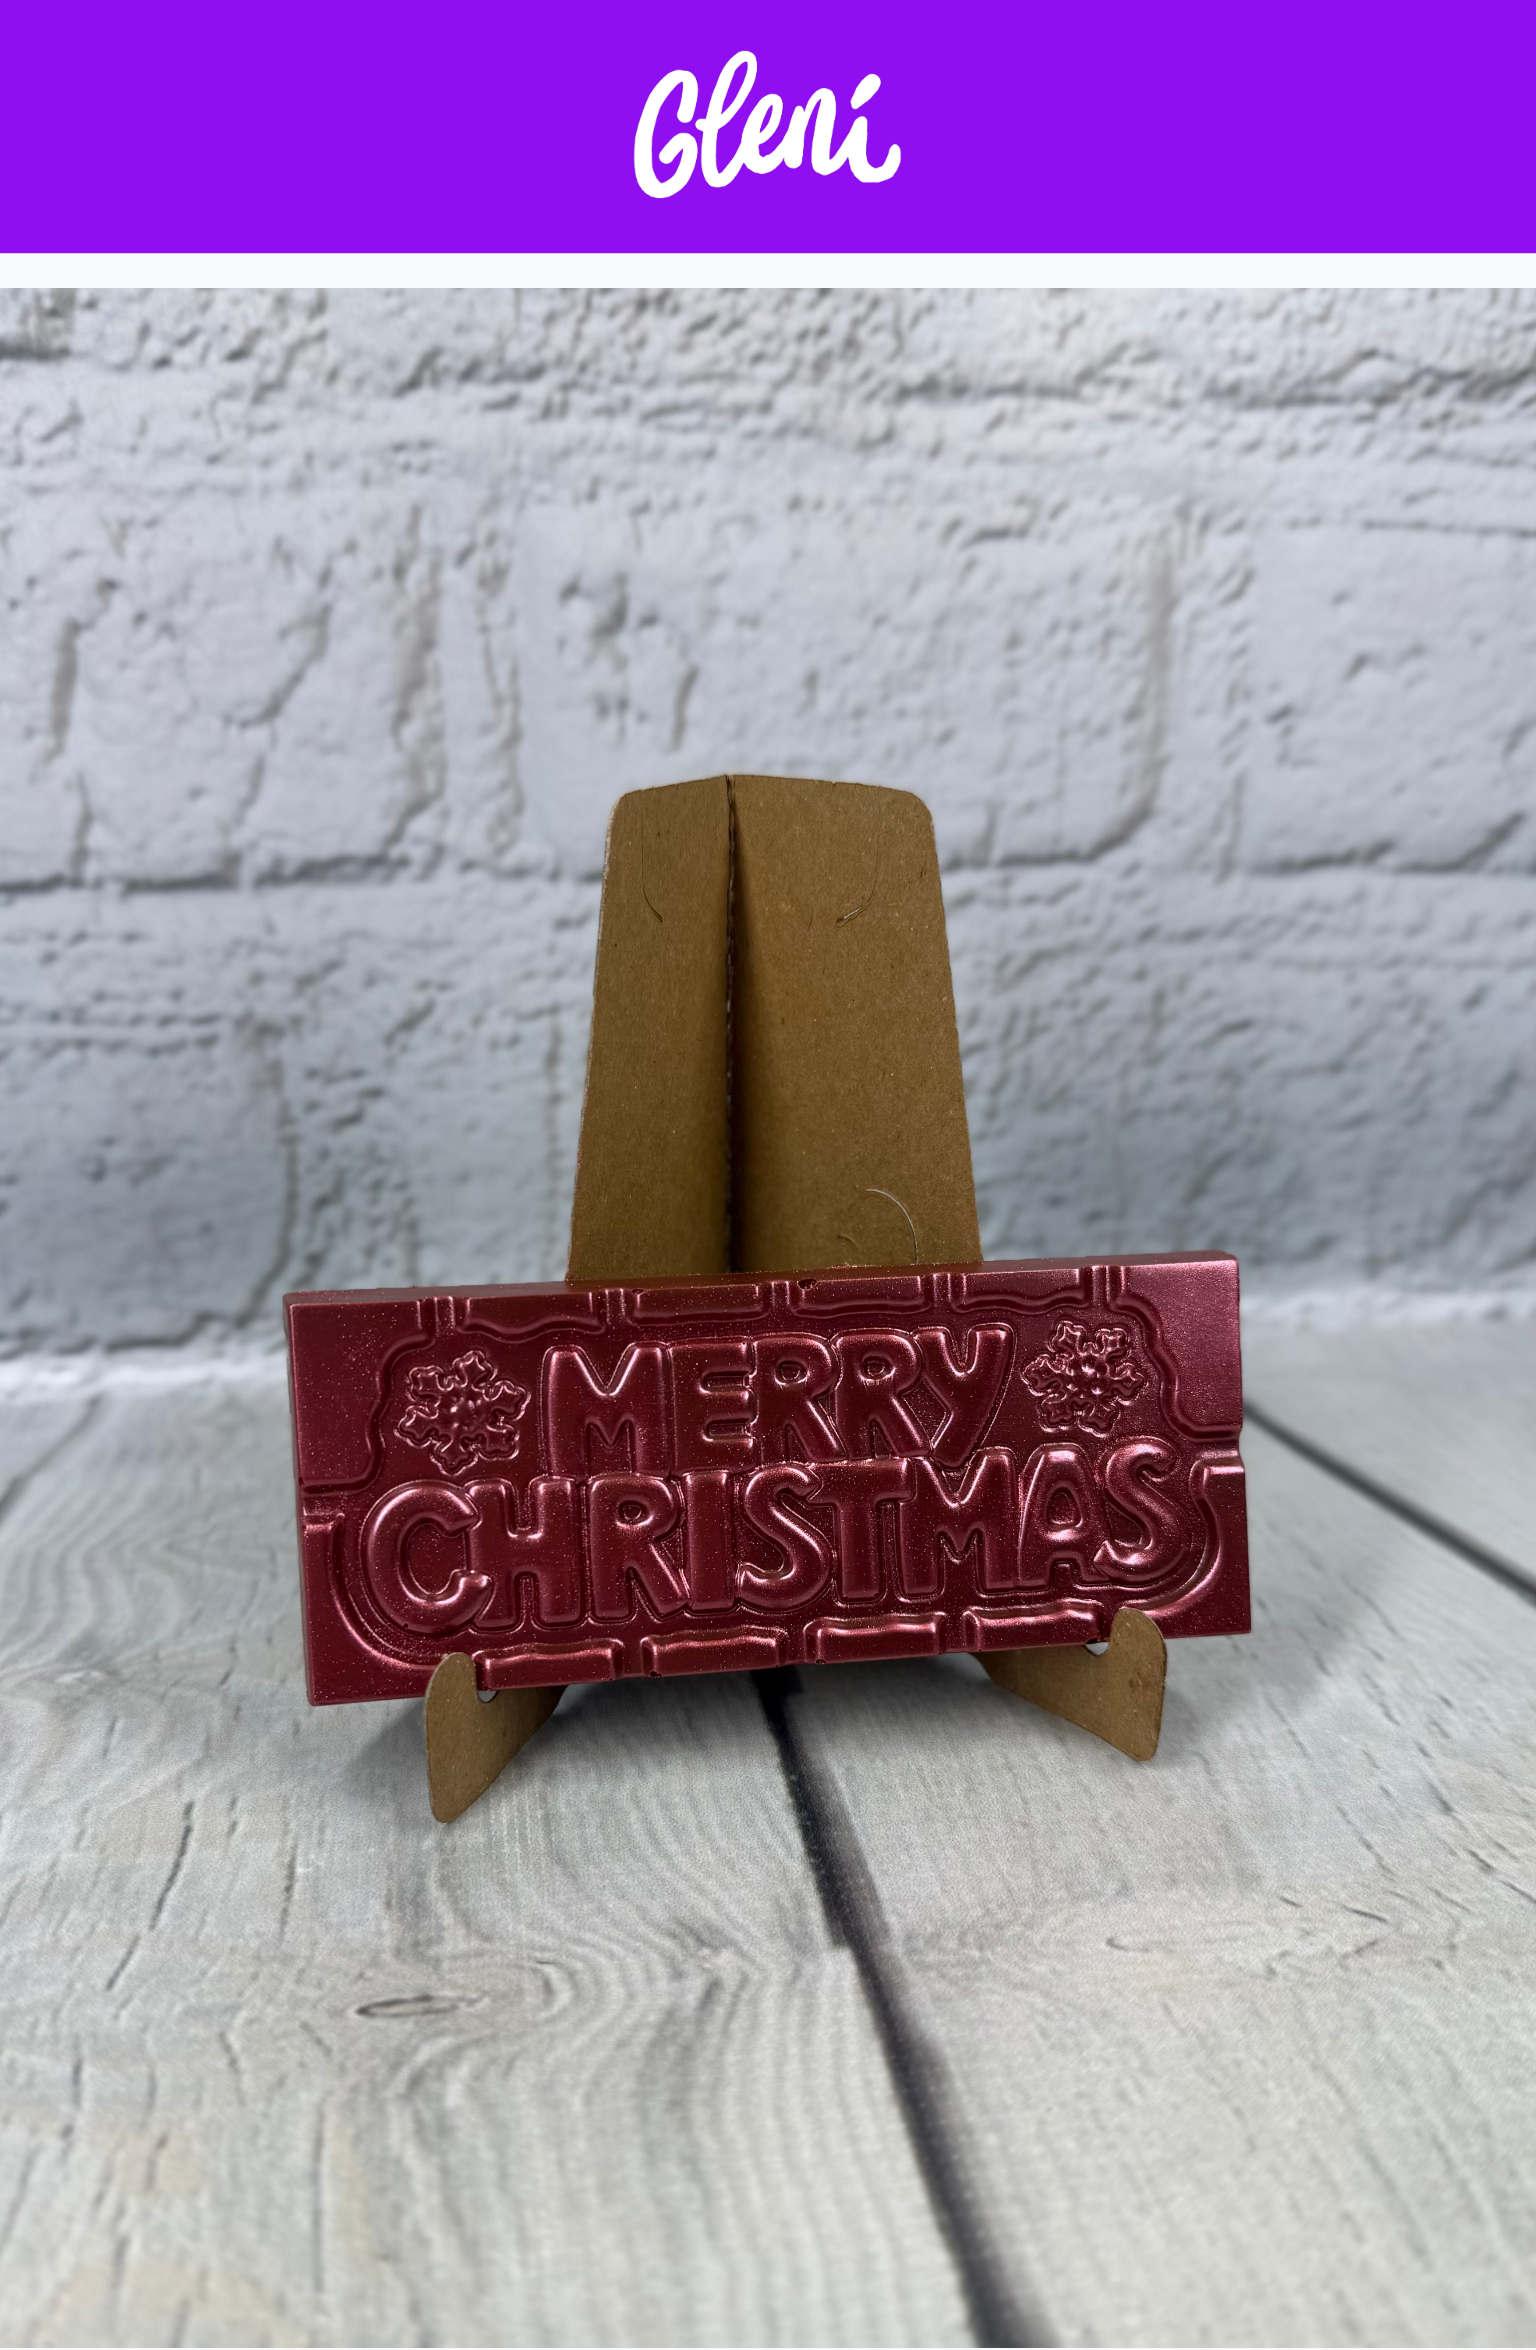
Milk Chocolate Mini Bar "Merry Christmas" (Scarlett Red)

Milk Chocolate Mini Bar "Merry Christmas" (Scarlett Red)
No comments yet…