
Marble Sponge Cake Recipe
- 115g Baking butter
- 115g Caster sugar
- 2 Large eggs
- 1 tsp Vanilla extract
- 115g Self raising flour
- 115g Baking butter
- 115g Caster sugar
- 2 Large eggs
- 15g Cocoa powder
- 100g Self raising flour
- 200g Block butter
- 400g Icing sugar
- 1 tsp Vanilla extract
- Chocolate buttons
- Preheat the oven to 190⁰c, Fan 170⁰c, Gas 5, 375⁰F.
- Prepare two 8 inch cake tins by greasing and lining.
- In a large bowl, cream the butter and sugar together using a mixer until it becomes pale in colour.
- Add each egg individually, mixing well in between.
- Next add the vanilla extract to the mix and combine.
- Sieve the flour into the bowl and fold in gently using a spatula until combined.
- Remove mixture using a spatula into a new bowl and place to one side.
- Using the previous mixing bowl, cream the butter and sugar together using a mixer until it becomes pale in colour.
- Add each egg individually, mixing well in between.
- Sieve the flour and cocoa powder into the bowl and fold in gently using a spatula until combined.
- Equally split both mixtures between the cake tins by dolloping randomly and using the end of a teaspoon/cake tester, swirl together.
- Bake for 20-25 minutes on the middle shelf. The cakes will be done once they are golden brown and coming away from the edge of the tins. Press gently to check, they should be springing to the touch.
- Allow to cool before turning the sponges out onto a wired cooling rack.
- In a large bowl, whisk the block butter until soft. Sieve half the icing sugar into the bowl and mix slowly to start with, then repeat with the remaining icing sugar.
- Add the vanilla extract to the buttercream and mix until combined.
- Place the buttercream into a piping bag with the 2D nozzle. If you don’t have a piping bag you can use a palette knife instead.
- Put a small amount of buttercream in the center of the cake board or plate. Place one of the sponges on top. This should stop the cake from slipping off.
- Carefully pipe or spread using a palette knife the buttercream onto the sponge starting from the outside working towards the center.
- Place the second sponge carefully on top of the buttercream and repeat previous step on top of the cake.
- Finally, alternate two types of chocolate buttons around the top circumference of the cake.
- The chocolate buttons that we used in this cake/picture, were Cadbury’s Caramel Nibbles and Caramilk Buttons, but you could use any type of chocolate buttons.
Did you make this recipe?
Tag @gleni.co.uk on Instagram and hashtag #gleni
Let's Discuss...
About Us

Always remember - Life's Easier With Treats! Read more...
If you wish to create a free account register below.
RegisterWith an account you can favourite, comment, shop with ease and lots more.
Latest Posts
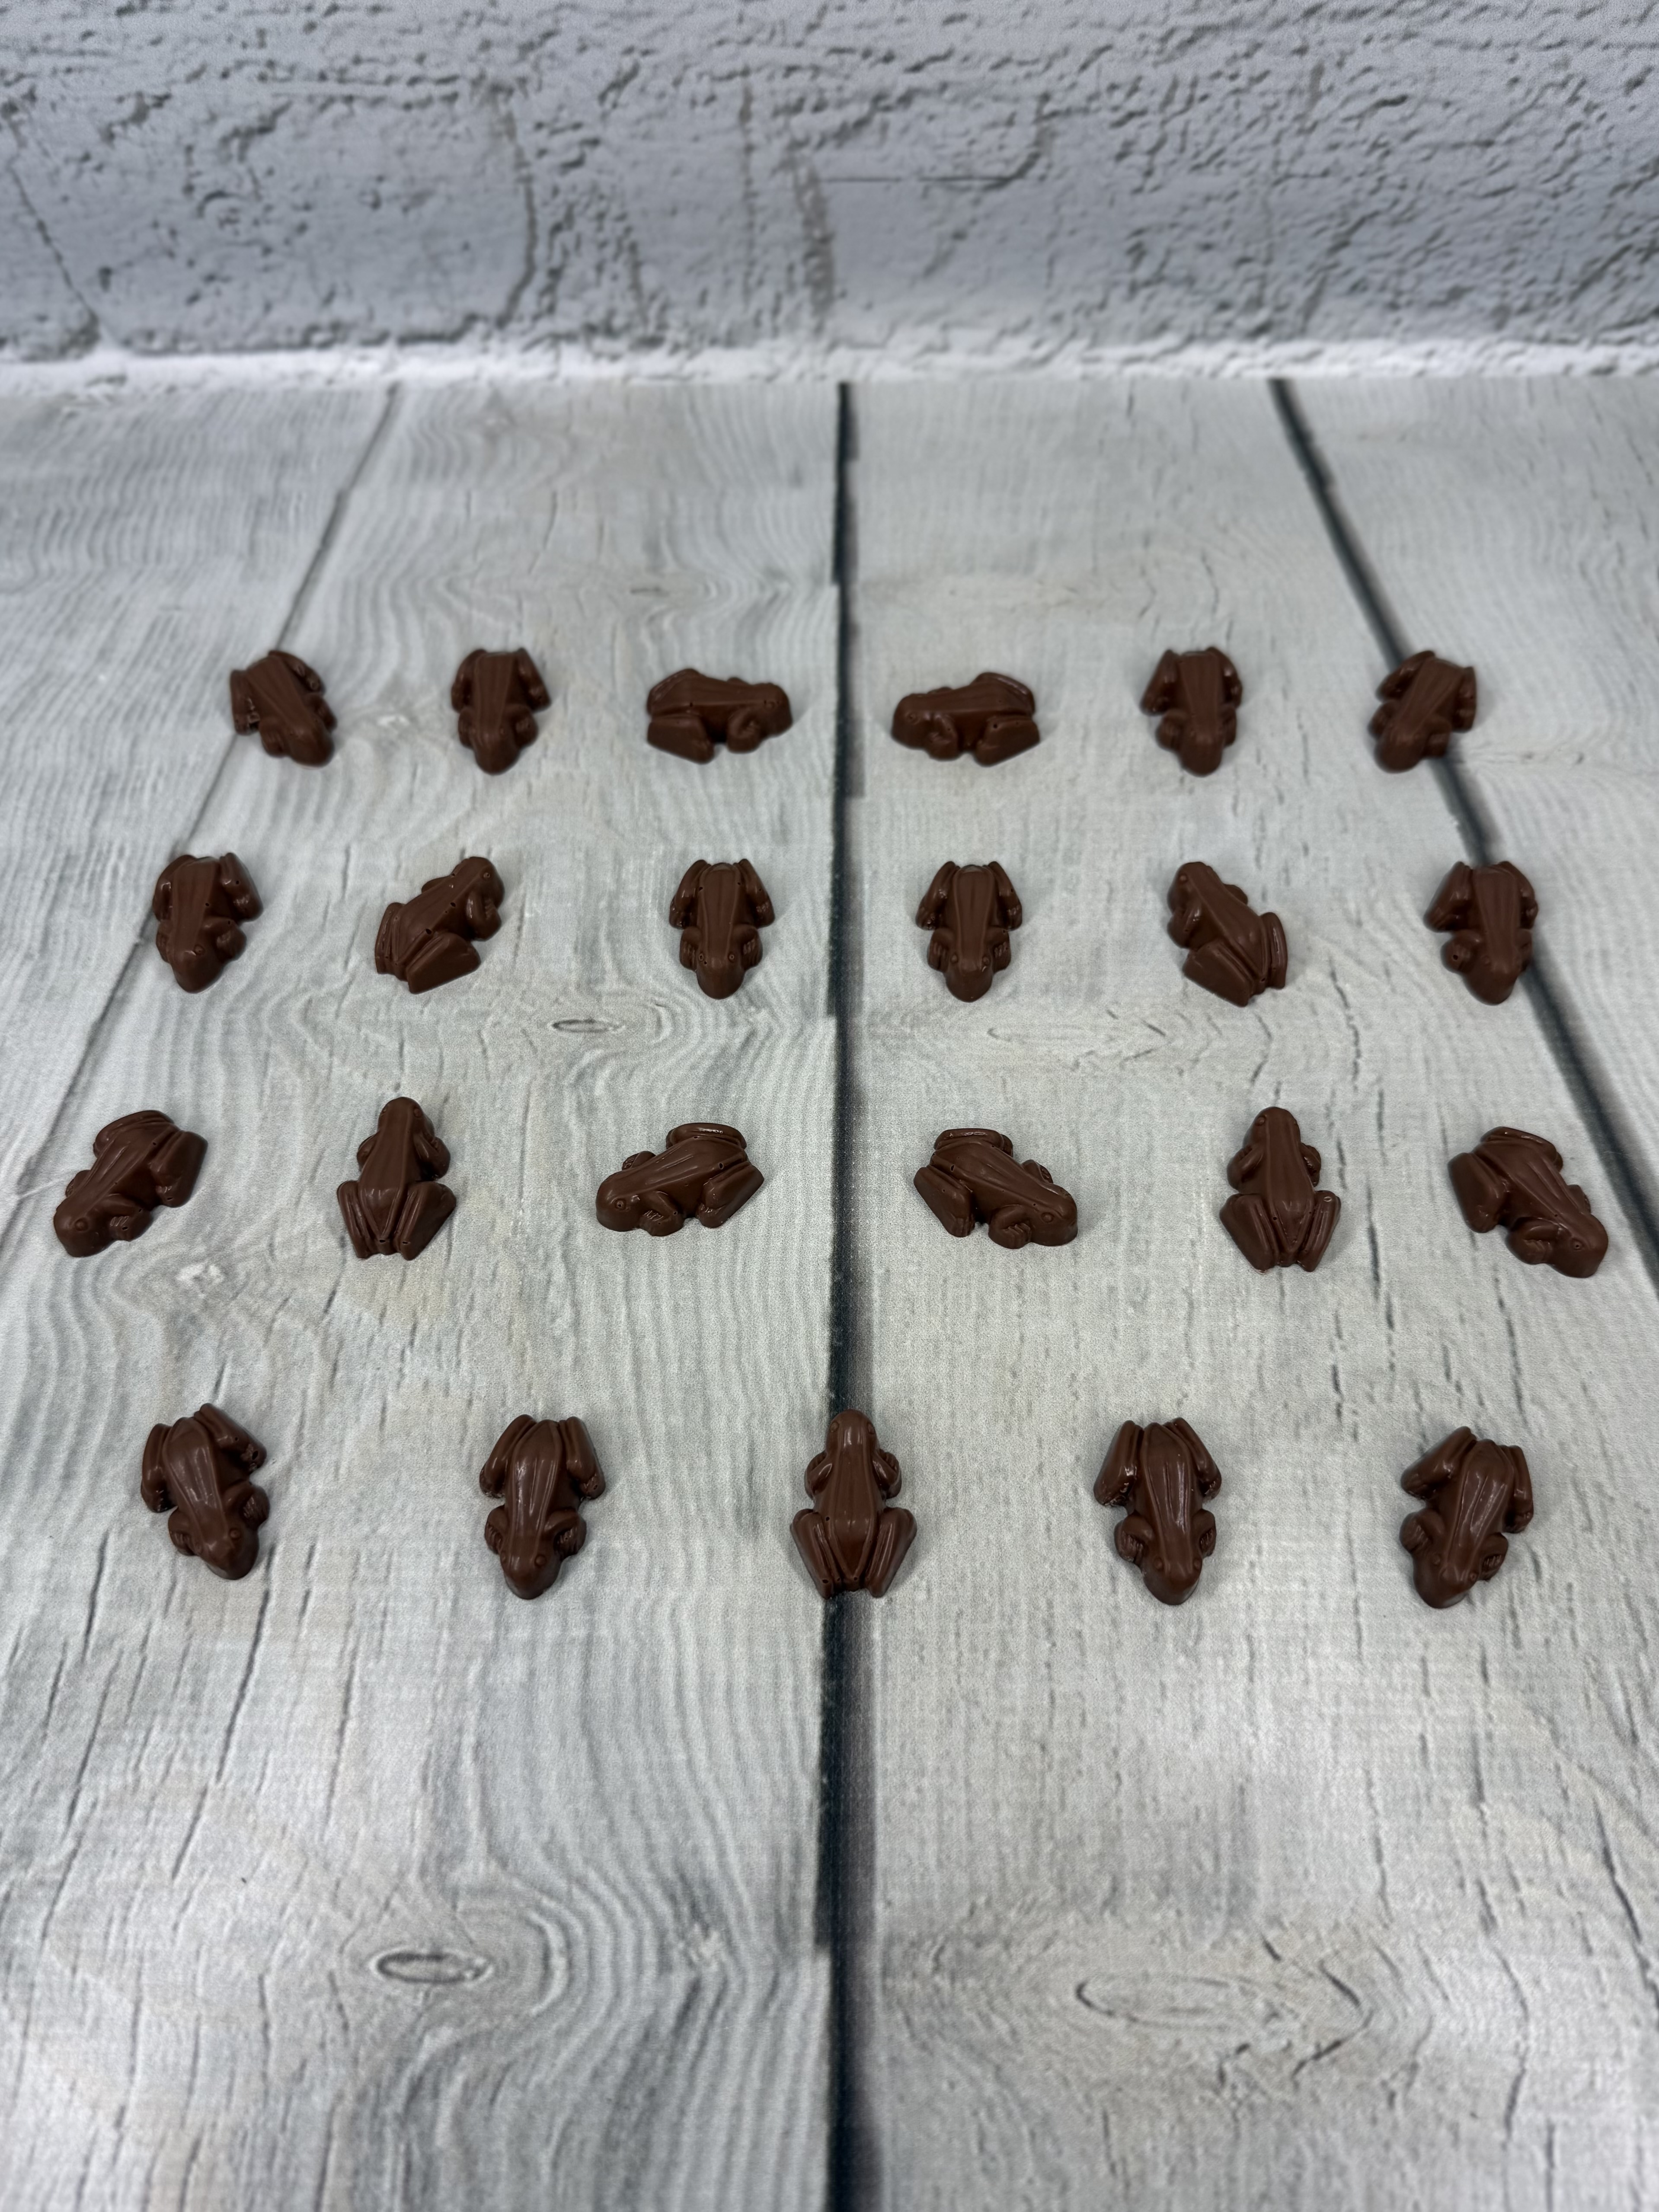
Chocolate Frogs

Chocolate Frogs
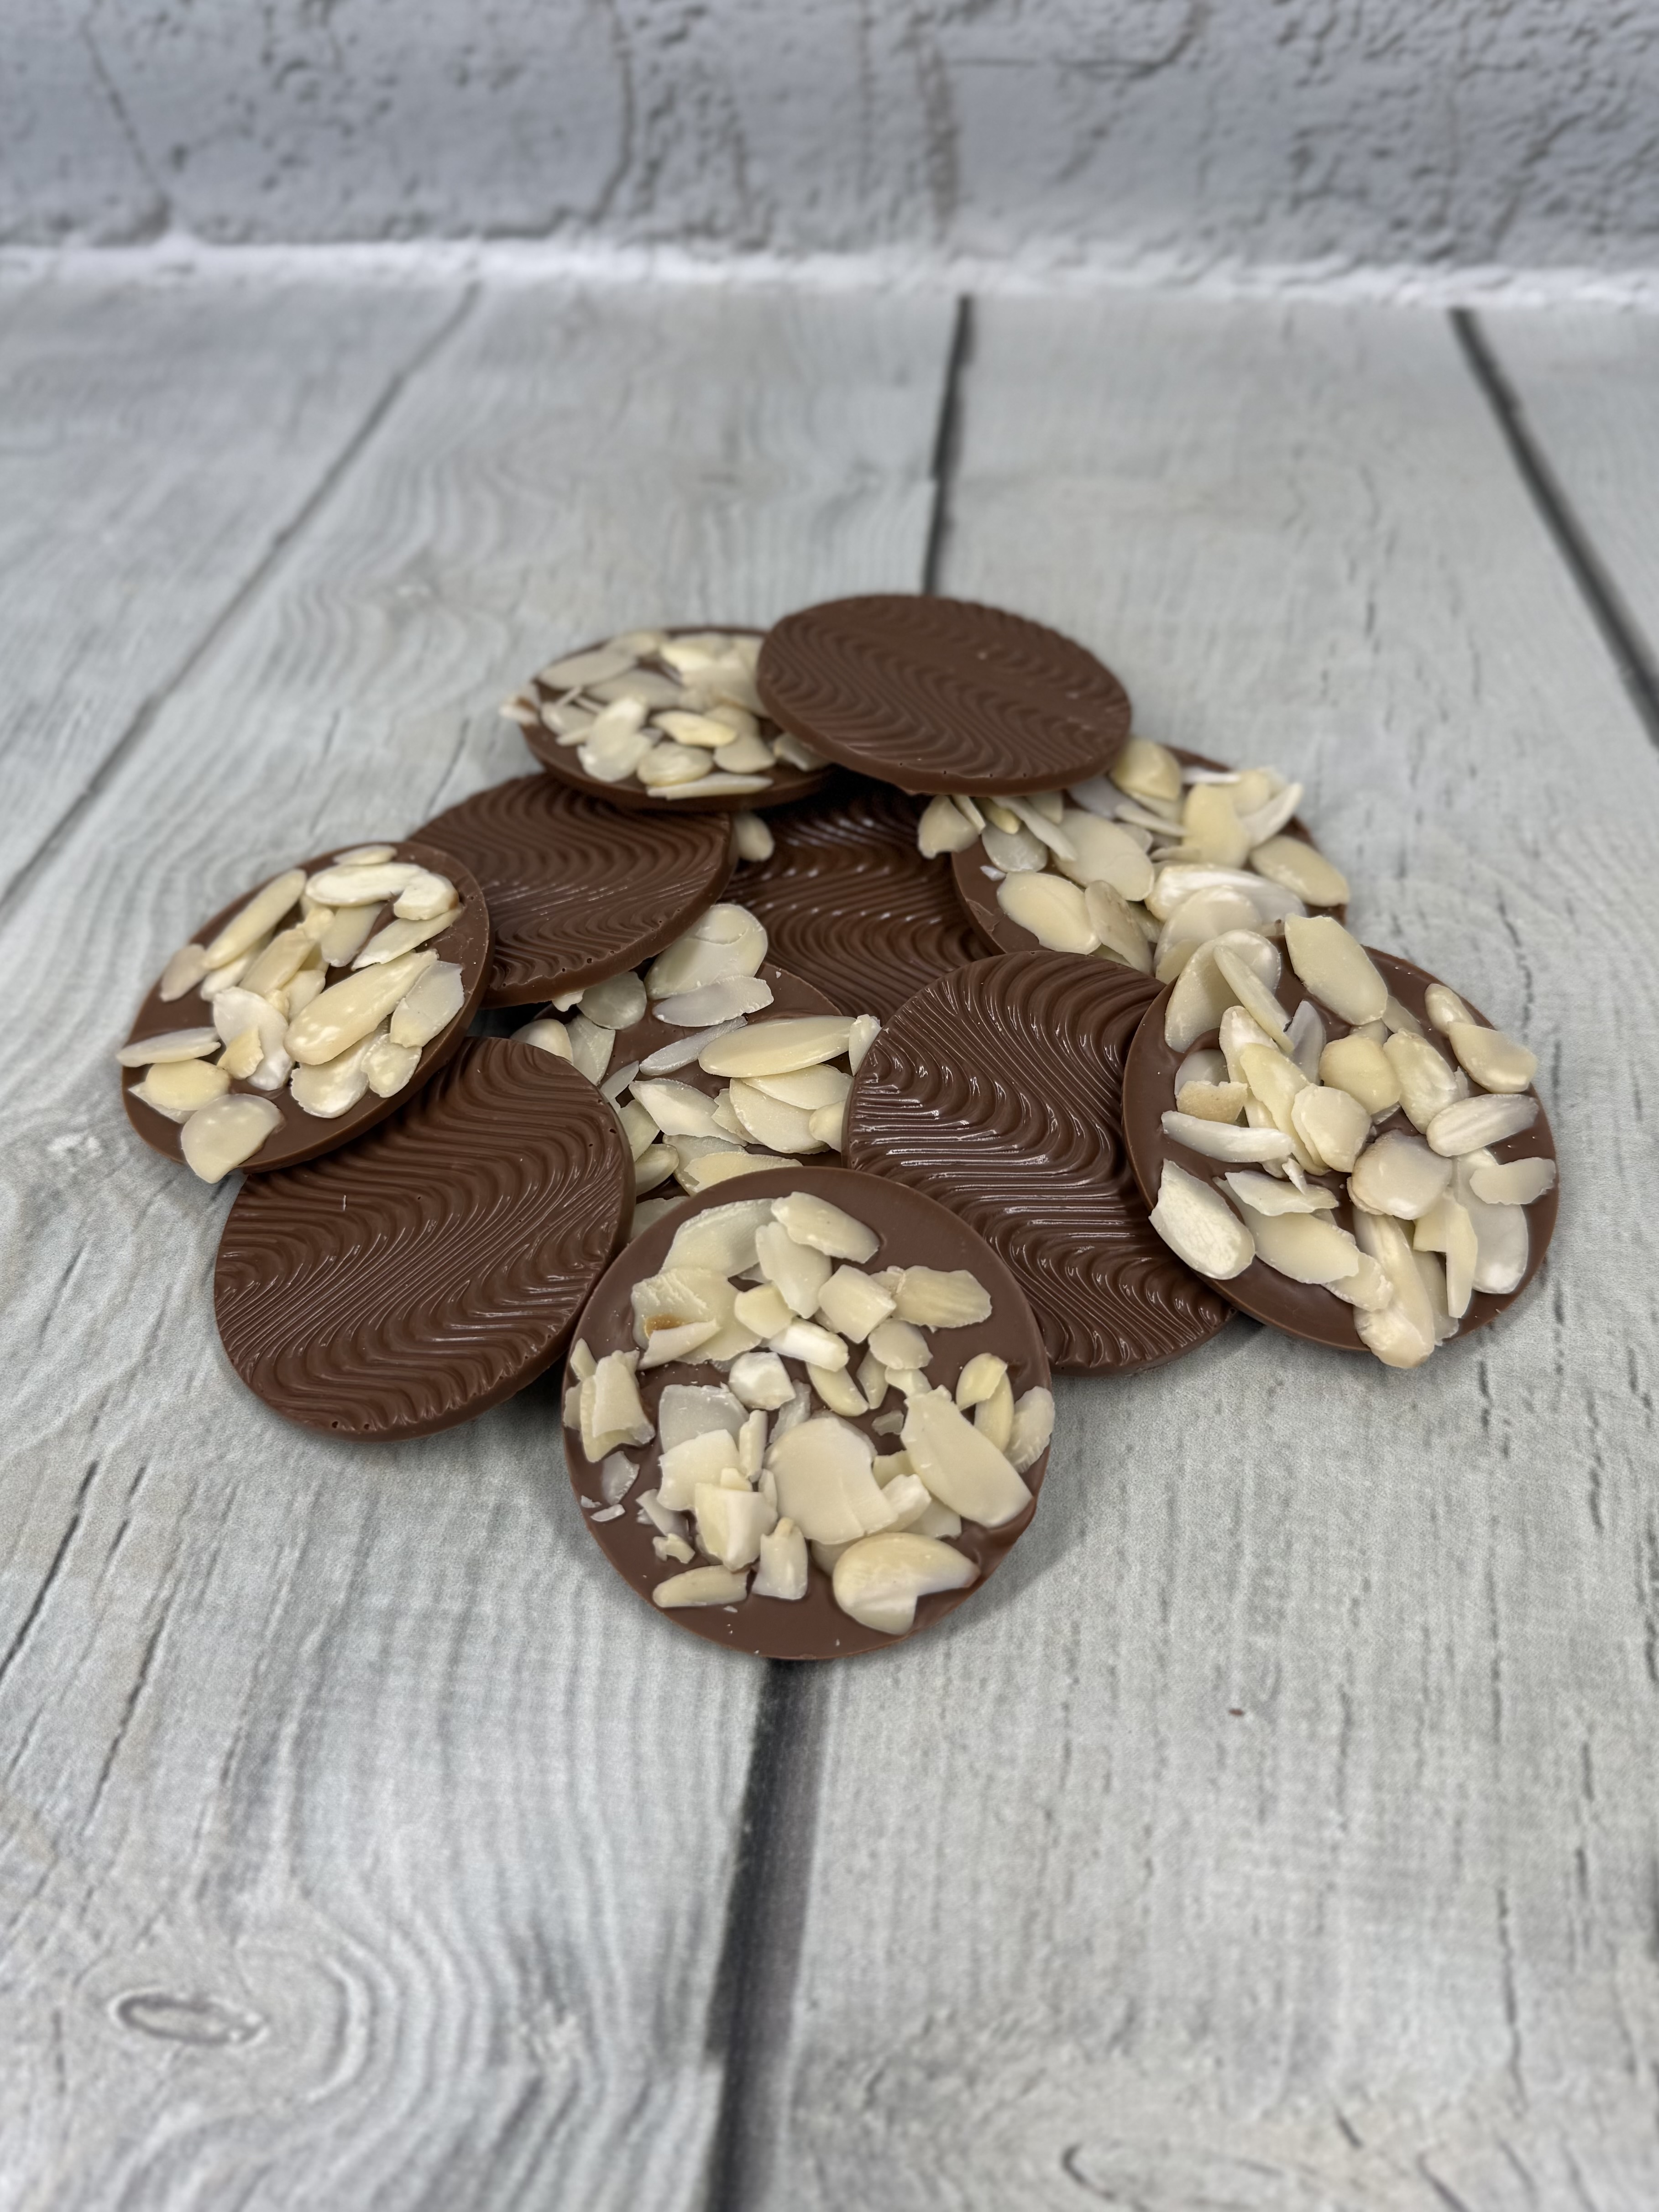
Almond & Milk Chocolate Florentines

Almond & Milk Chocolate Florentines

Gleni Update 01/26

Gleni Update 01/26
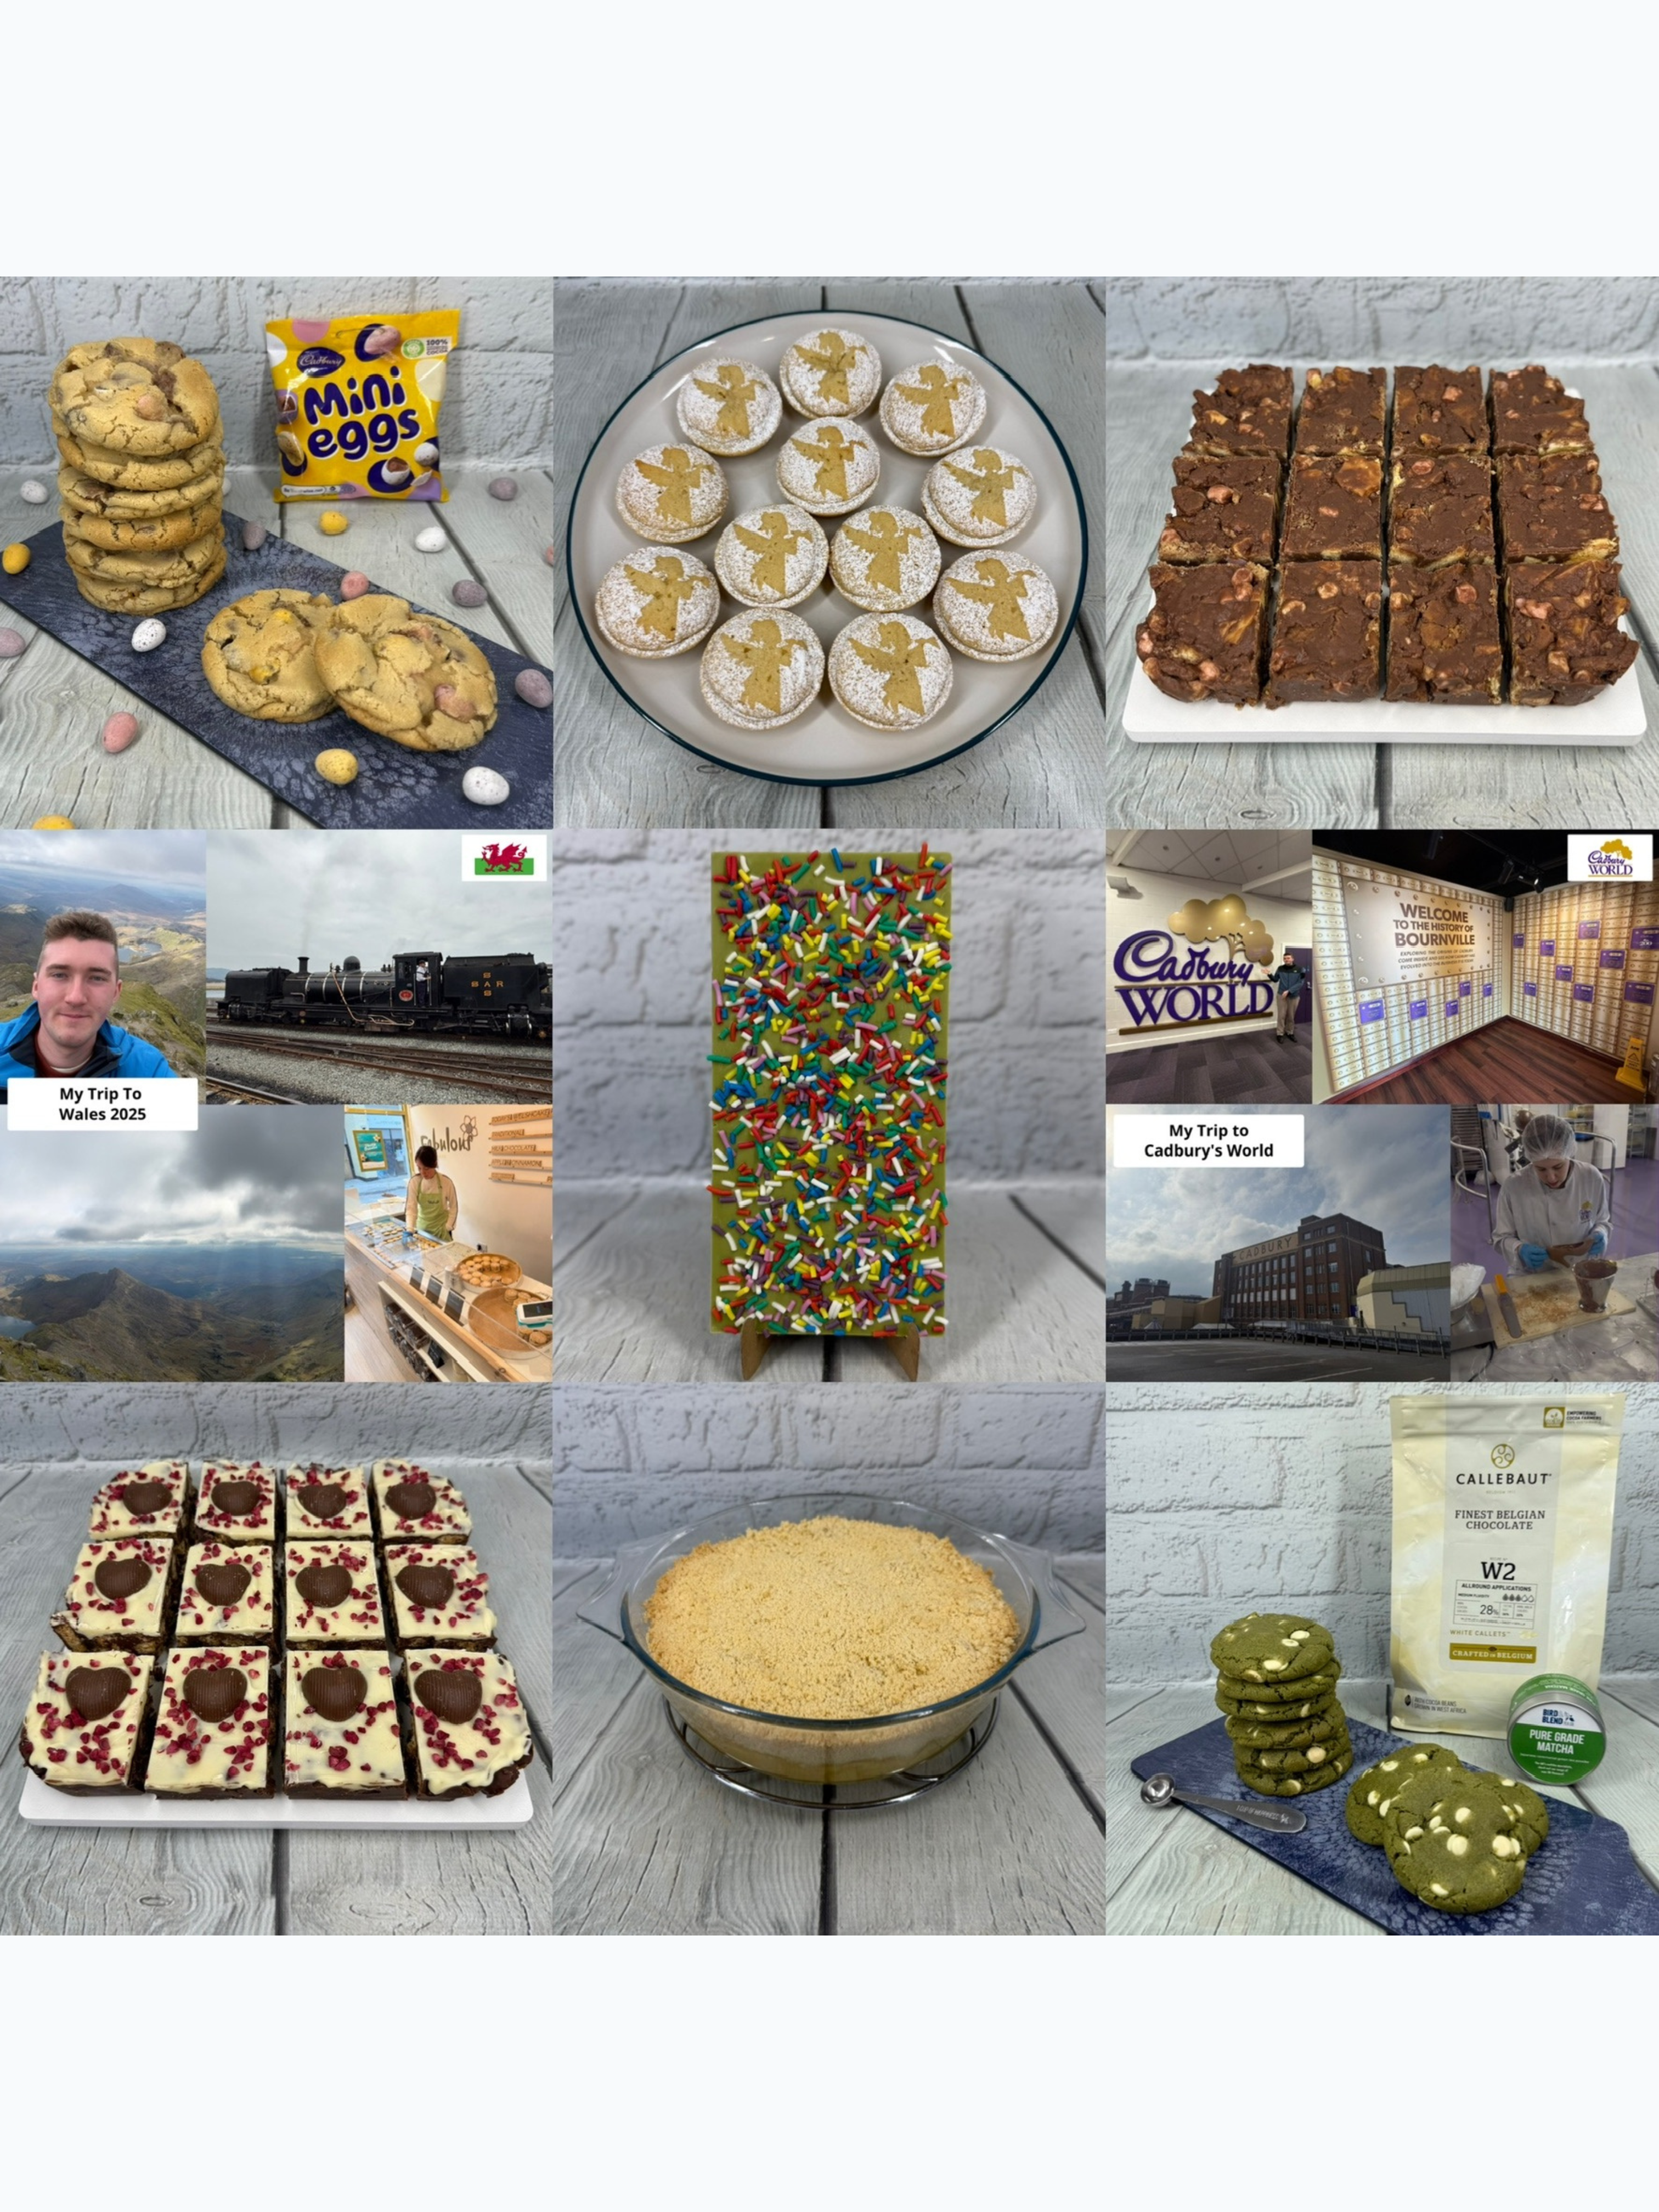
My Top 9 Favourite Gleni Moments Of 2025!

My Top 9 Favourite Gleni Moments Of 2025!
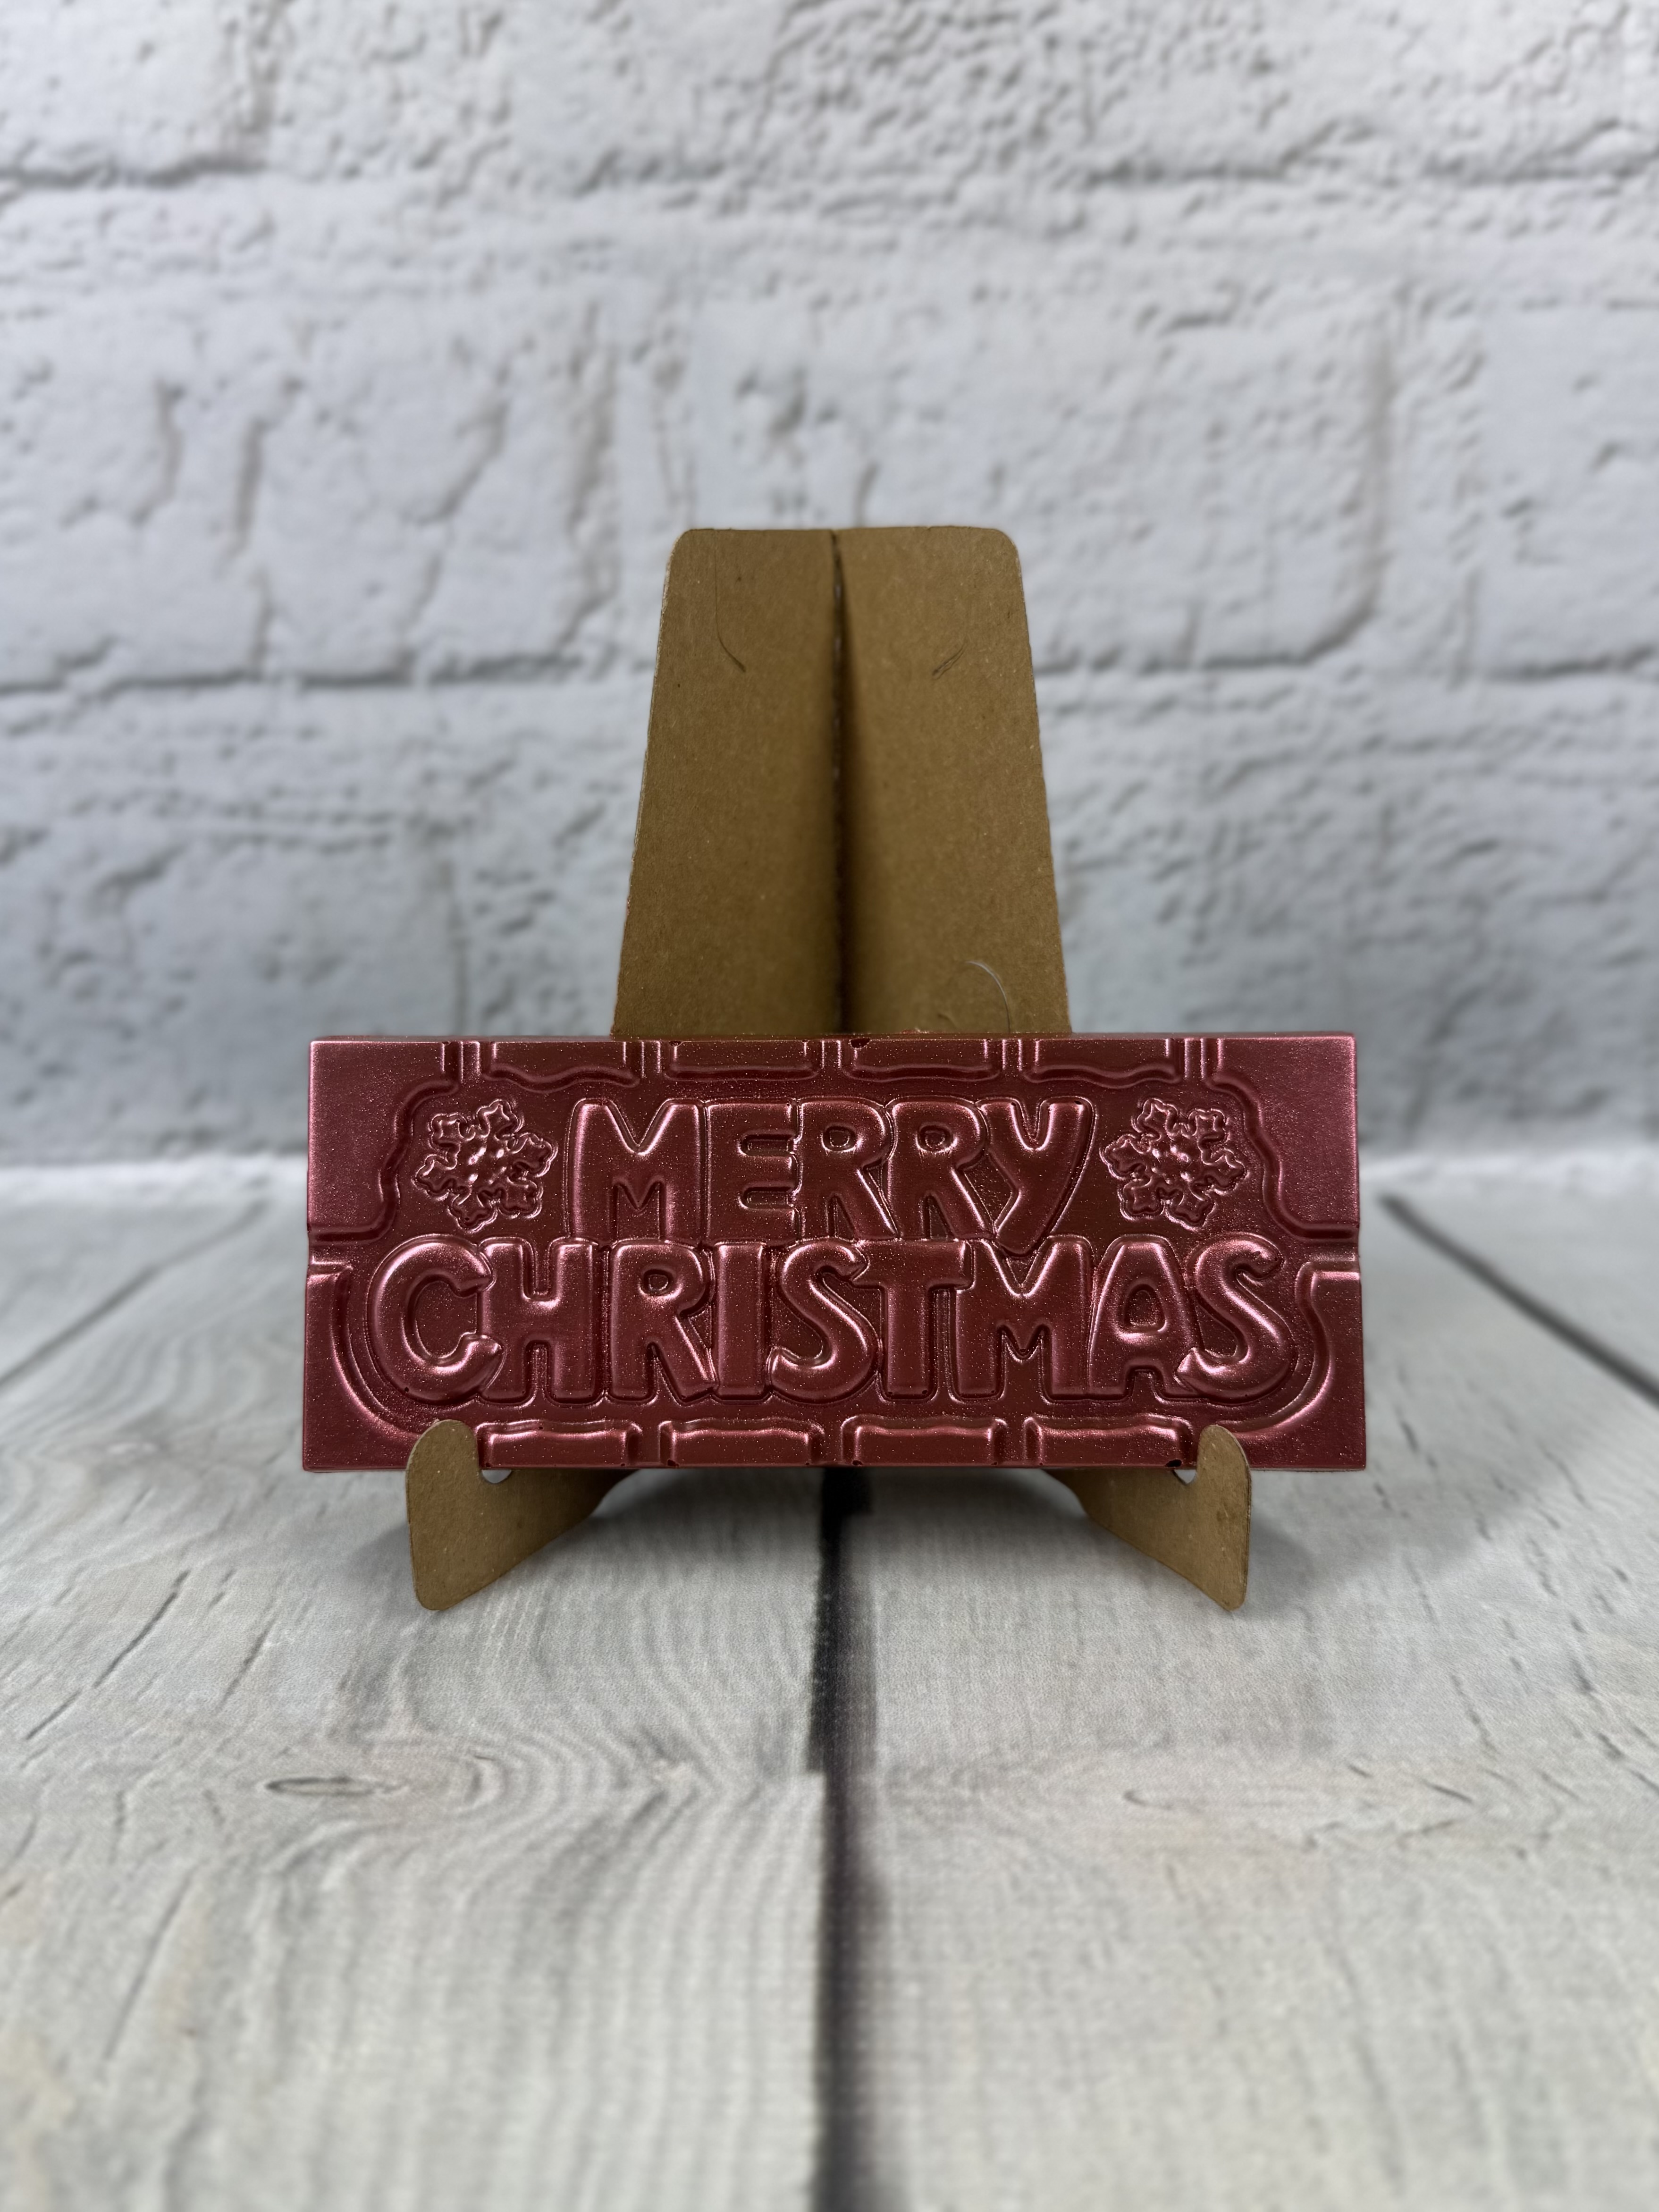
Milk Chocolate Mini Bar "Merry Christmas" (Scarlett Red)

Milk Chocolate Mini Bar "Merry Christmas" (Scarlett Red)
Hashtags
#happybirthday #birthdaycake #birthday #cake #buttercream #vanilla #chocolate #marblespongecake #marblesponge #caramelbuttons #glenichocolatier #glenibakes #gleni
Latest Videos
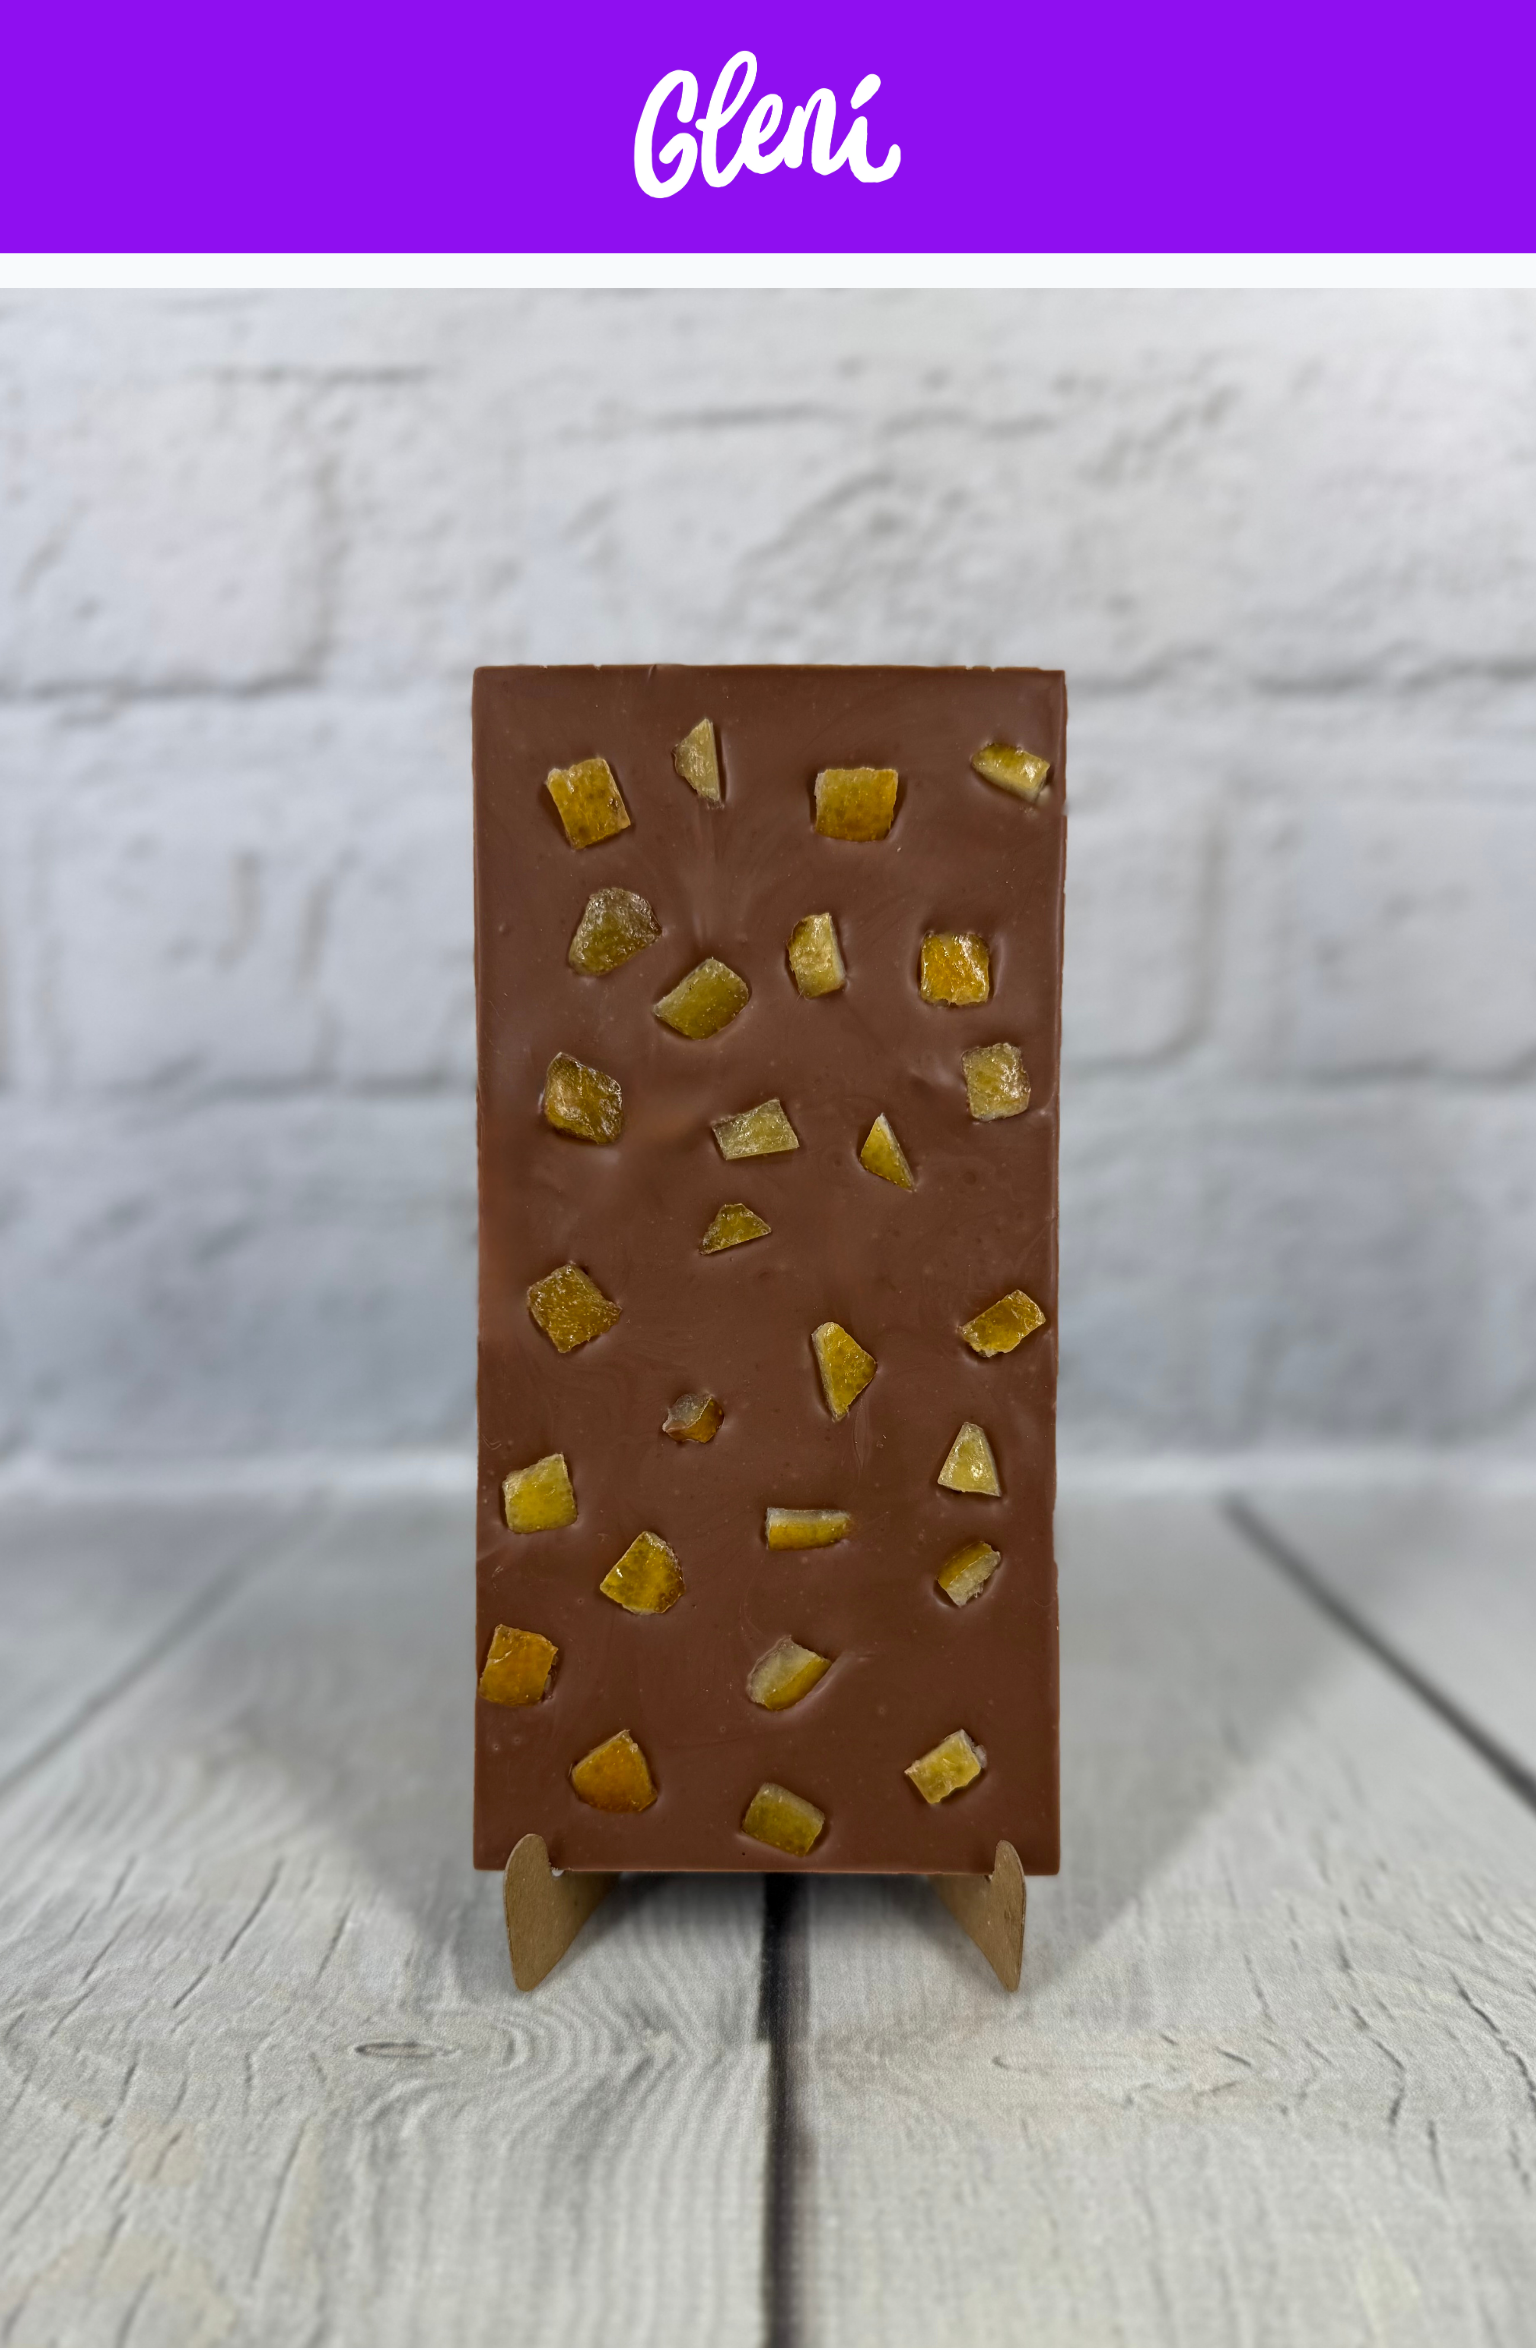
Milk Chocolate Orange Bar

Milk Chocolate Orange Bar
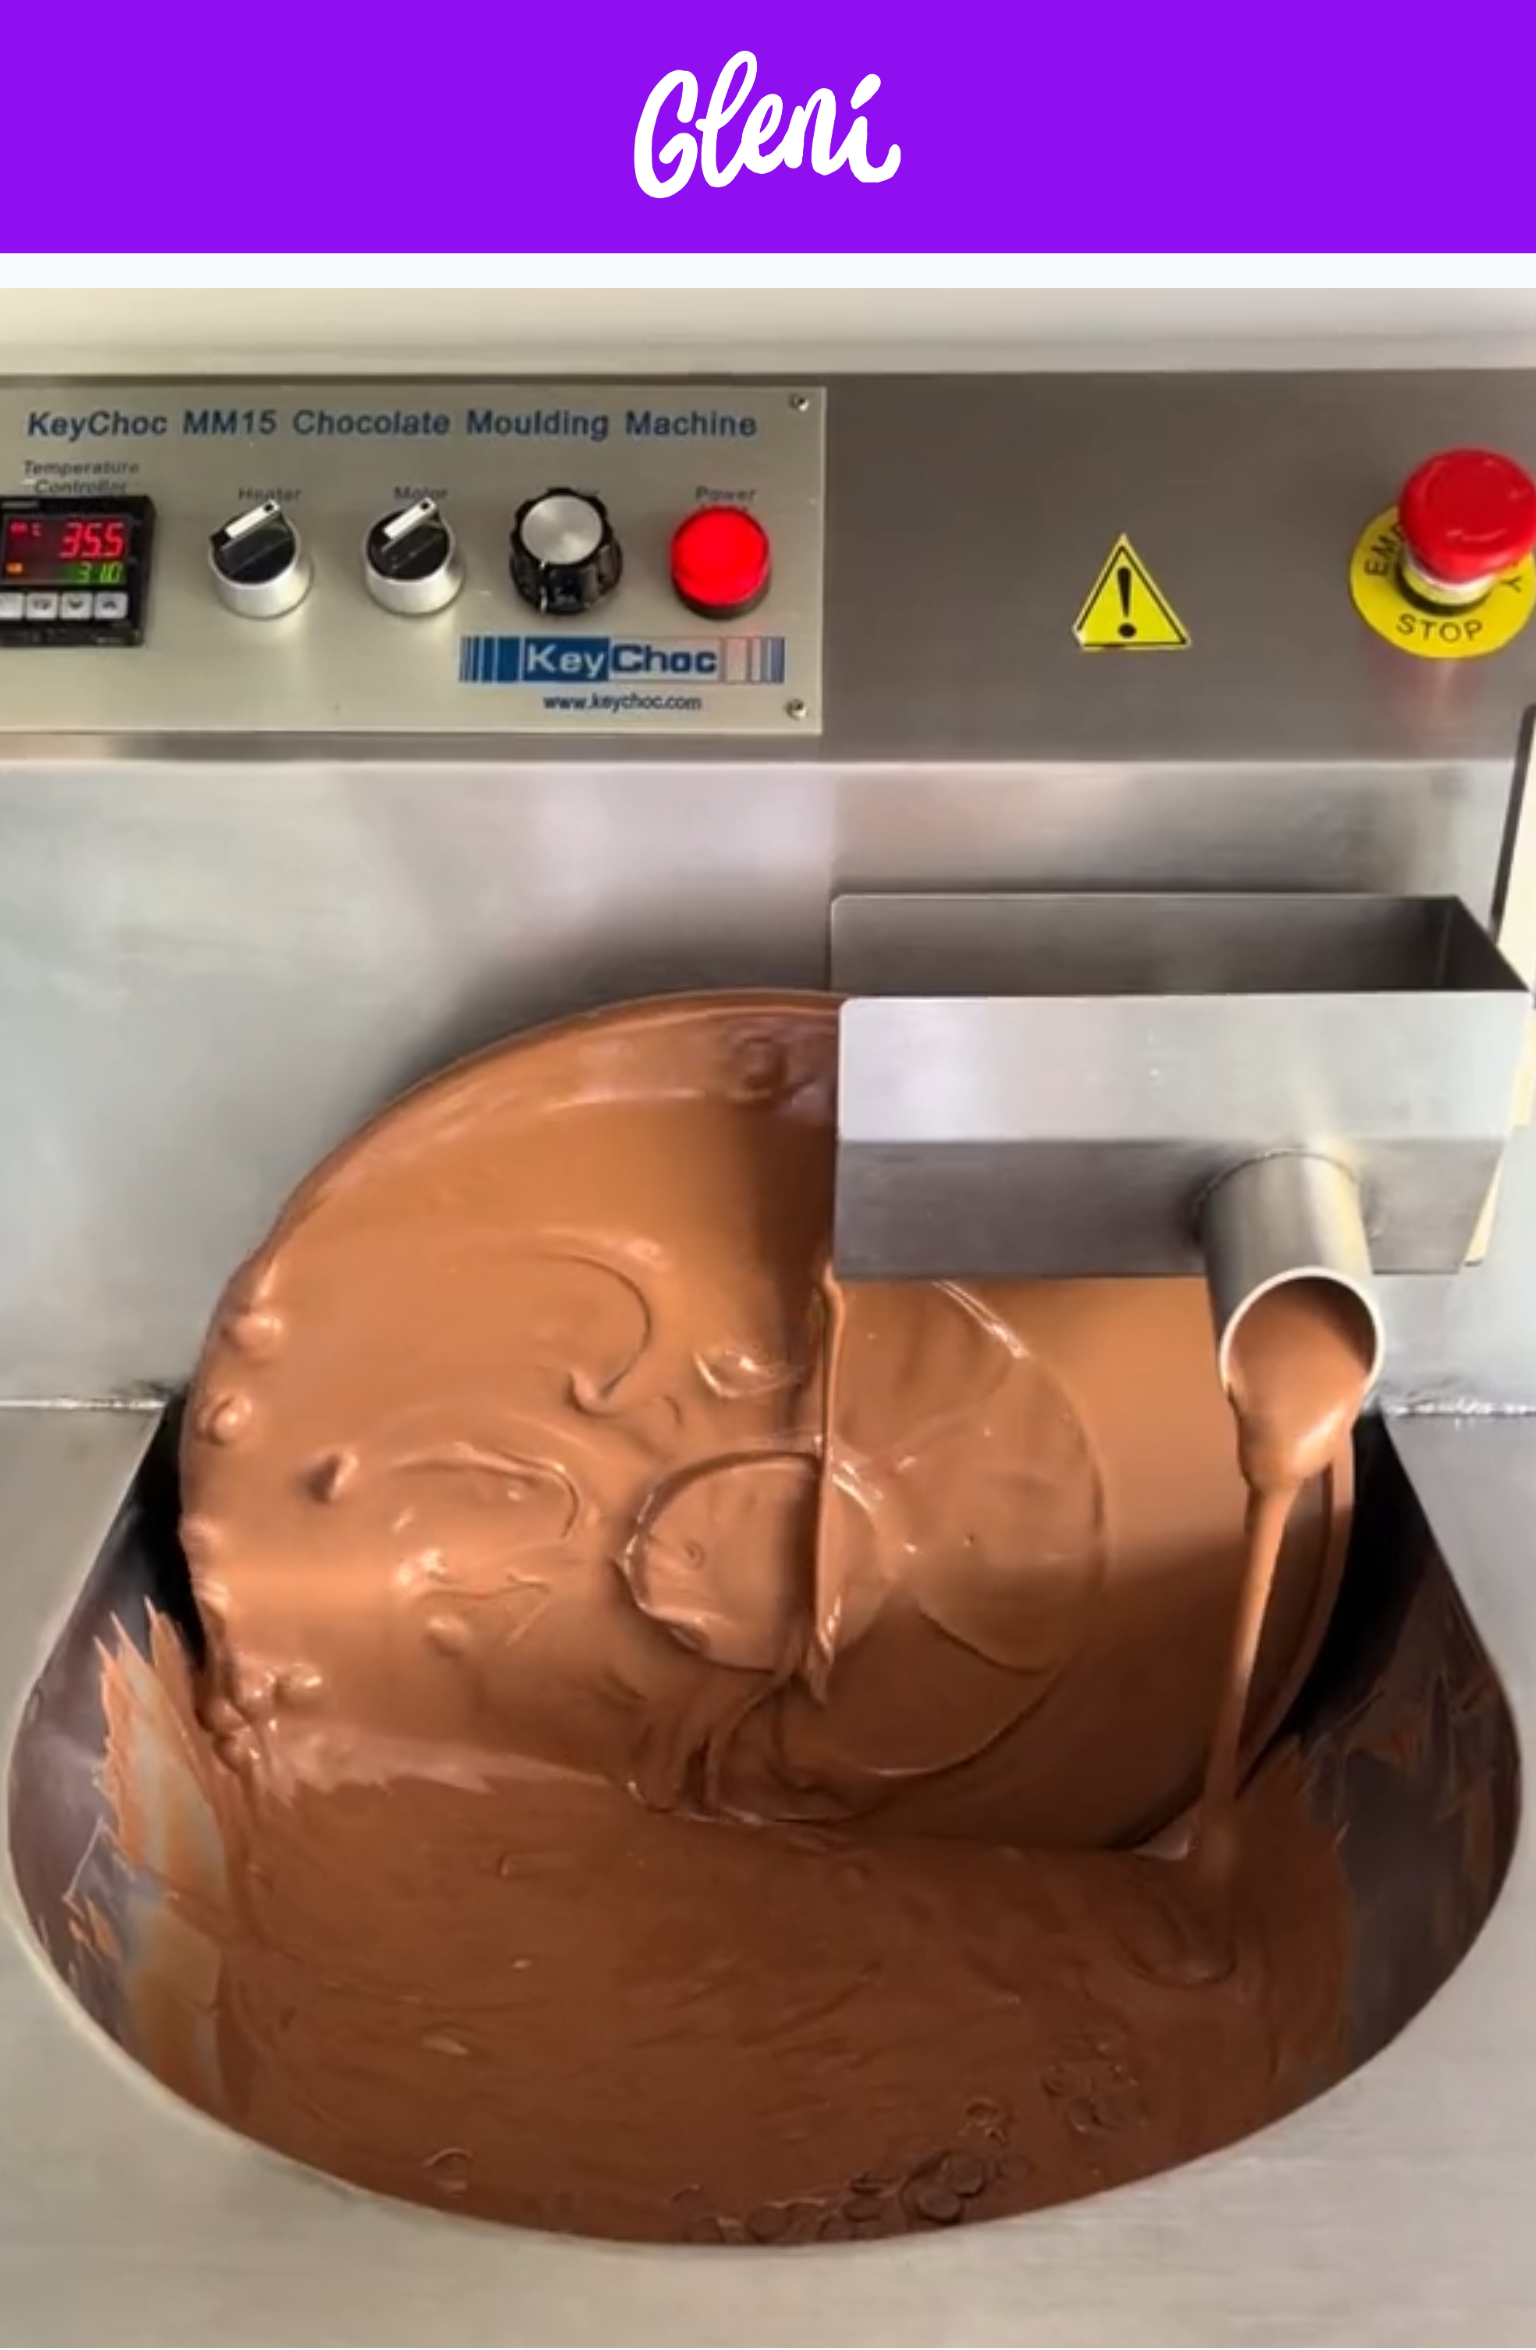
Chocolate Machine

Chocolate Machine

2025 Season Comes To An End!

2025 Season Comes To An End!
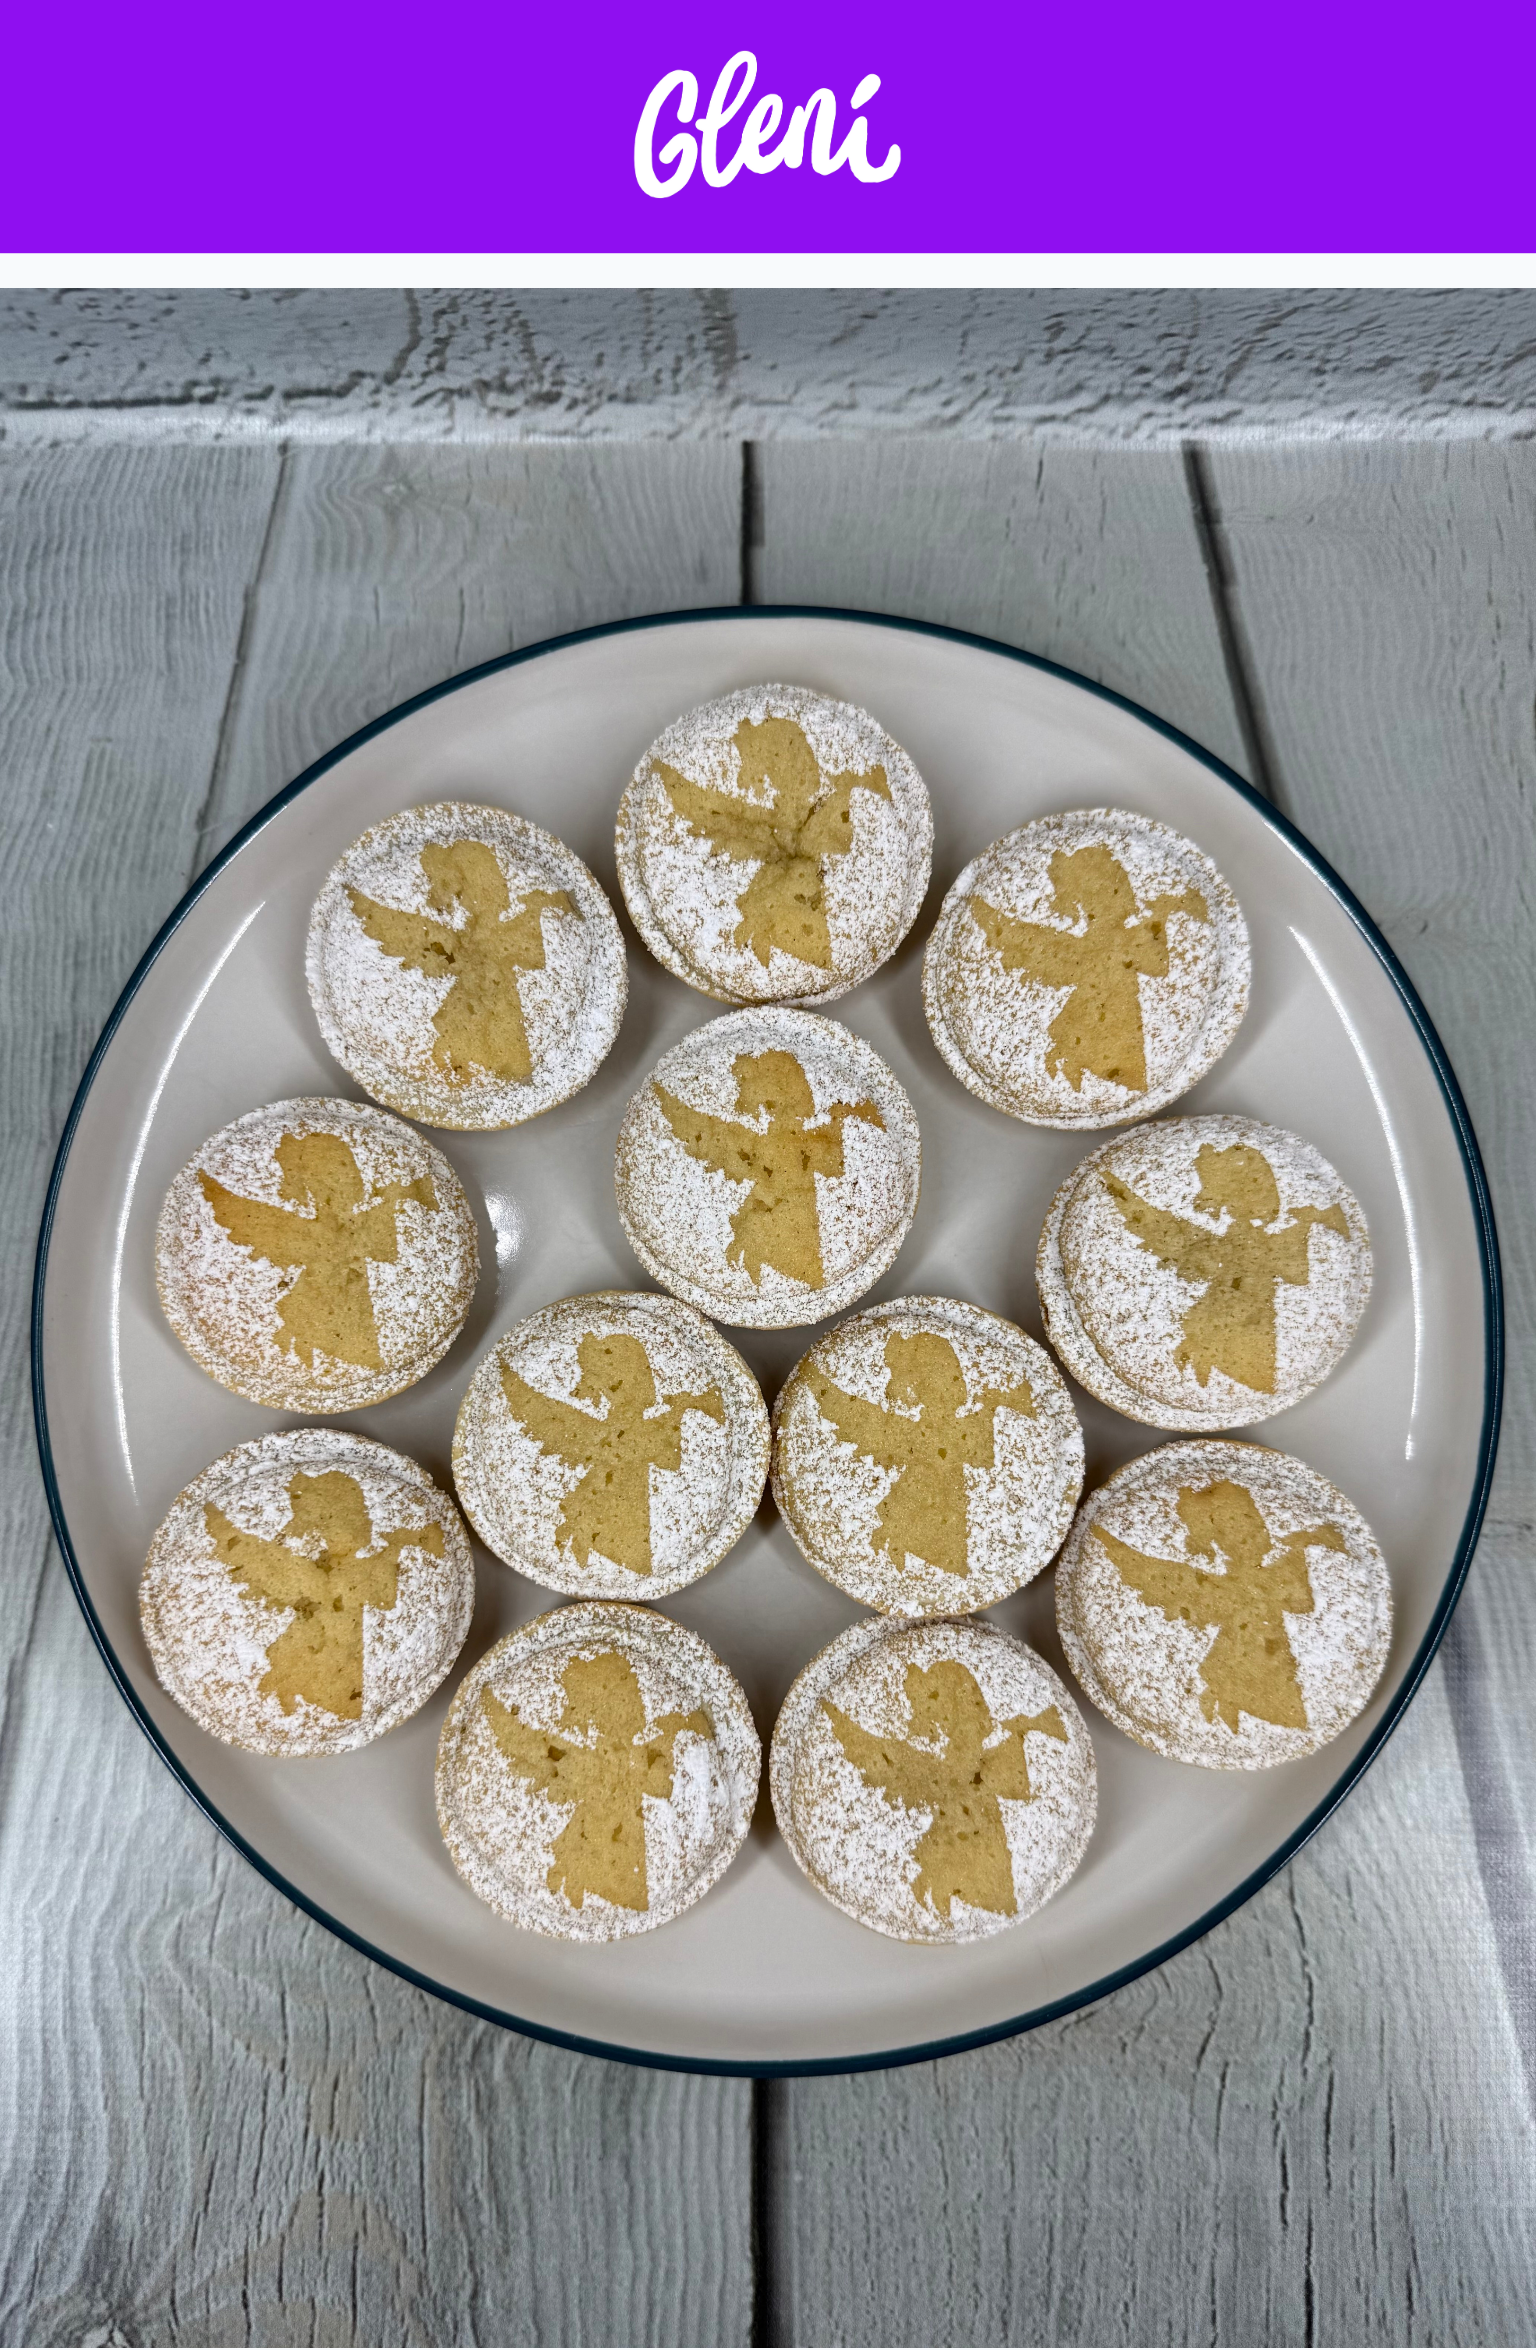
Christmas Angel Mince Pies

Christmas Angel Mince Pies
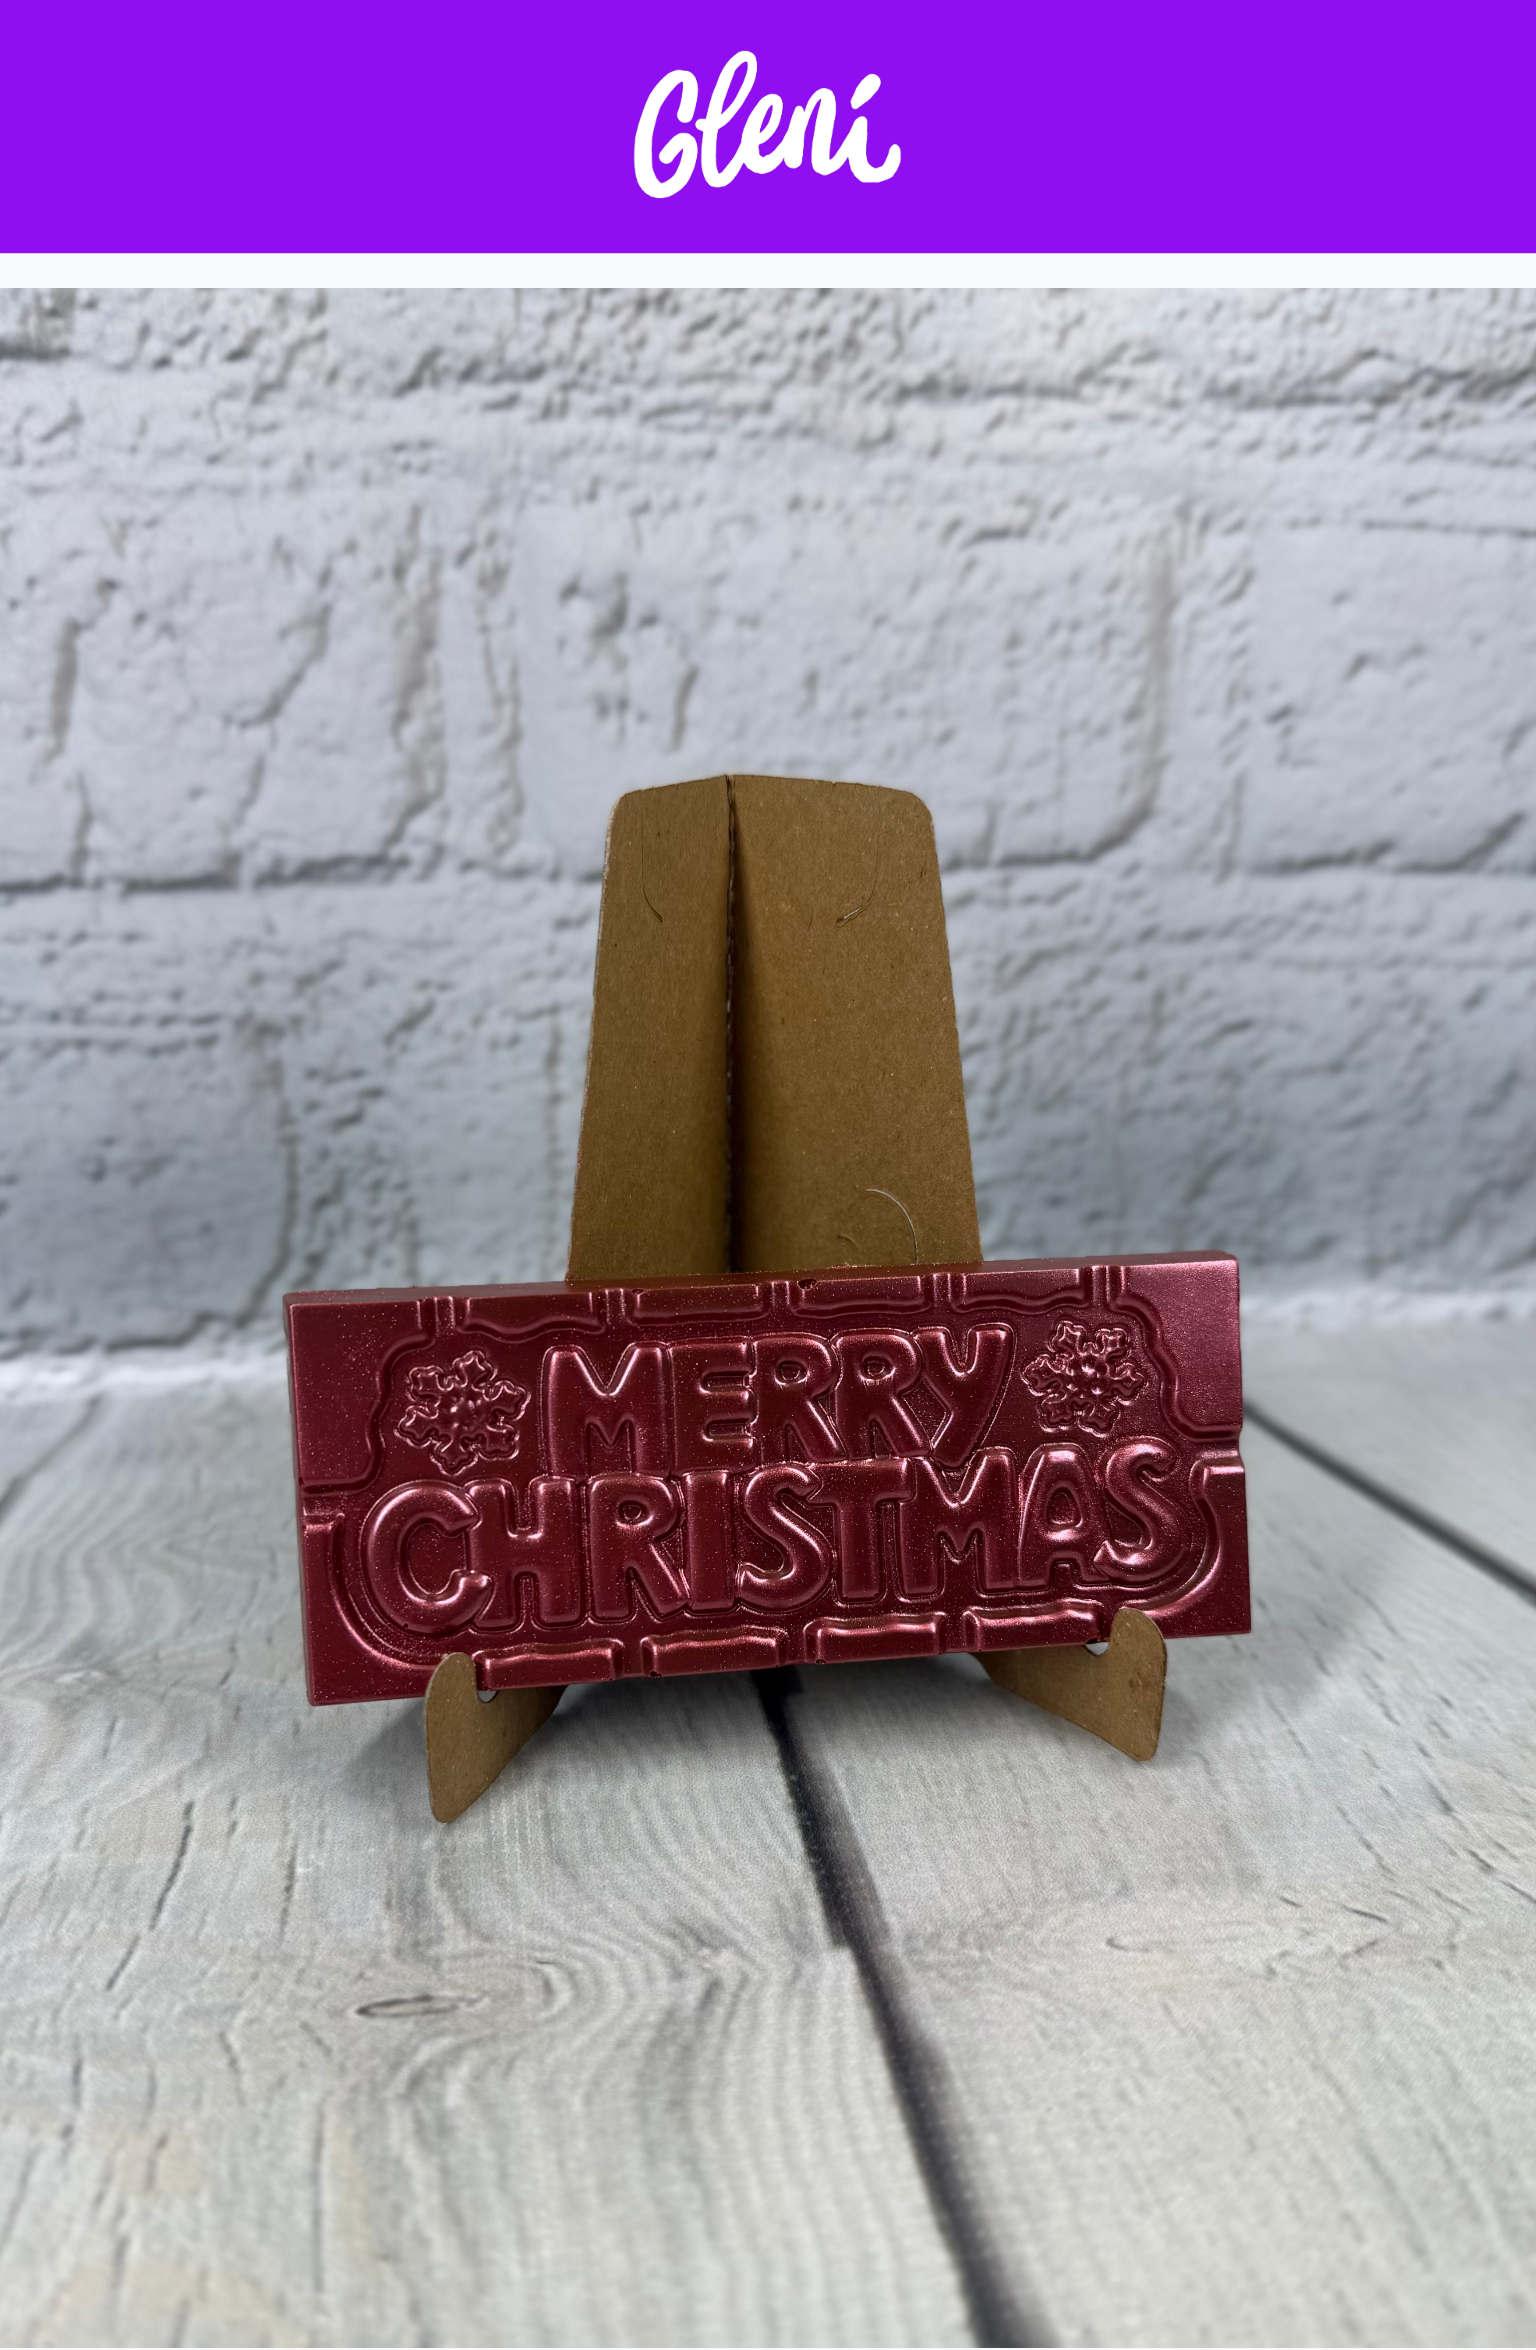
Milk Chocolate Mini Bar "Merry Christmas" (Scarlett Red)

Milk Chocolate Mini Bar "Merry Christmas" (Scarlett Red)


No comments yet…